How To Contribute to NAIRR Community Resources Documentation (Codespaces)
Refer to GitHub’s documentation for the Fork & Pull Request workflow for more information.
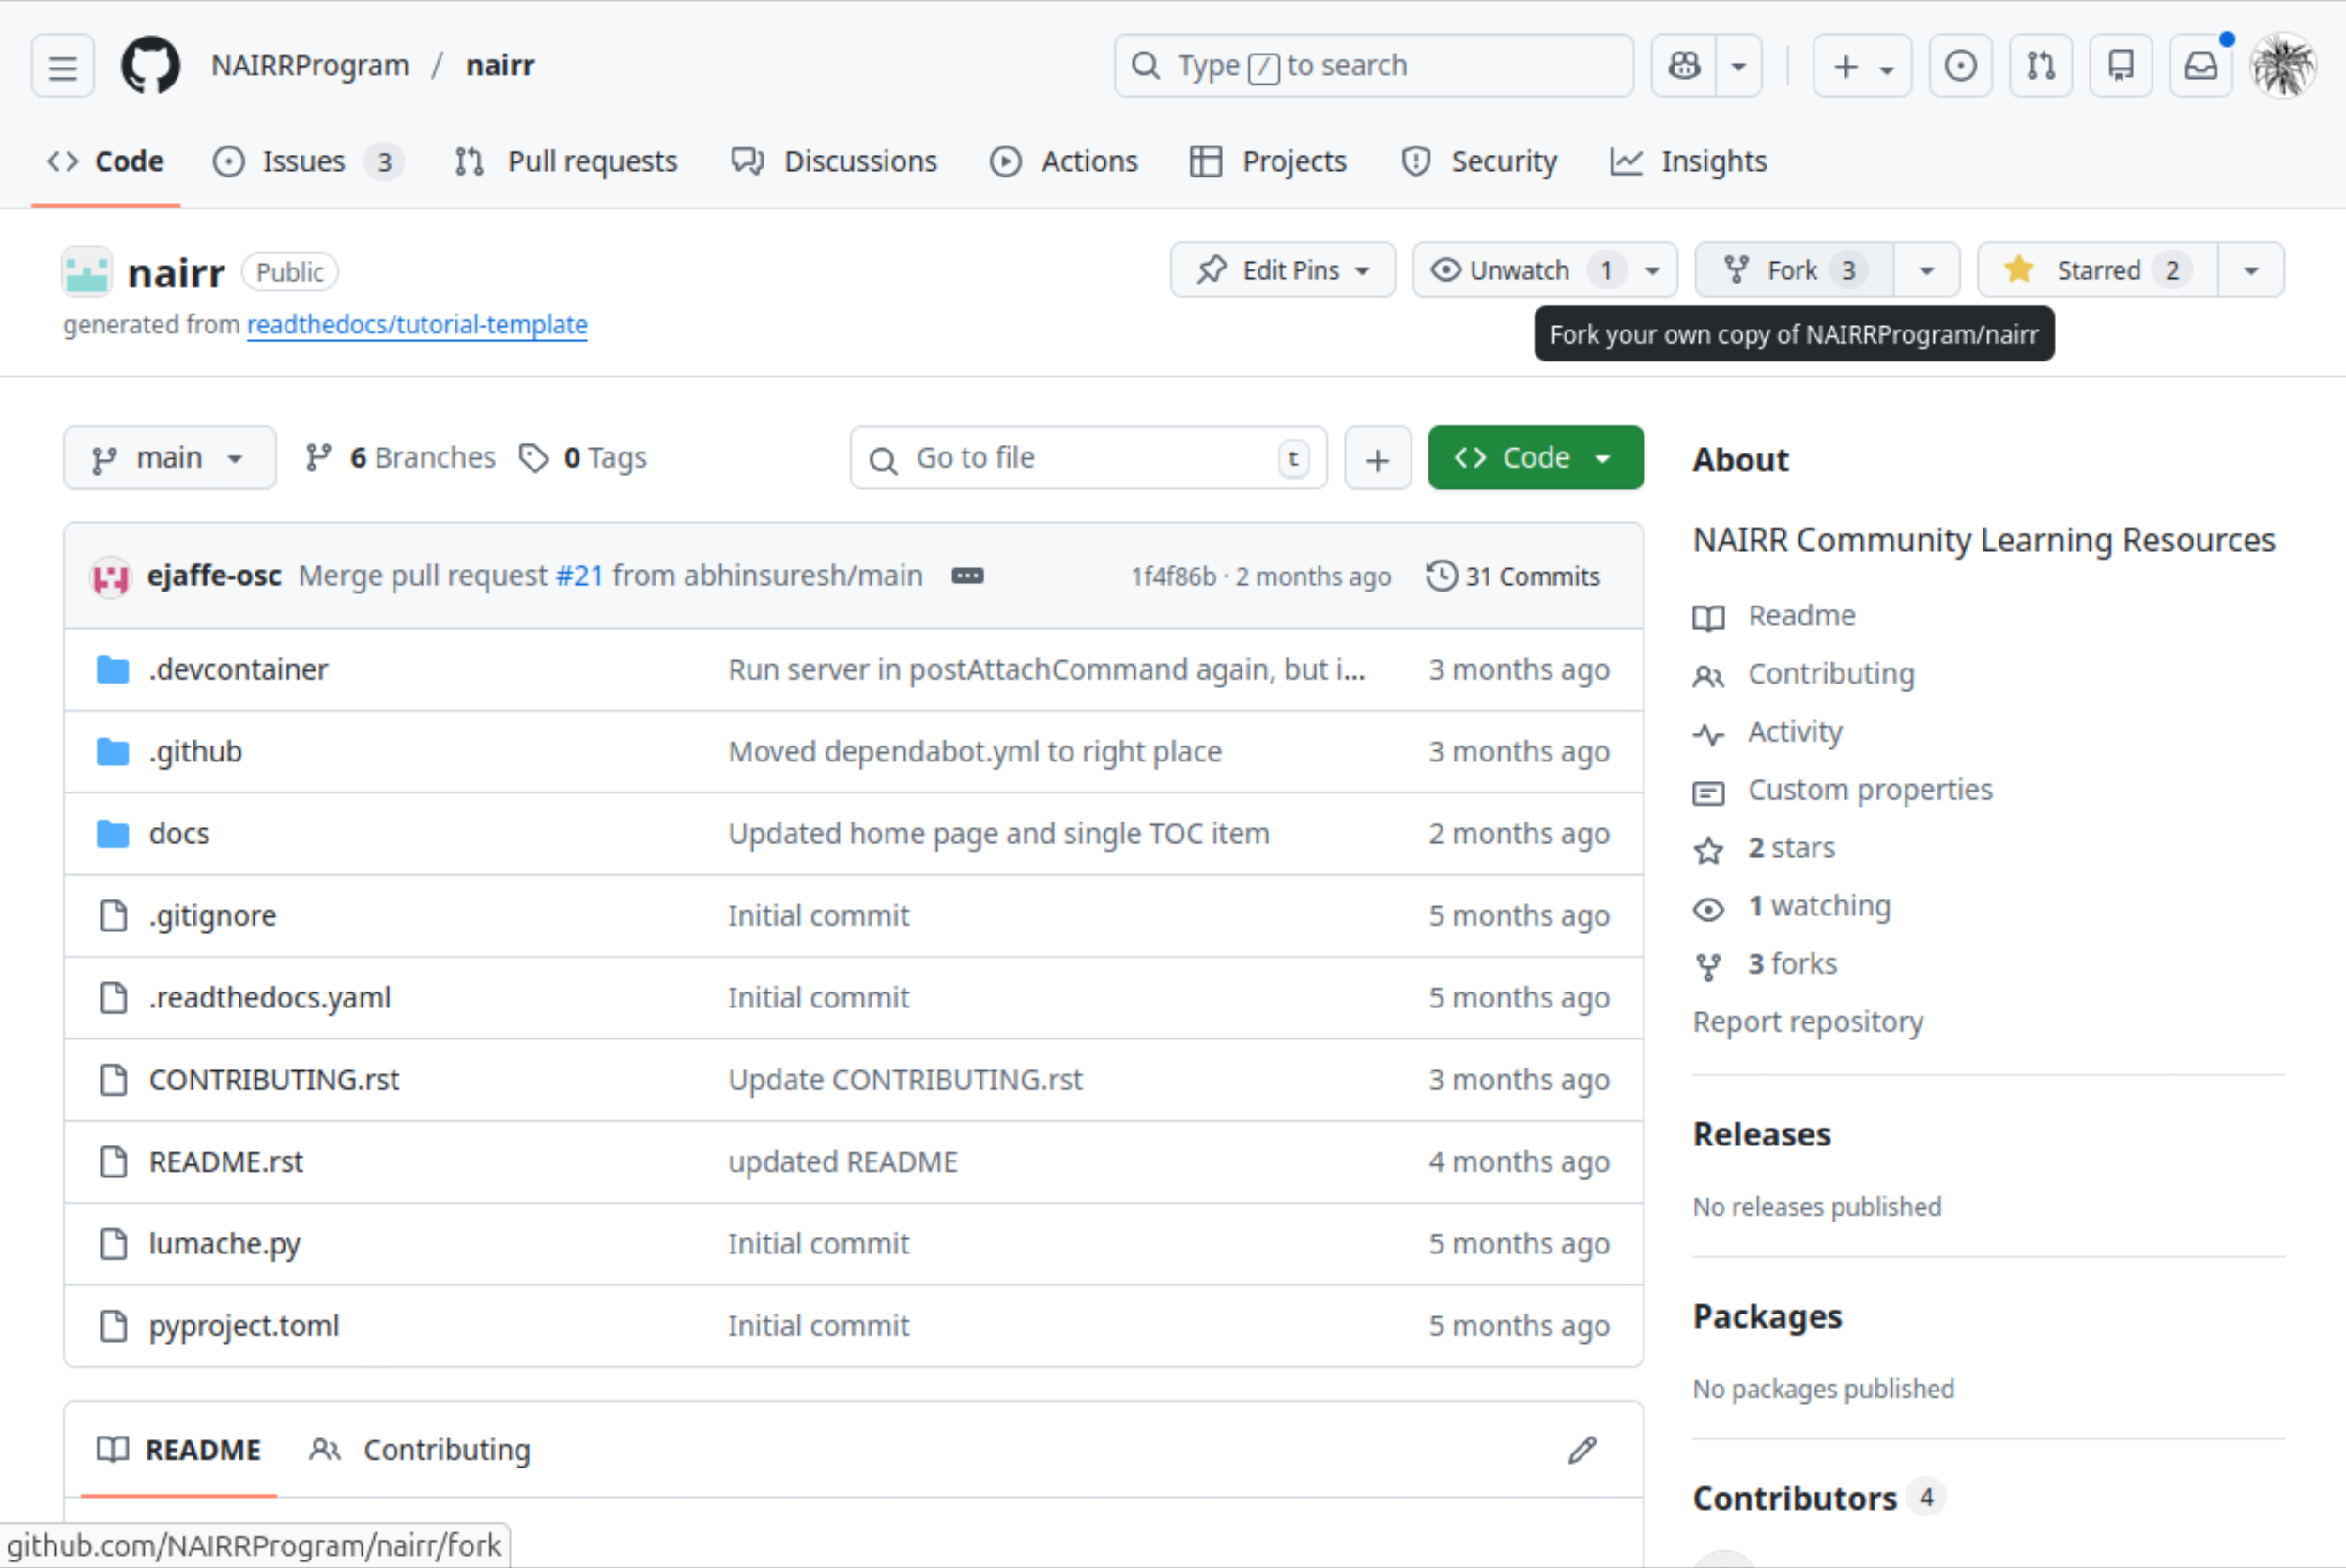
Fork the NAIRRProgram/nairr repository (https://github.com/NAIRRProgram/nairr) and create a working branch.
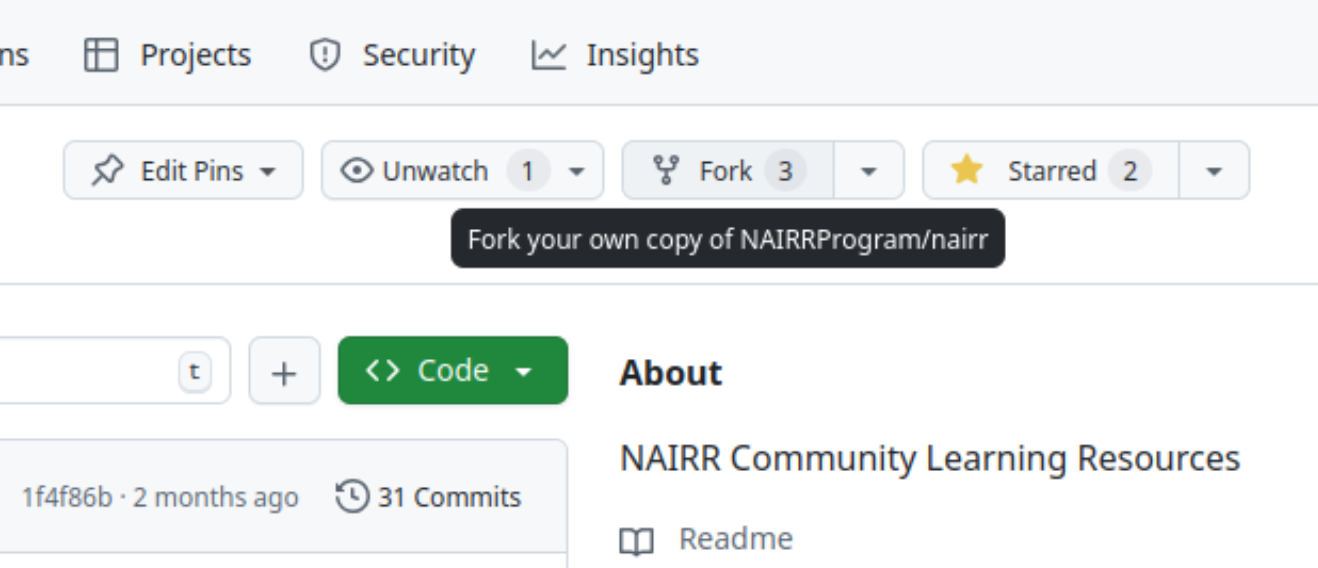
Click on the “Fork” button near the top-right of the repository page.
You only need to fork the repository once. If already forked during a previous change, skip this step and move on to creating a branch.
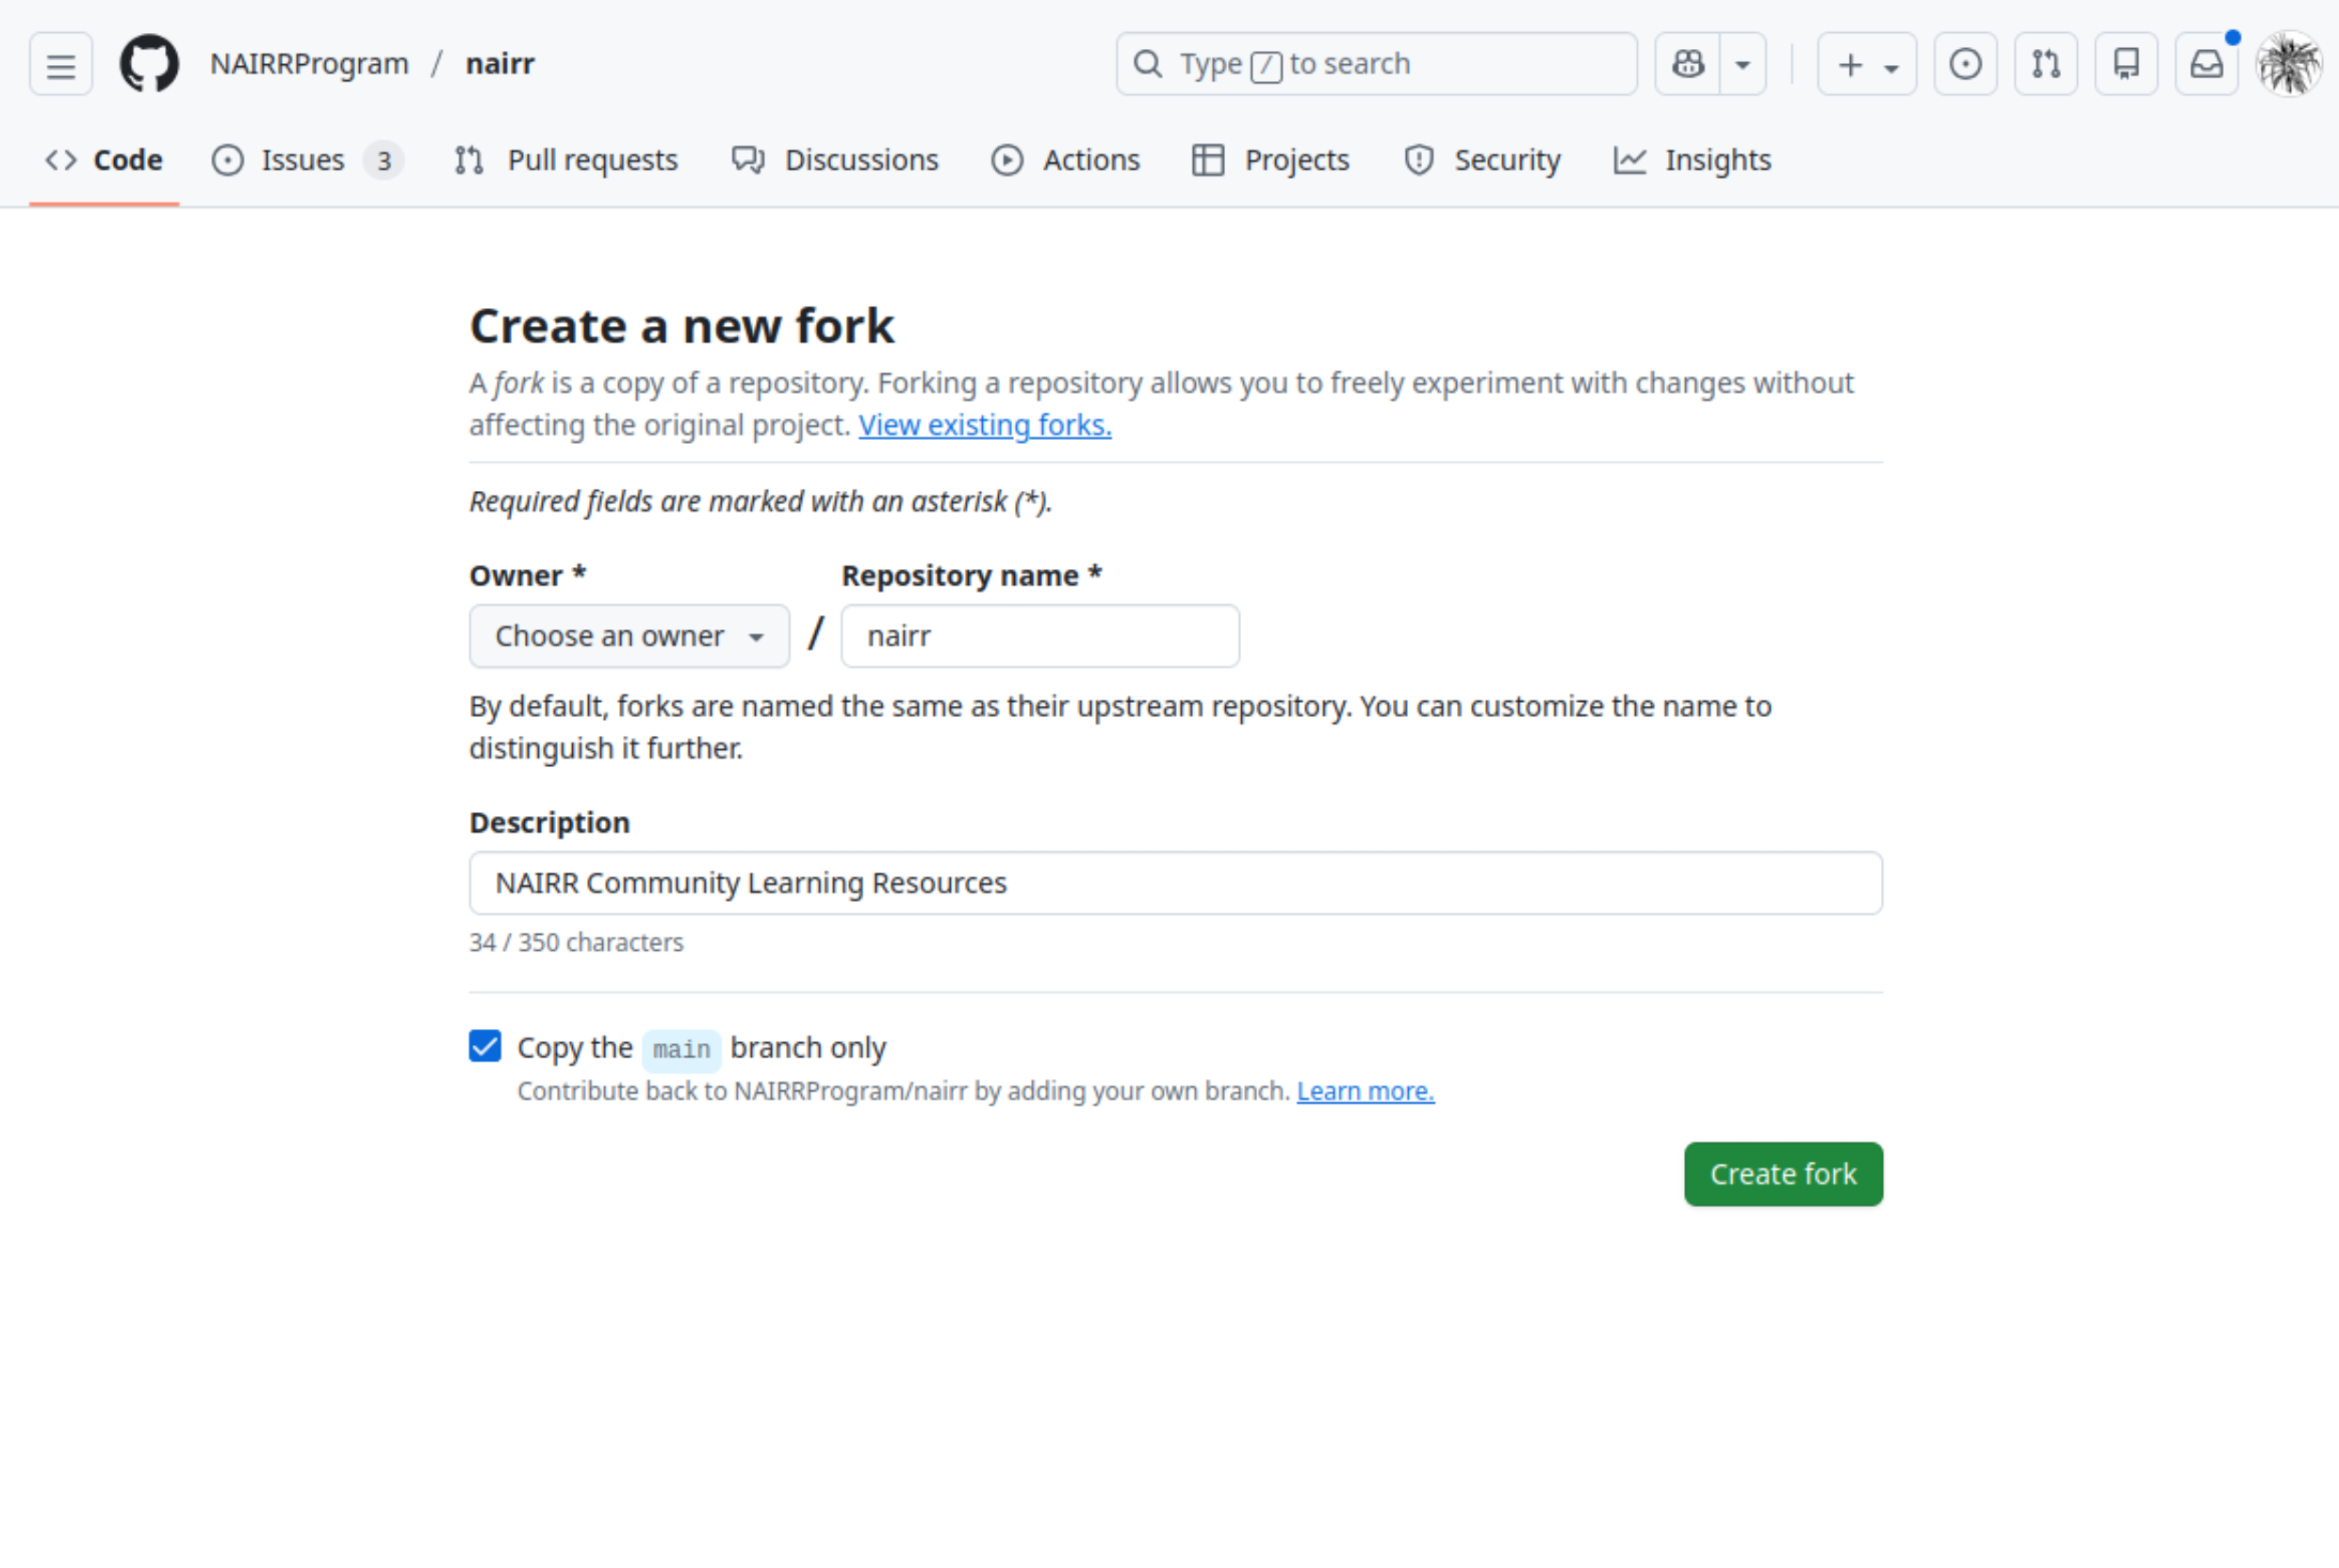
Double-check that the owner is your account, and if desired modify the repository name and description, then click “Create fork.” The page will be redirected to the new fork.
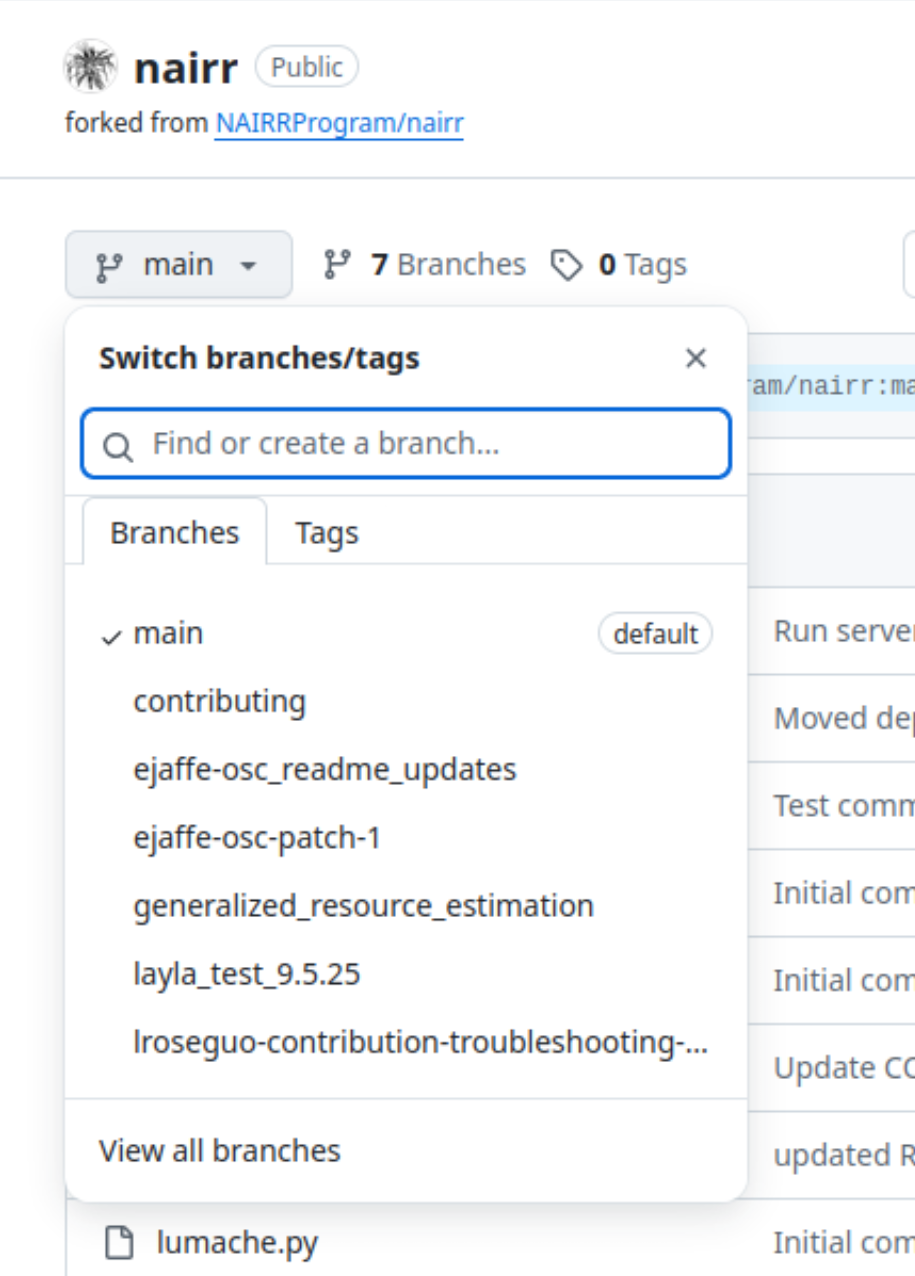
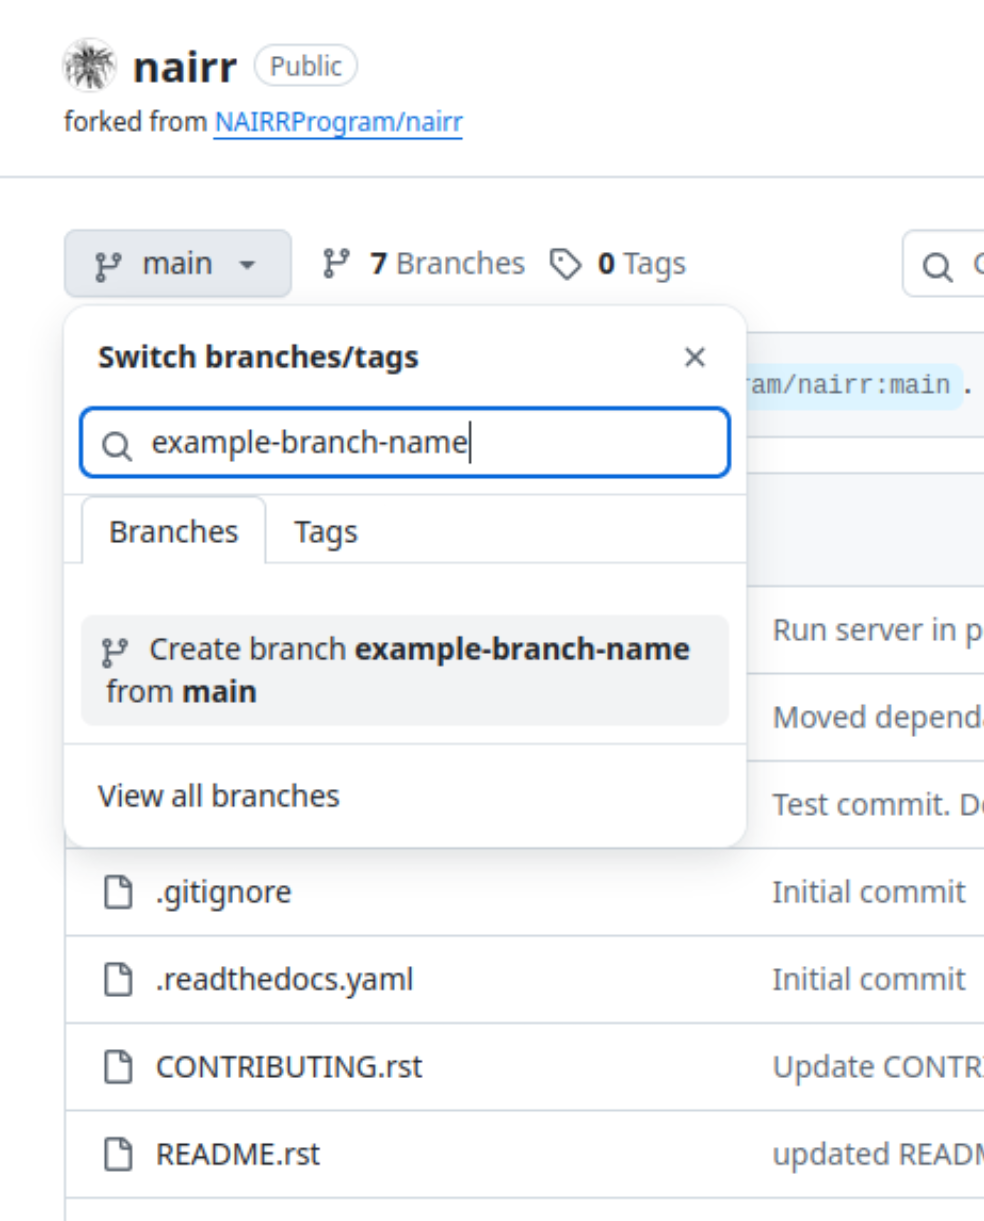
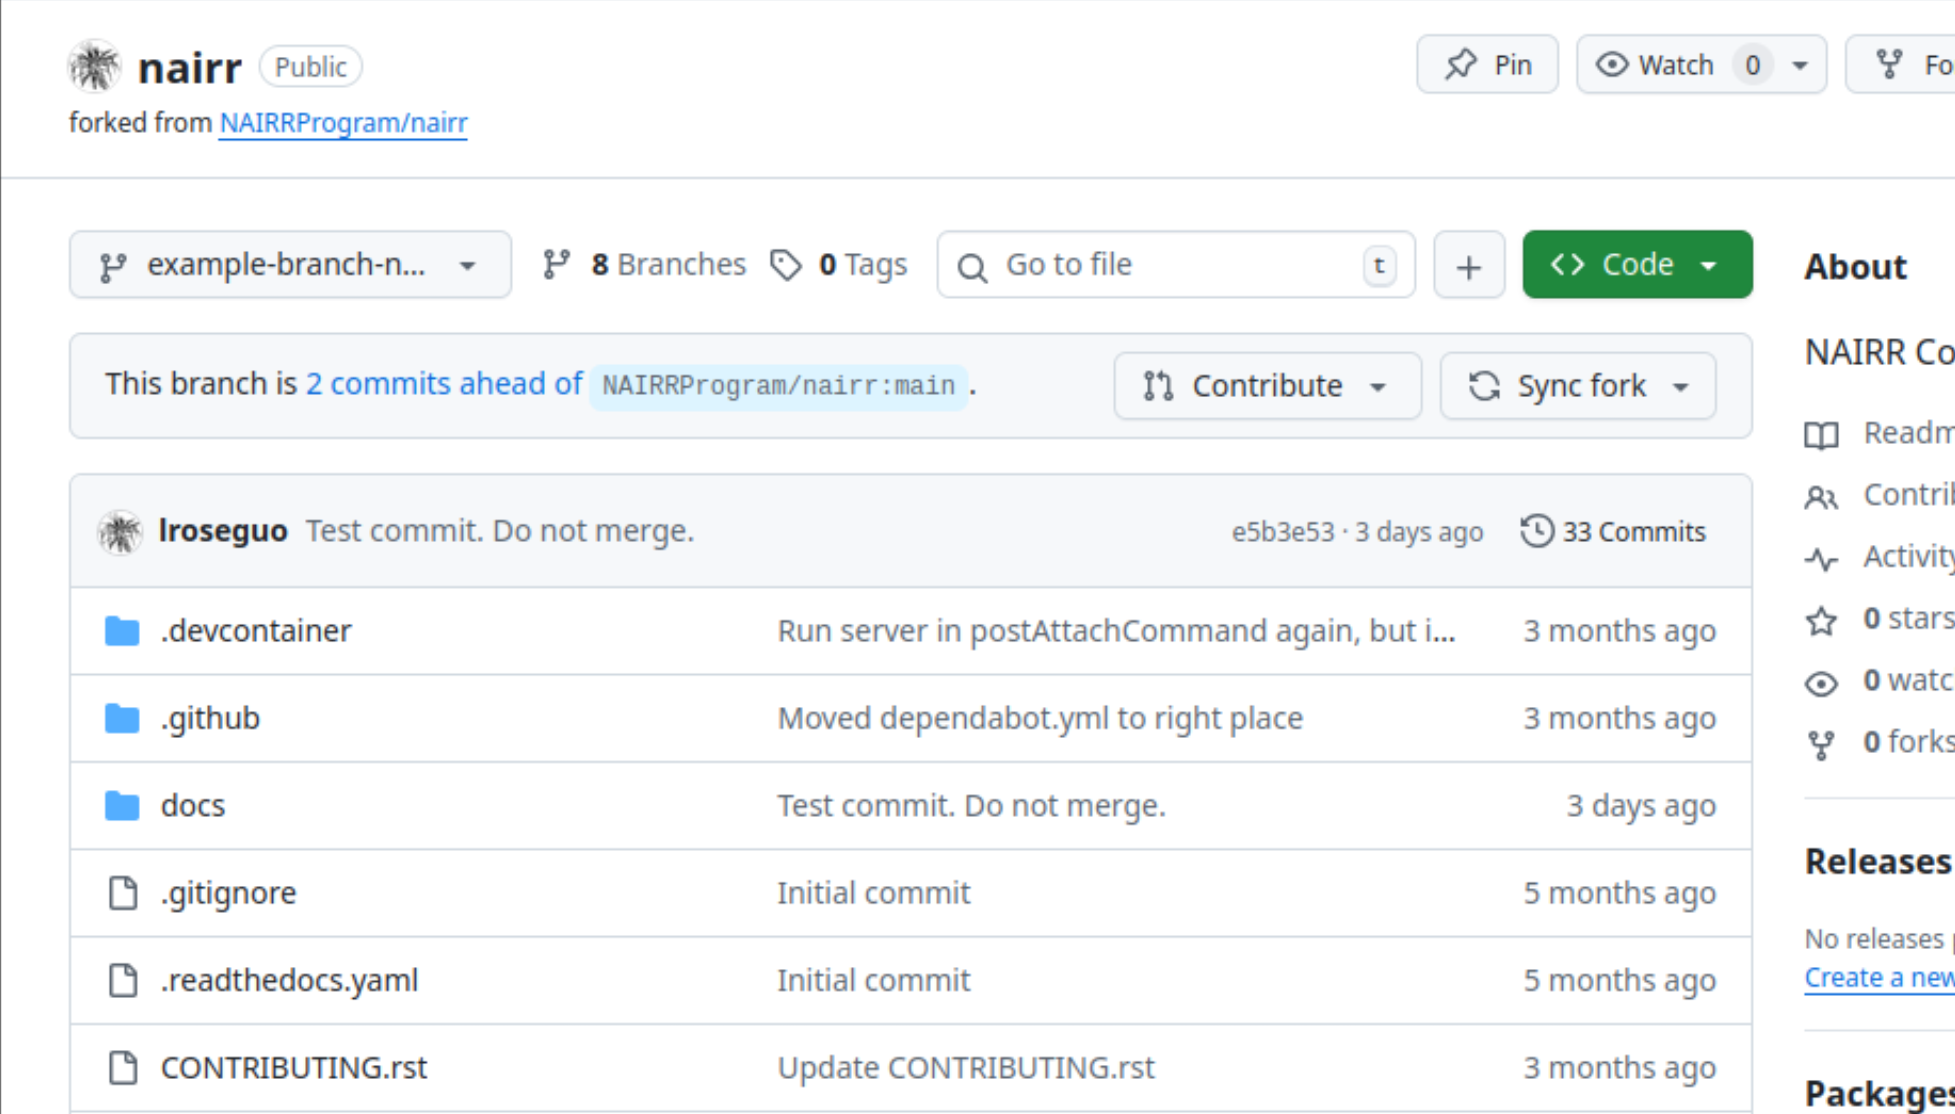
Click on the branch drop-down near the top-left of the forked repository and ensure that the branch you want to branch from is selected (typically ‘main’). Type in a name for a new branch, then click “Create branch <your-branch-name> from <originating branch>.” The page will reload with the new branch name displayed in the drop-down menu.
Make edits in Codespaces
Click on the green ‘Code’ dropdown above the project files on the right side.
Click on the ‘Codespaces’ tab to switch from the ‘Local’ tab if not already selected.
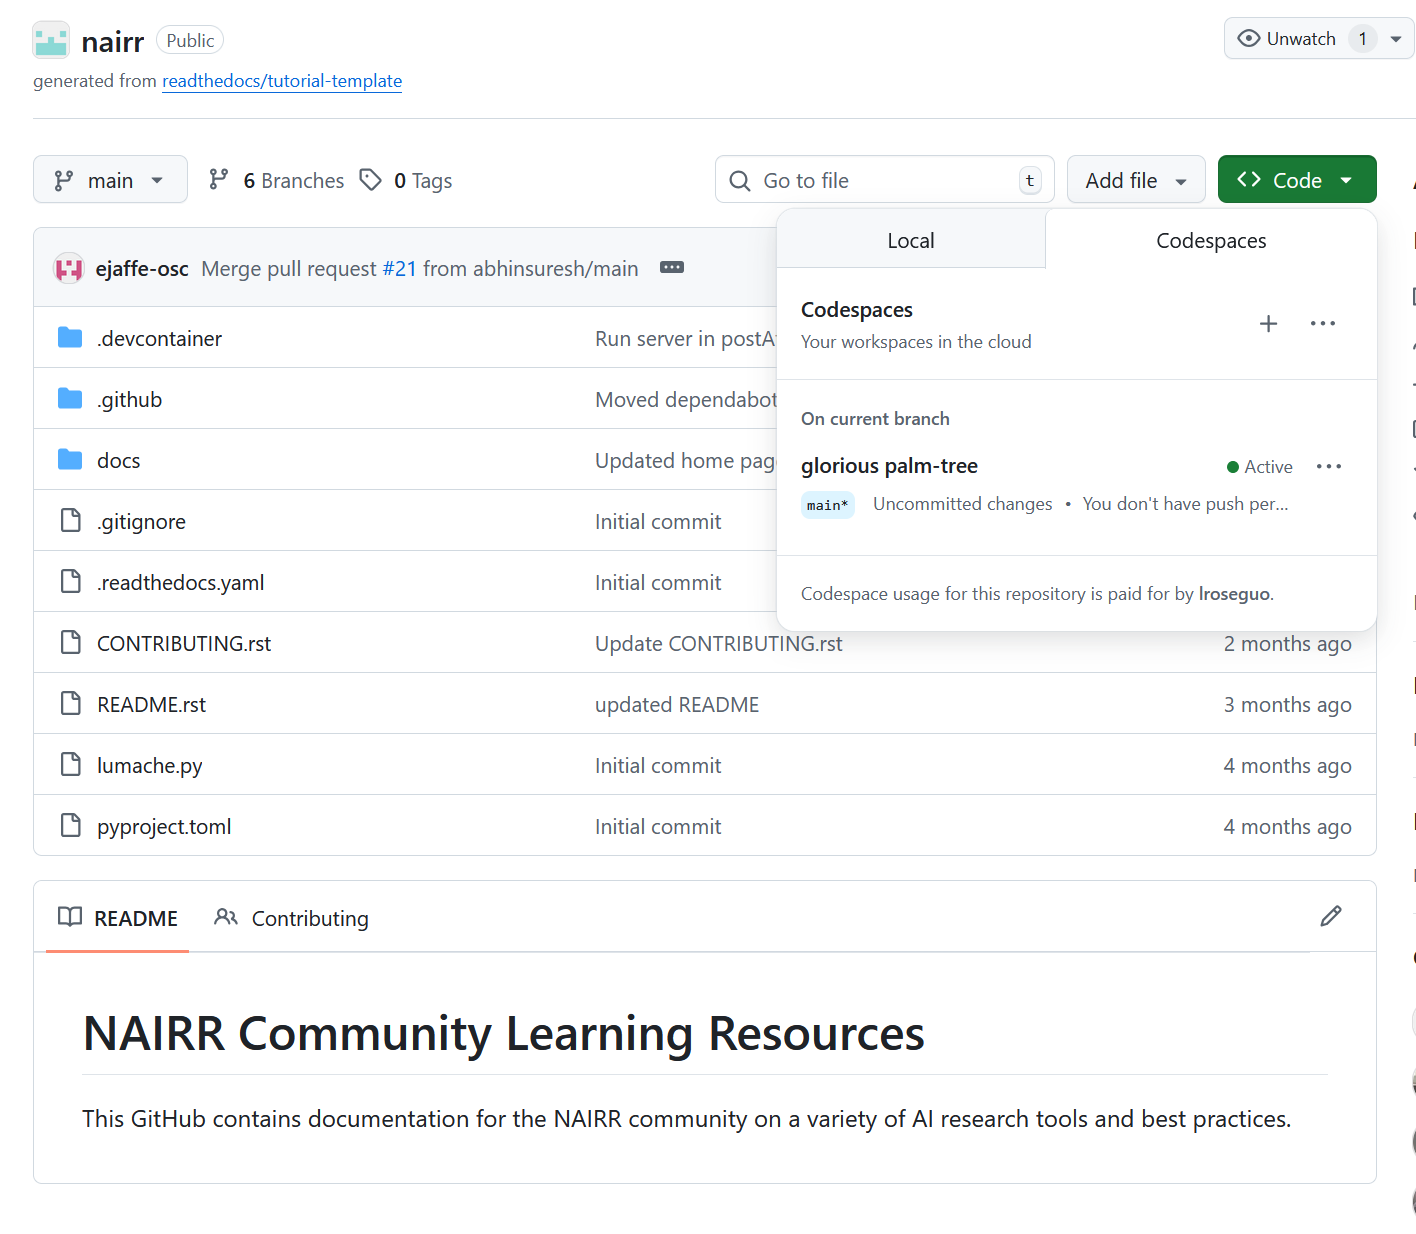
Click on ‘Create new codespace on main’ if none exist.
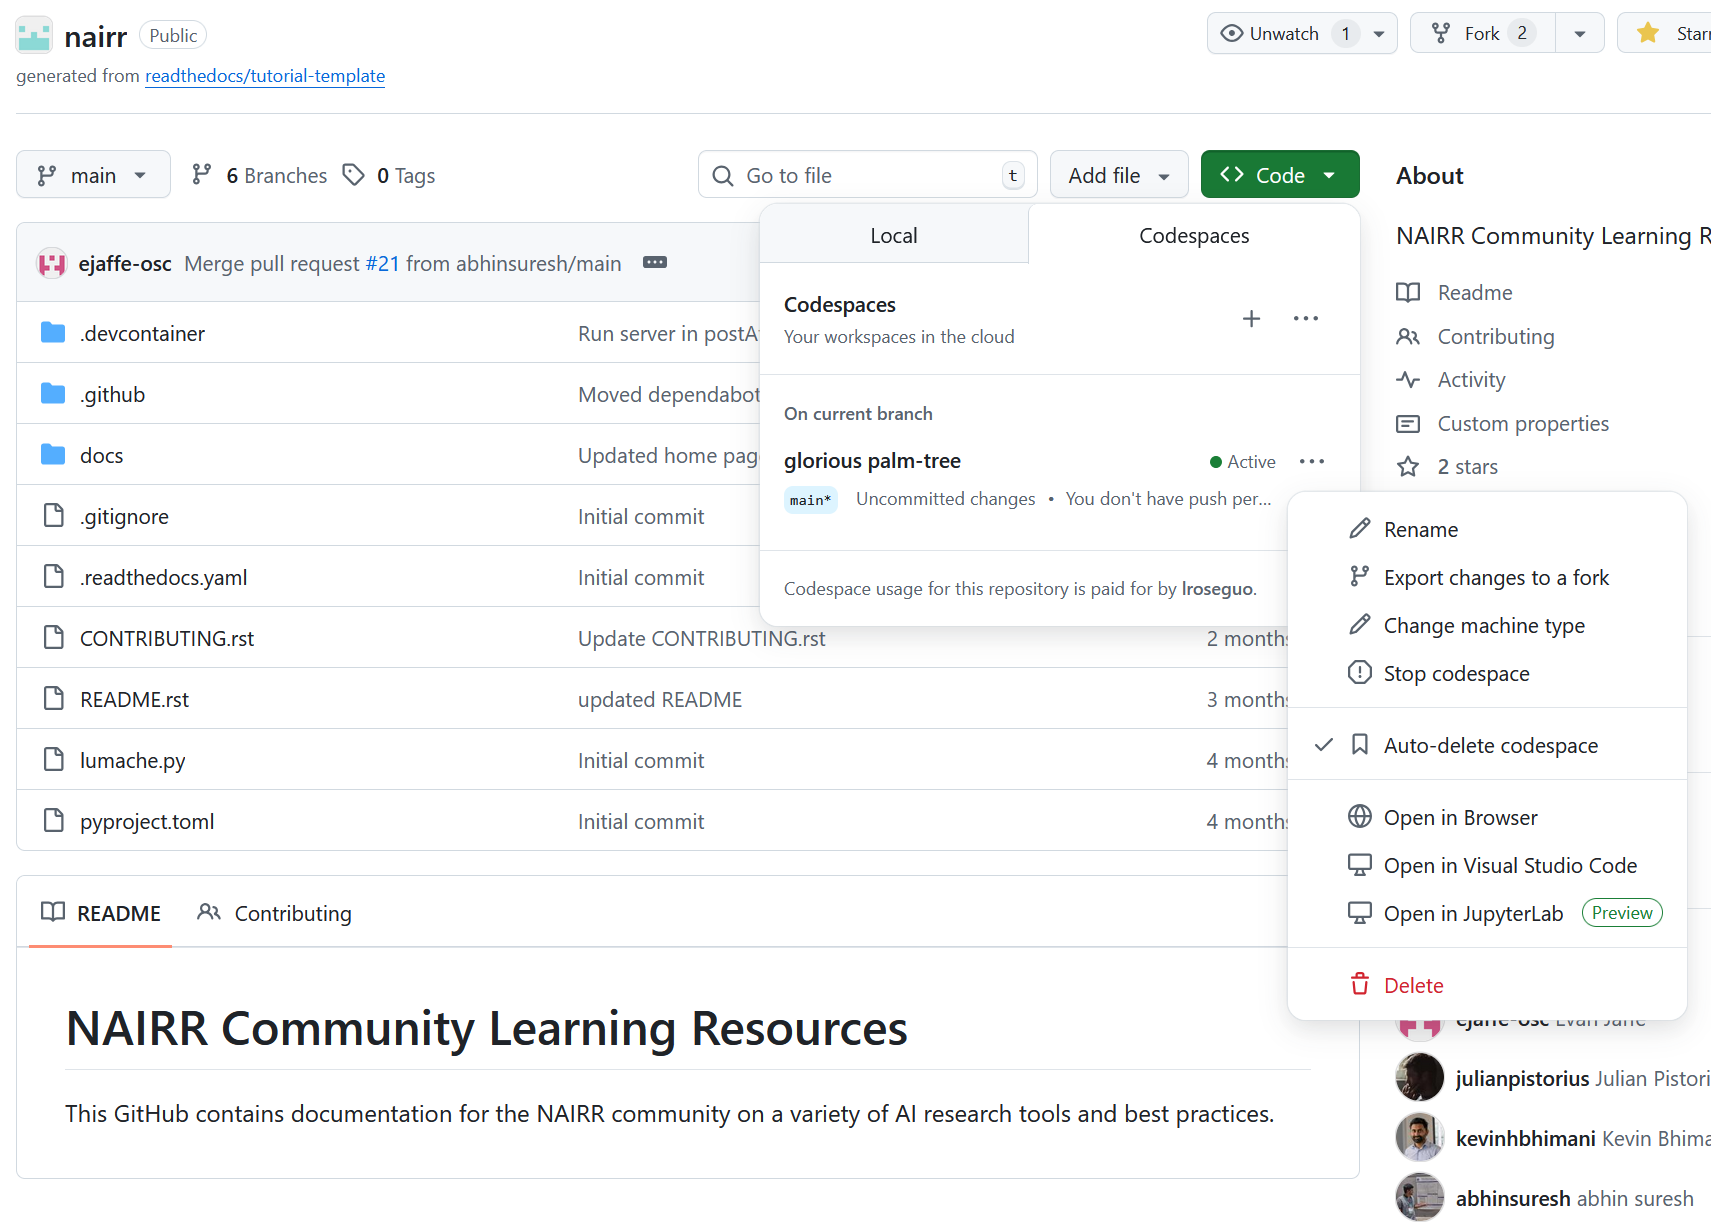
If there are any codespaces already available, they will be shown here in place of the button to create a new codespace. In this case, create a new codespace by clicking the plus sign, or use an existing codespace by clicking the three dots across from the name and selecting ‘Open in Browser’.
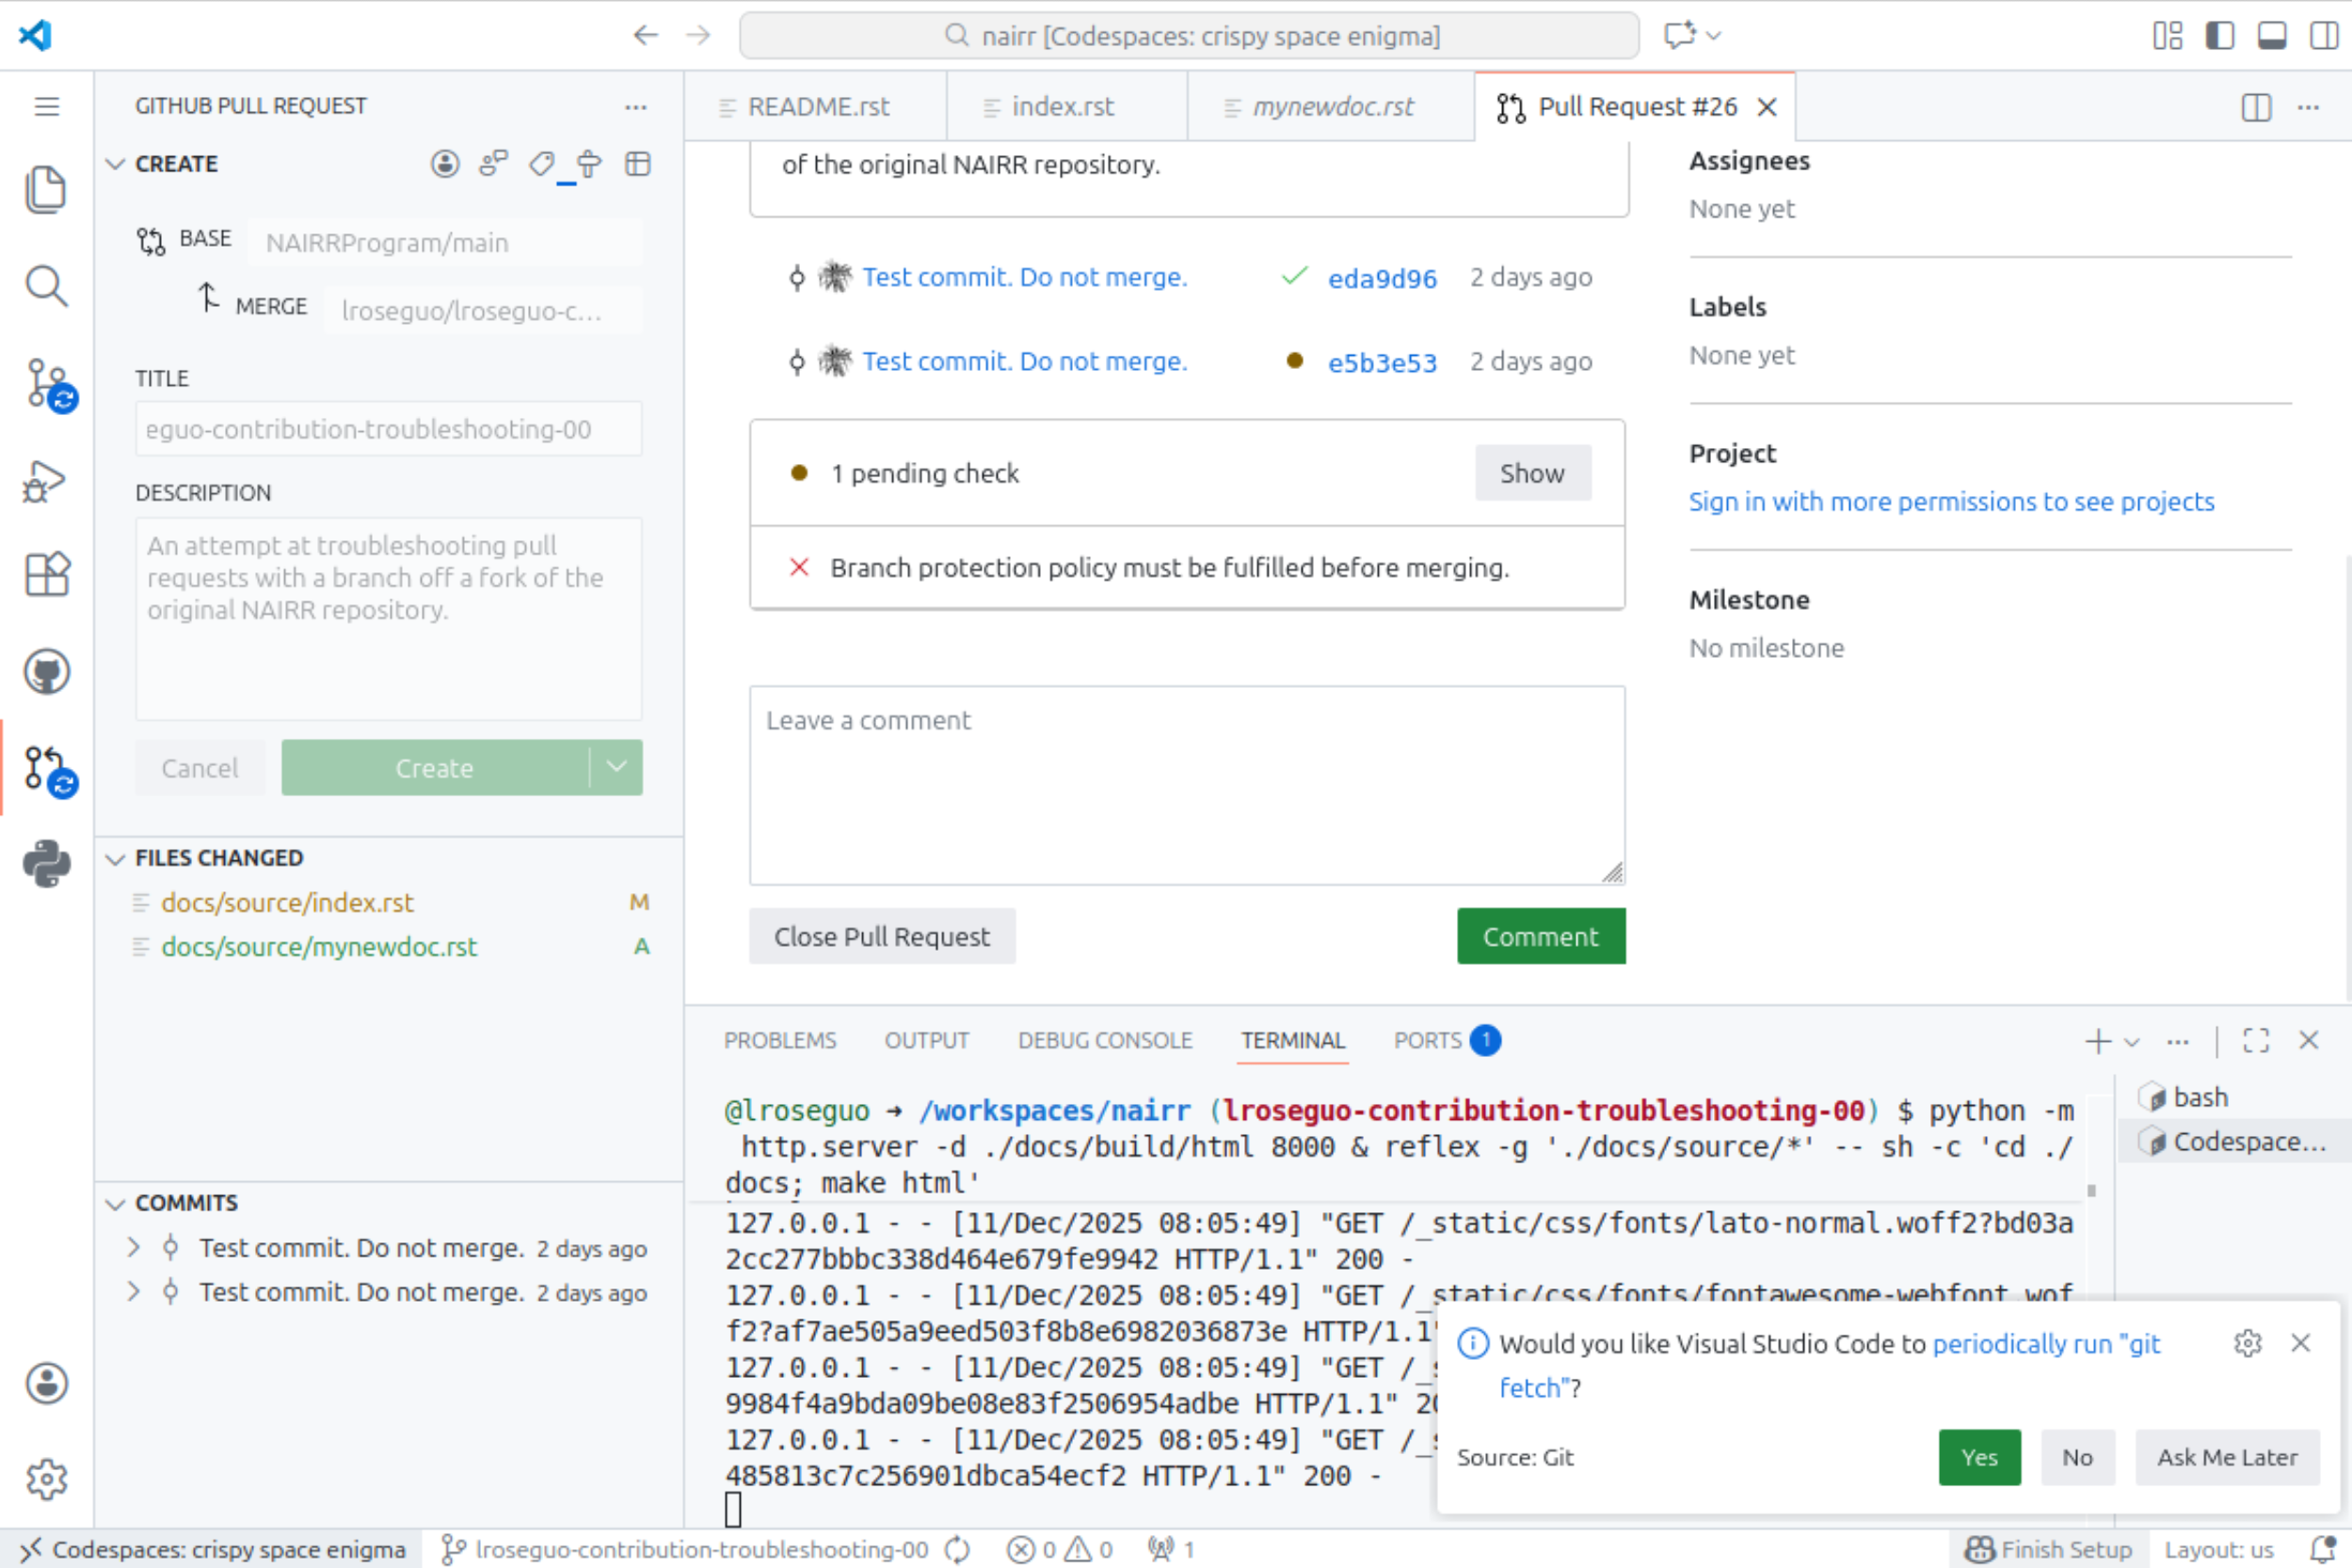
If prompted to periodically git Fetch by a notification at the bottom-right of the codespace, click ‘Yes’.
Make changes
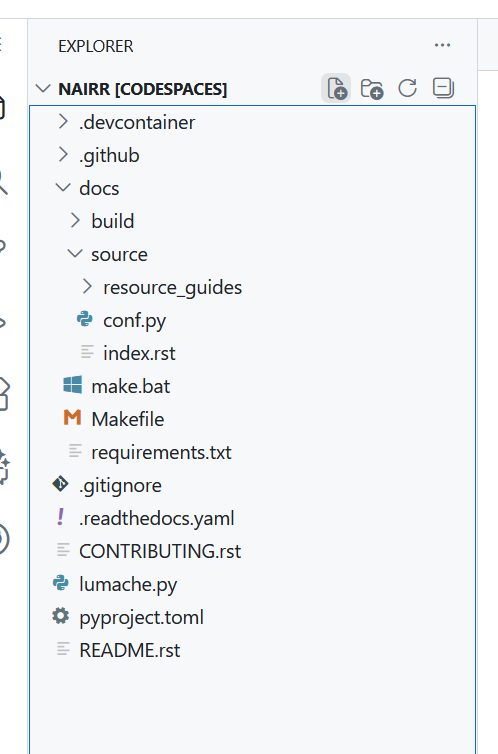
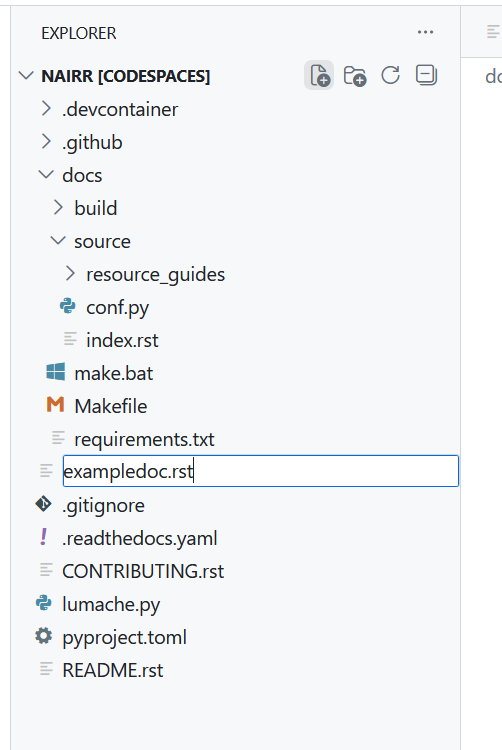
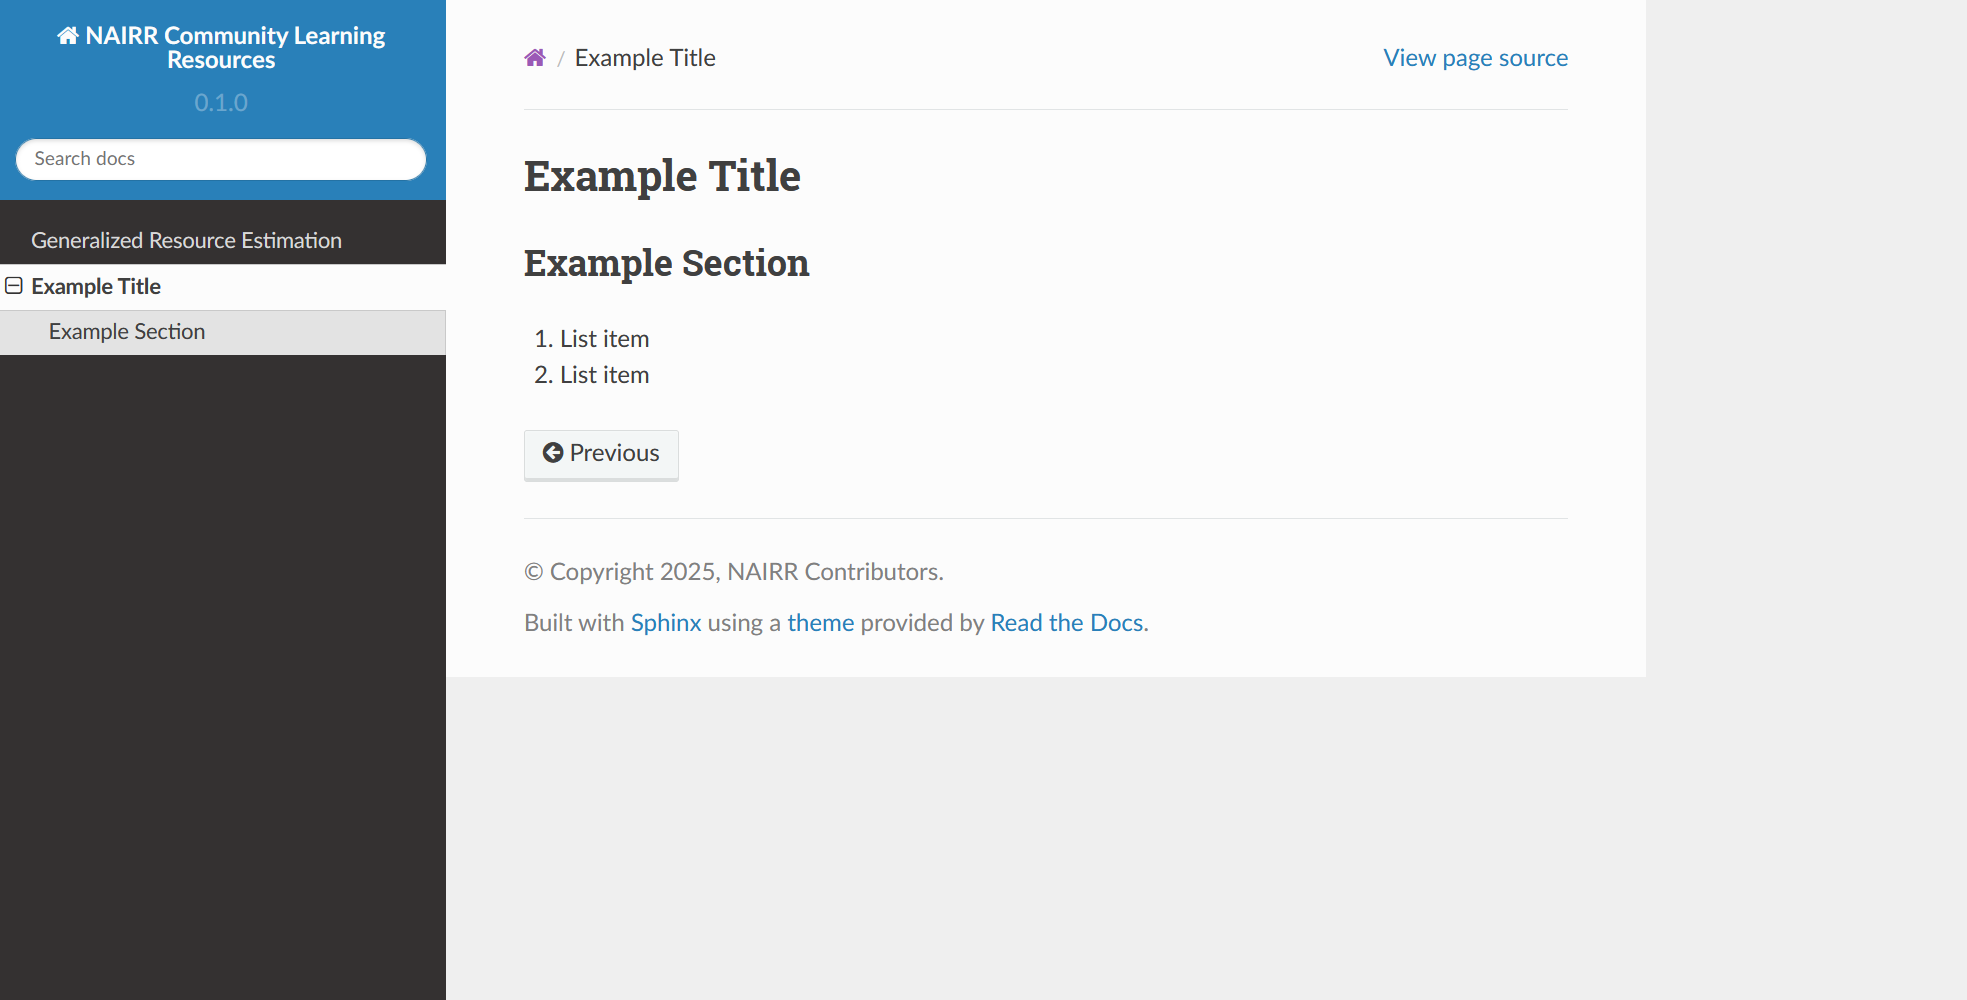
Docs are mostly in /docs/source/ - edit existing files by selecting them in the explorer, or create new files by clicking the ‘New File’ icon near the top of the file explorer.
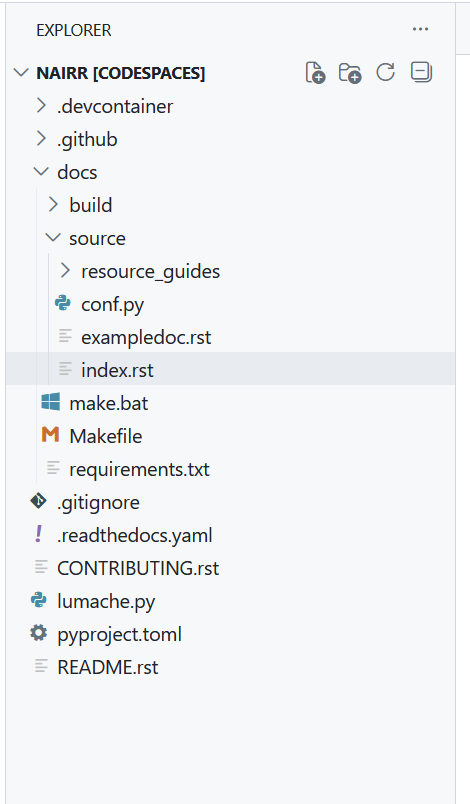
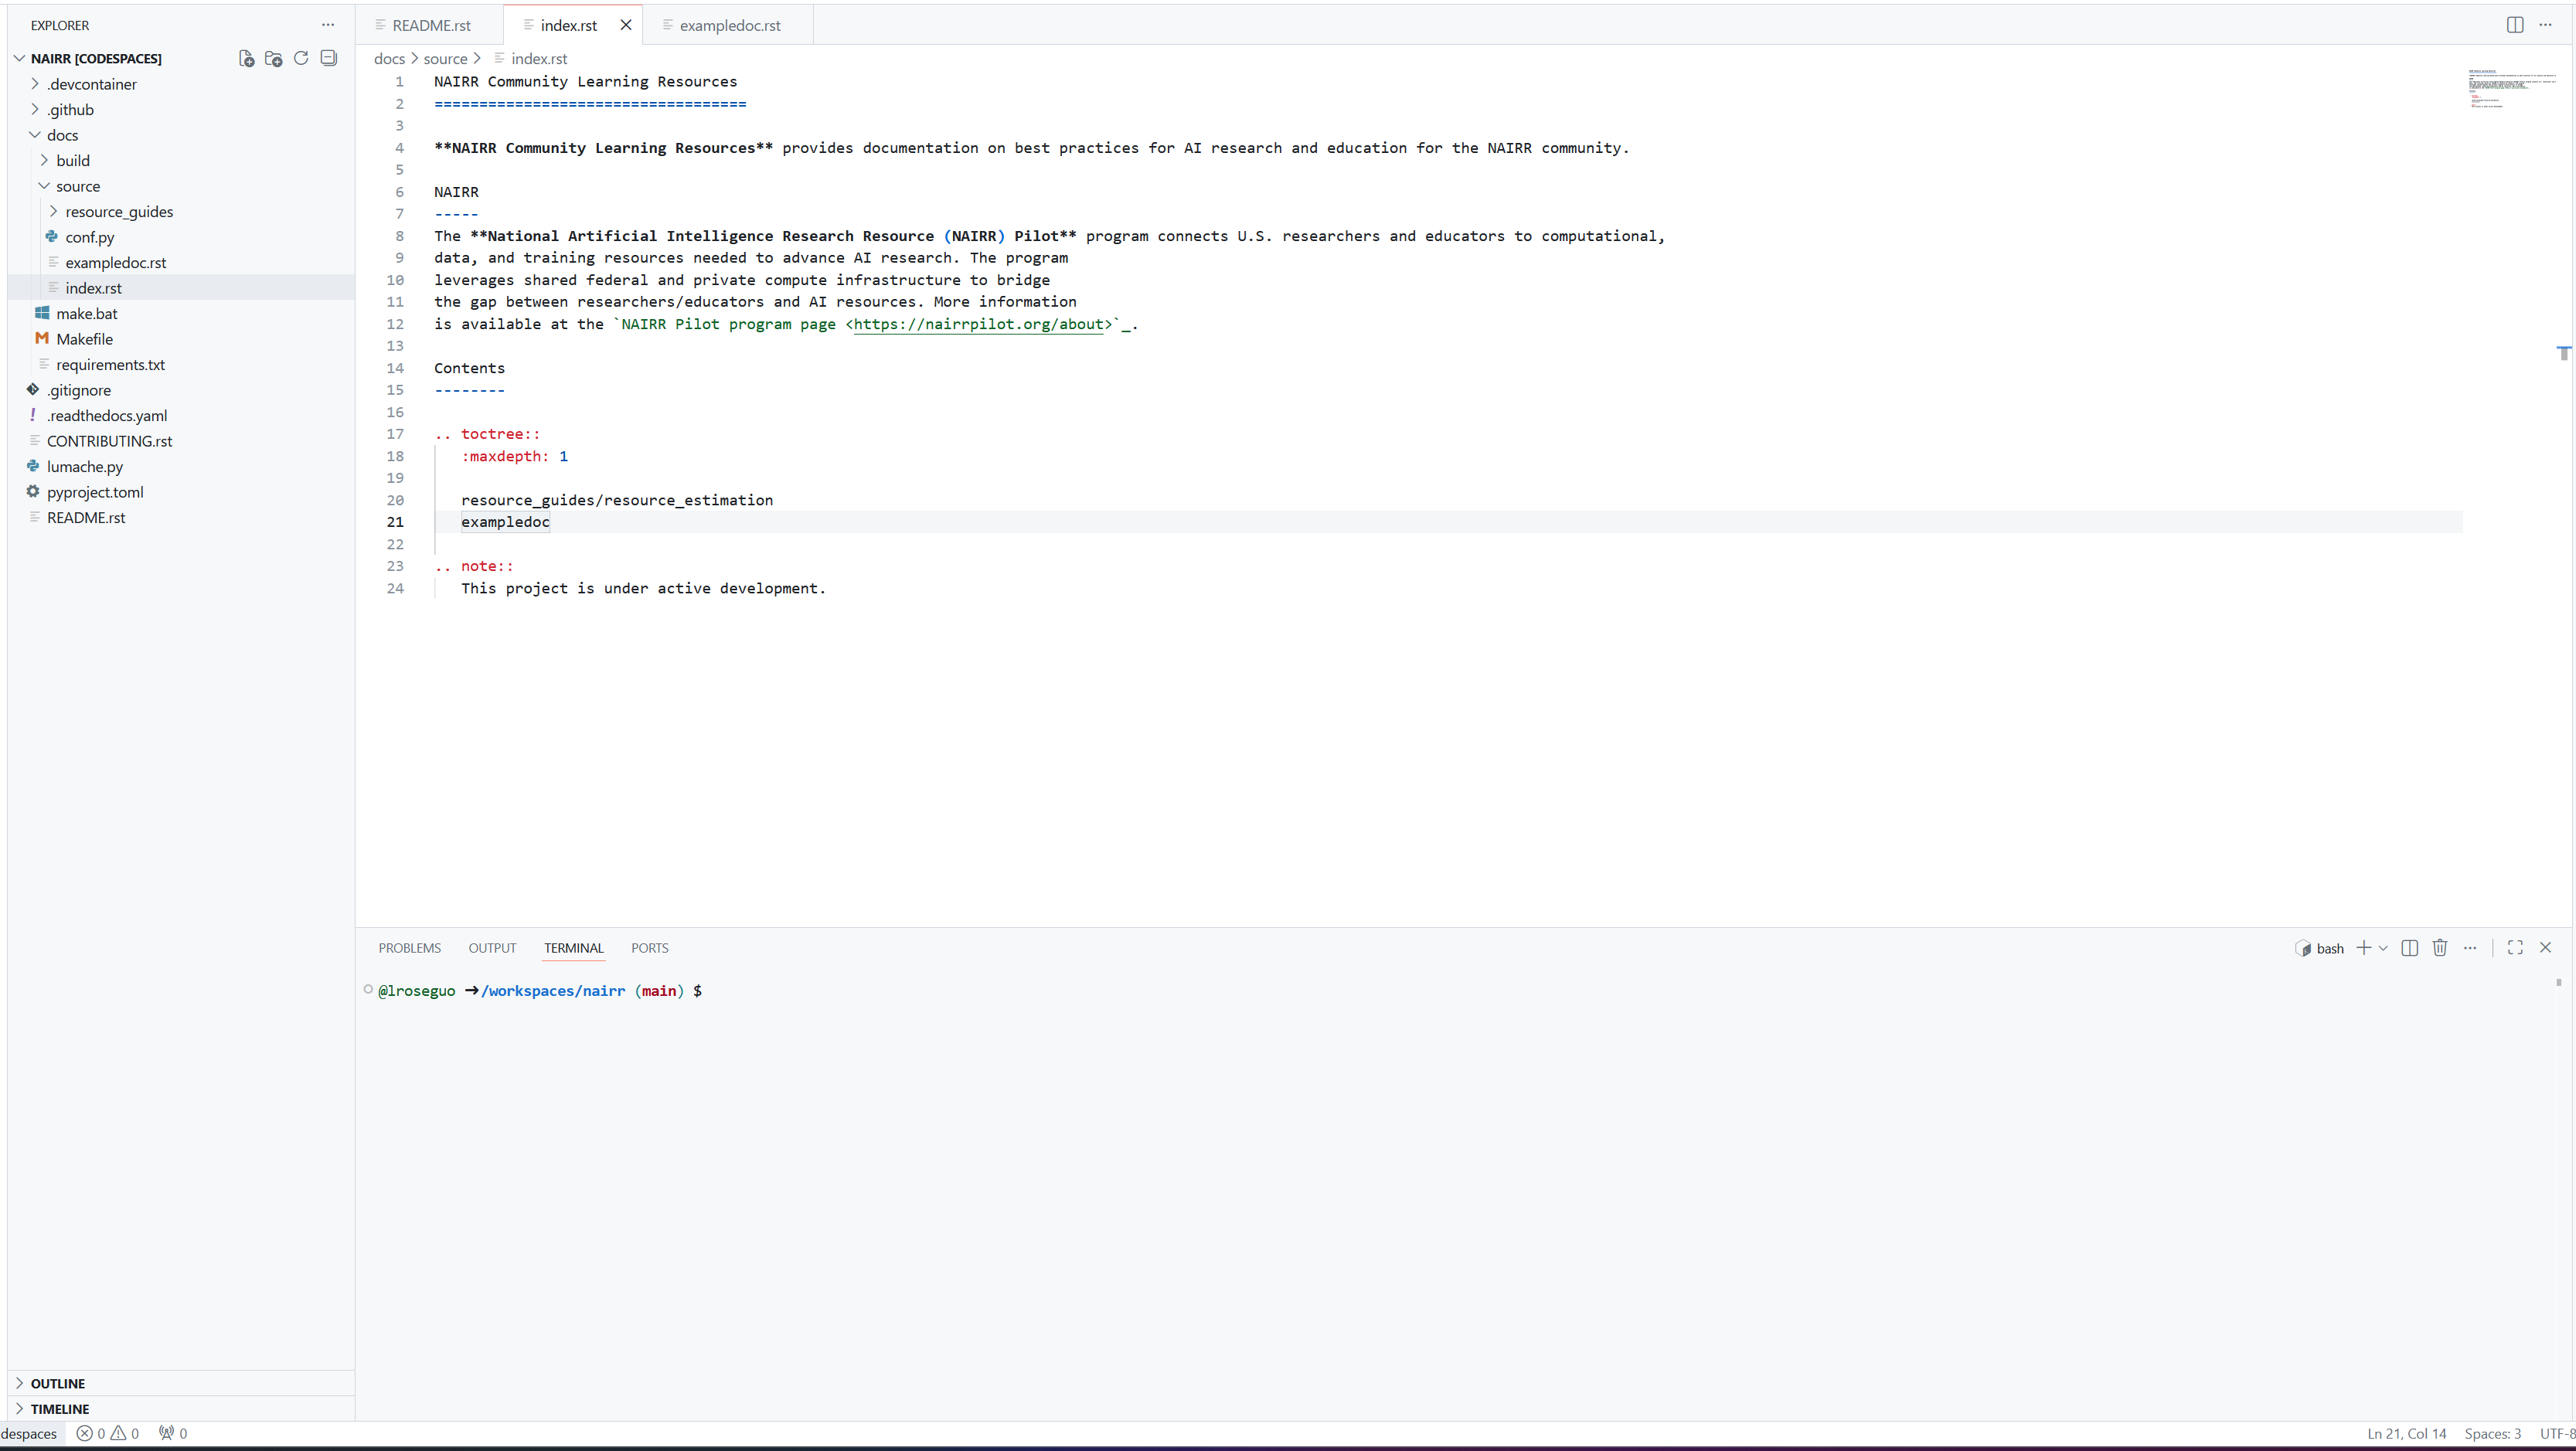
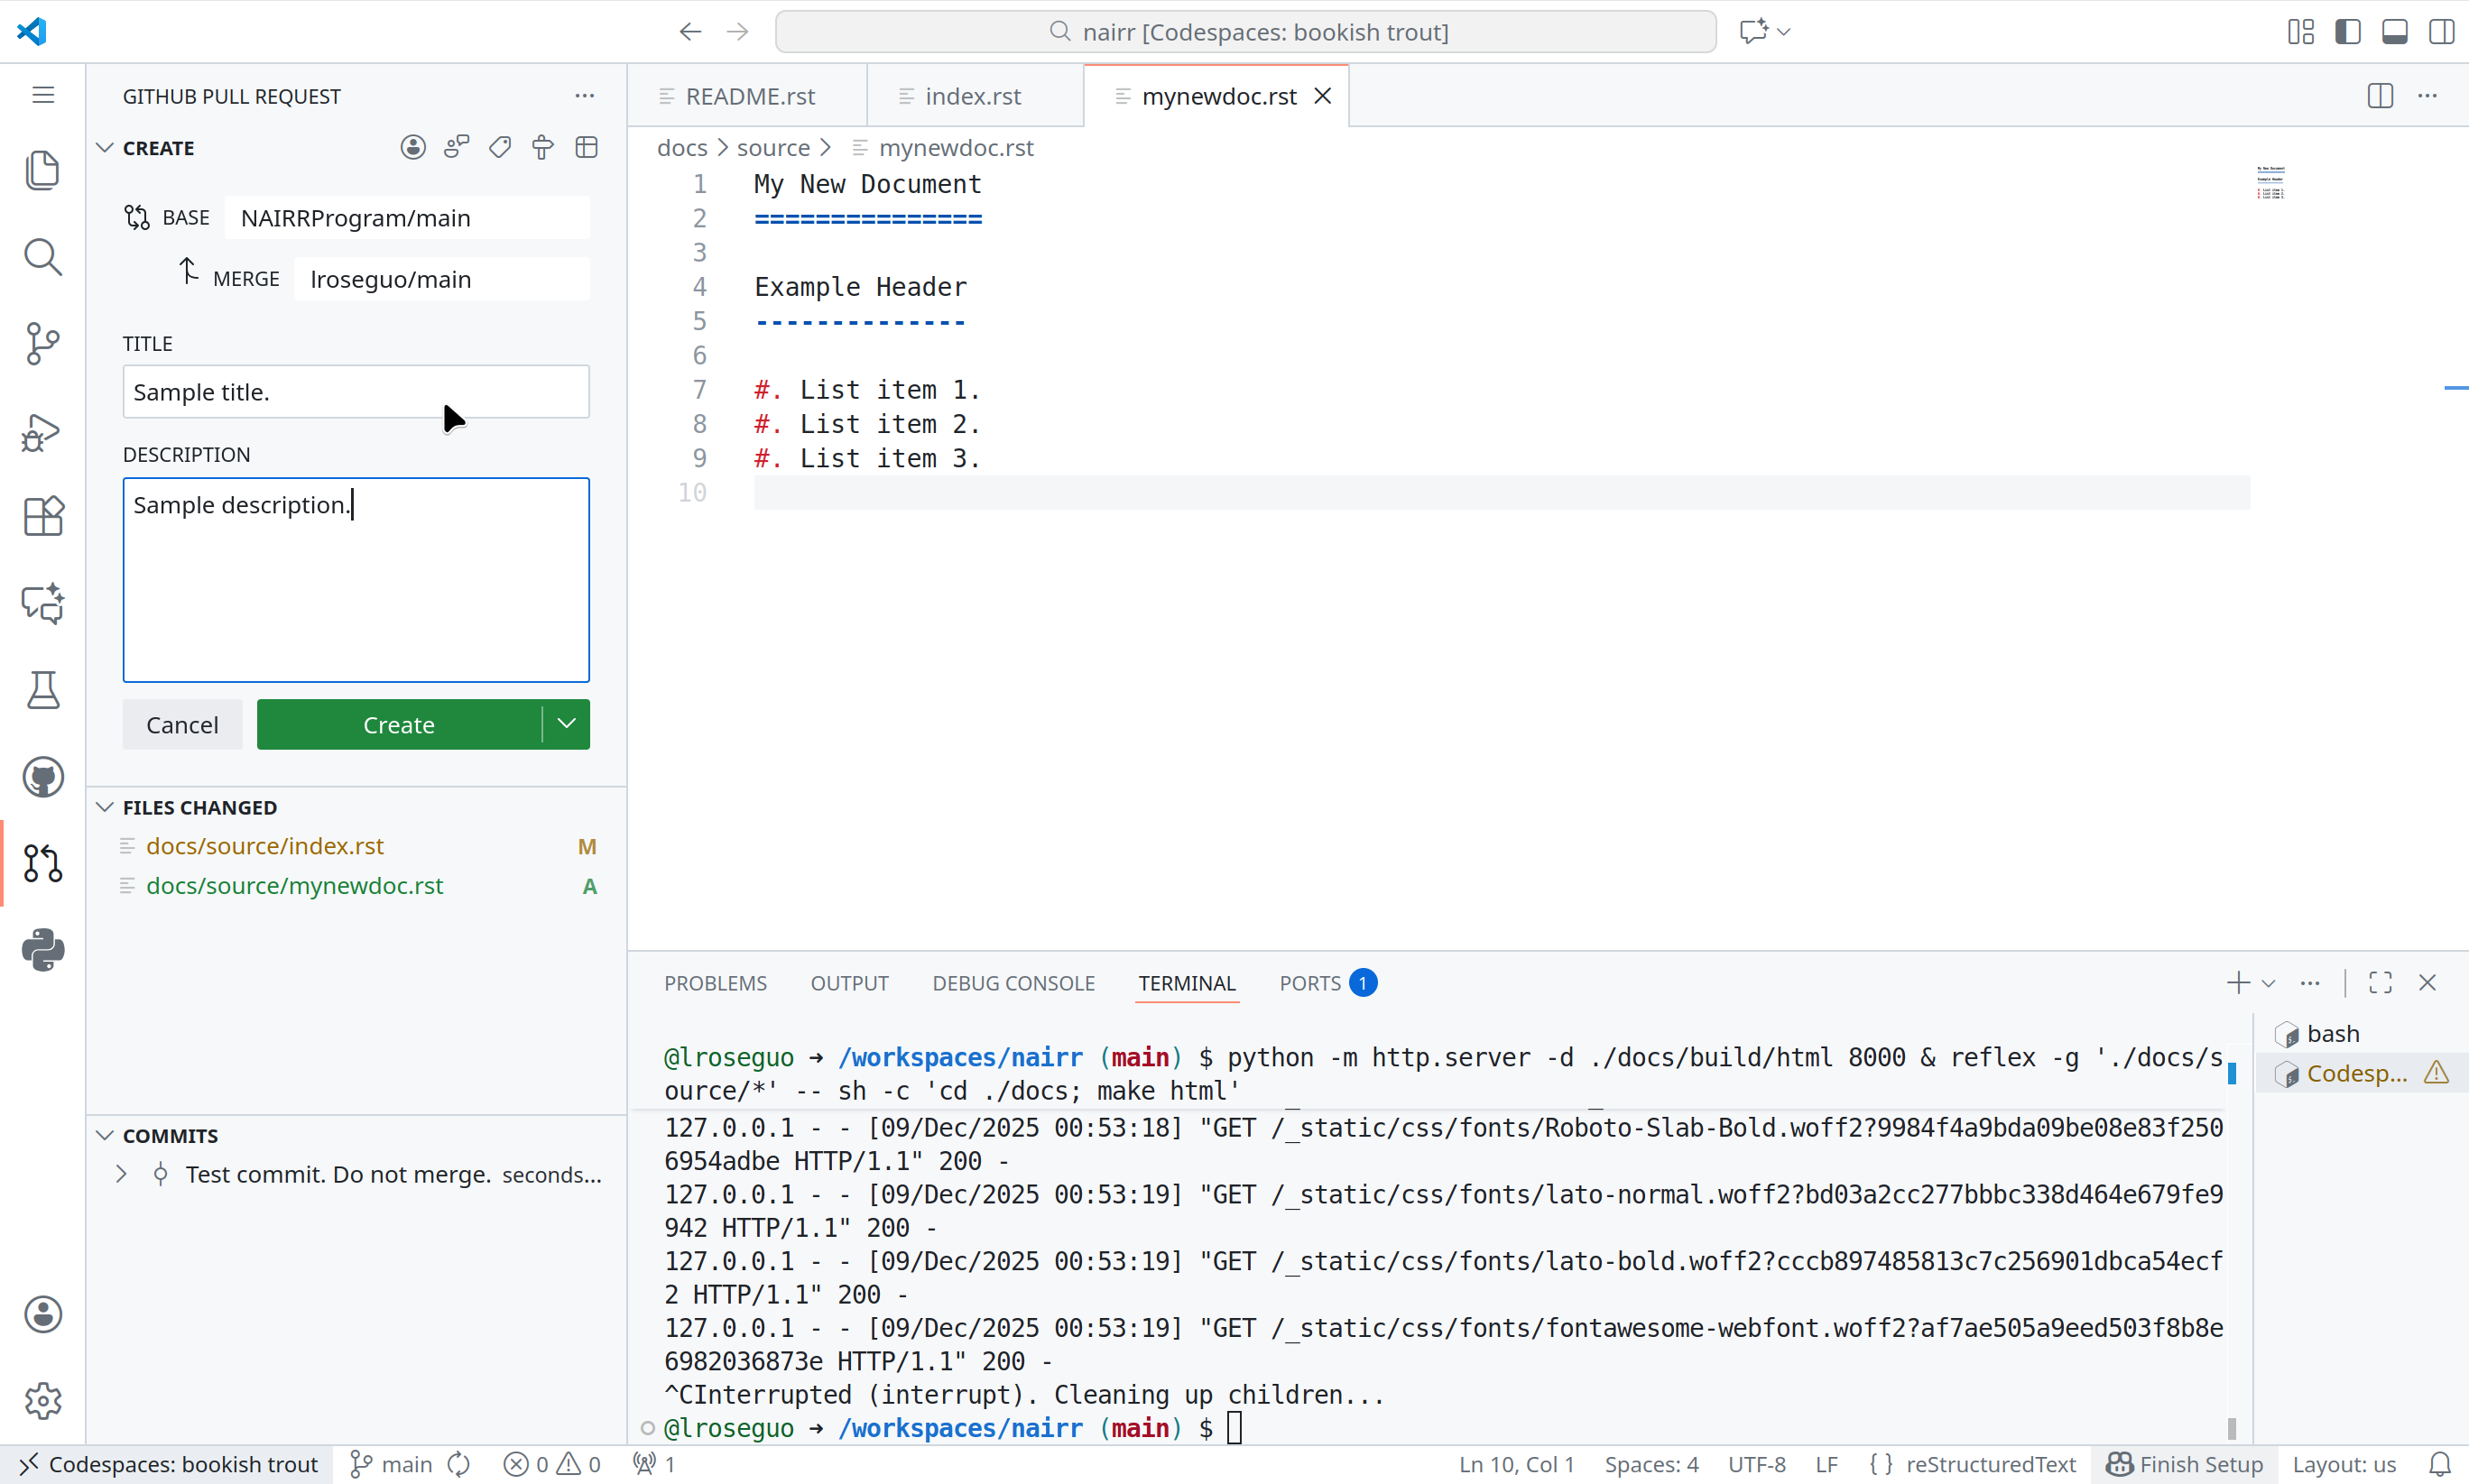
For example, create ‘mynewdoc.rst’ as a sibling to ‘index.rst’
In table of contents in ‘index.rst’, add new link to ‘mynewdoc’.
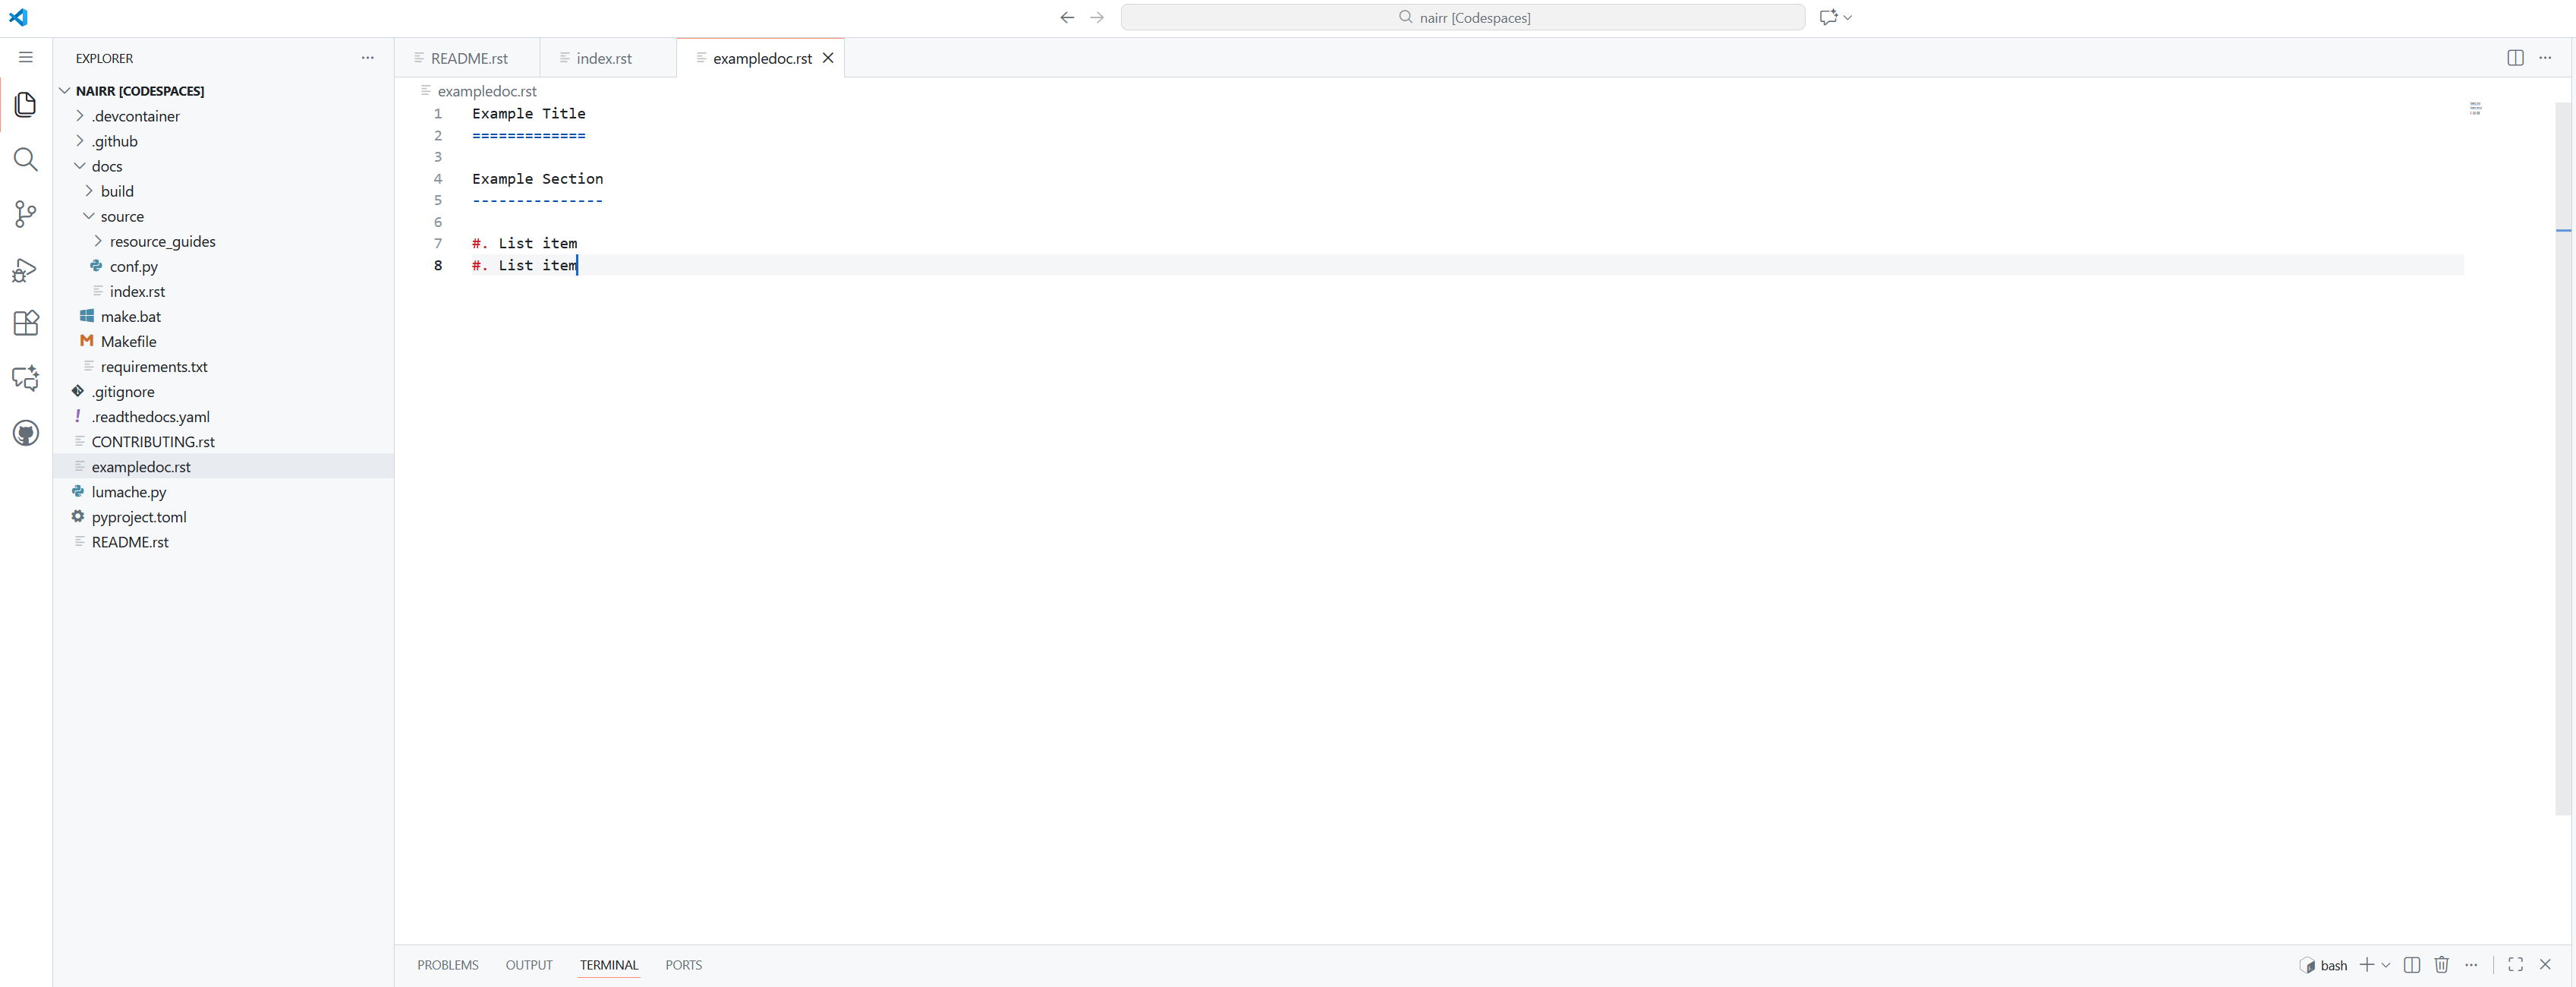
Add your content in ‘mynewdoc.rst’

Preview local build (builds automatically on changes)
Click on the Codespaces terminal in the bottom pane
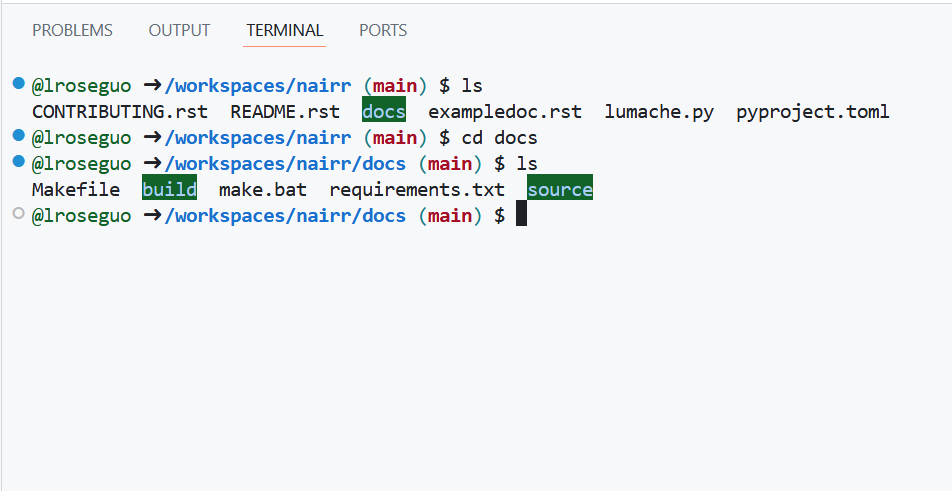
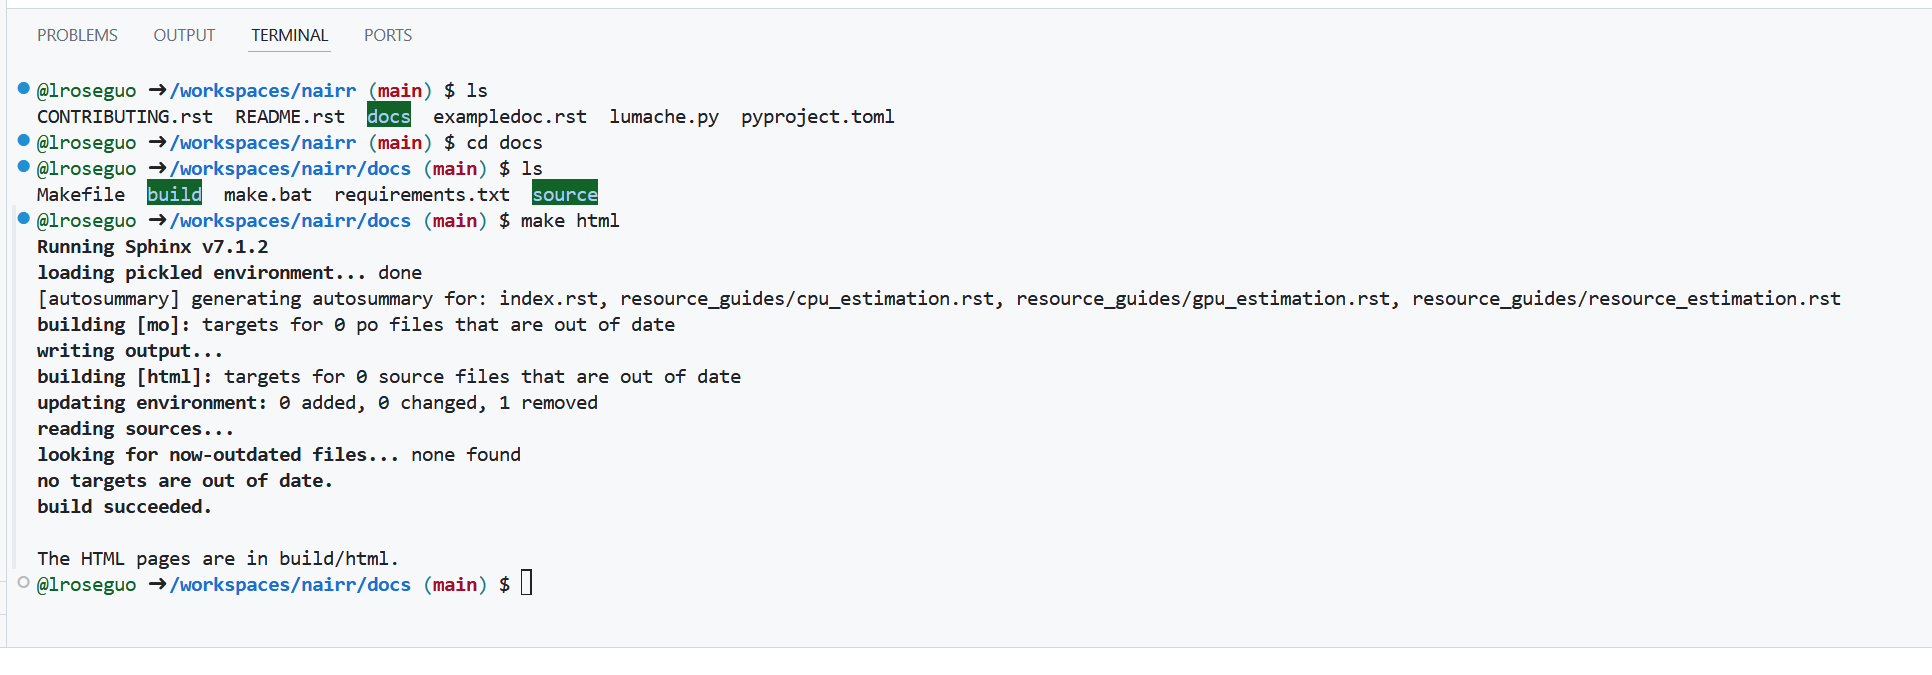
By default, the codespace will probably load the terminal in the /workspaces/nairr directory. Run “cd docs” to move down into the docs directory where the Makefile is.
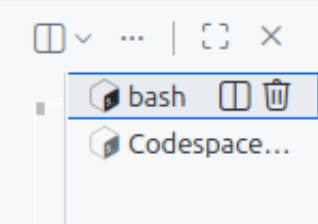
If the codespace is already running an http server in the terminal, then to use the terminal either select an unused bash instance to the right of the terminal, create a new instance using the plus sign, or stop the server with Ctrl+C.
From the docs directory, run “make html” to build the project.
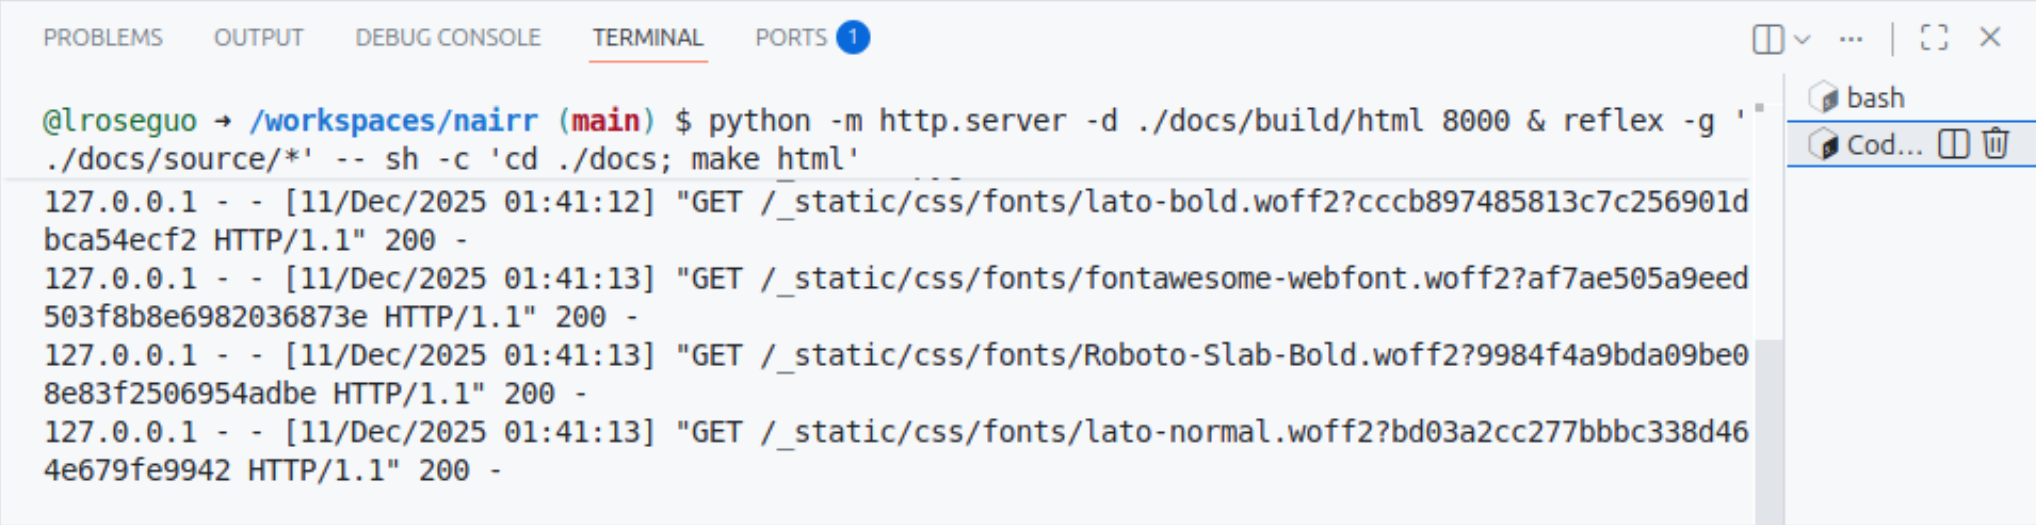
Serve the project by running “python -m http.server”.
The codespace may launch the server automatically when opened, as indicated by the opening of a web browser in the codespace and the presence of a process already running in the terminal. When this is the case, “python -mhttp.server” will fail as the address is already in use. The server will launch automatically after rebuilding the project and refreshing the browser tab viewing the documentation.
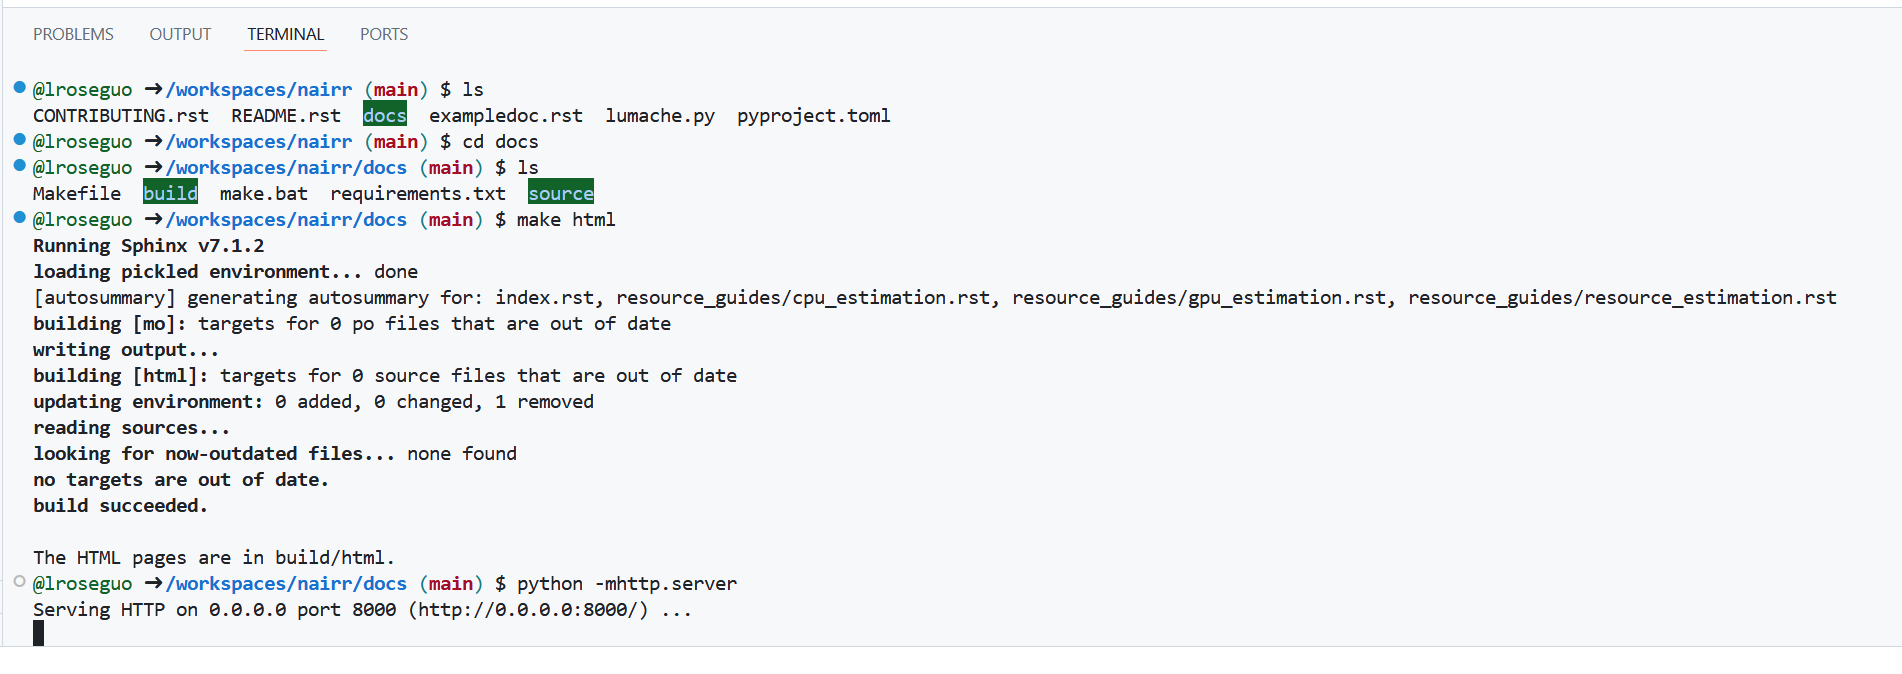
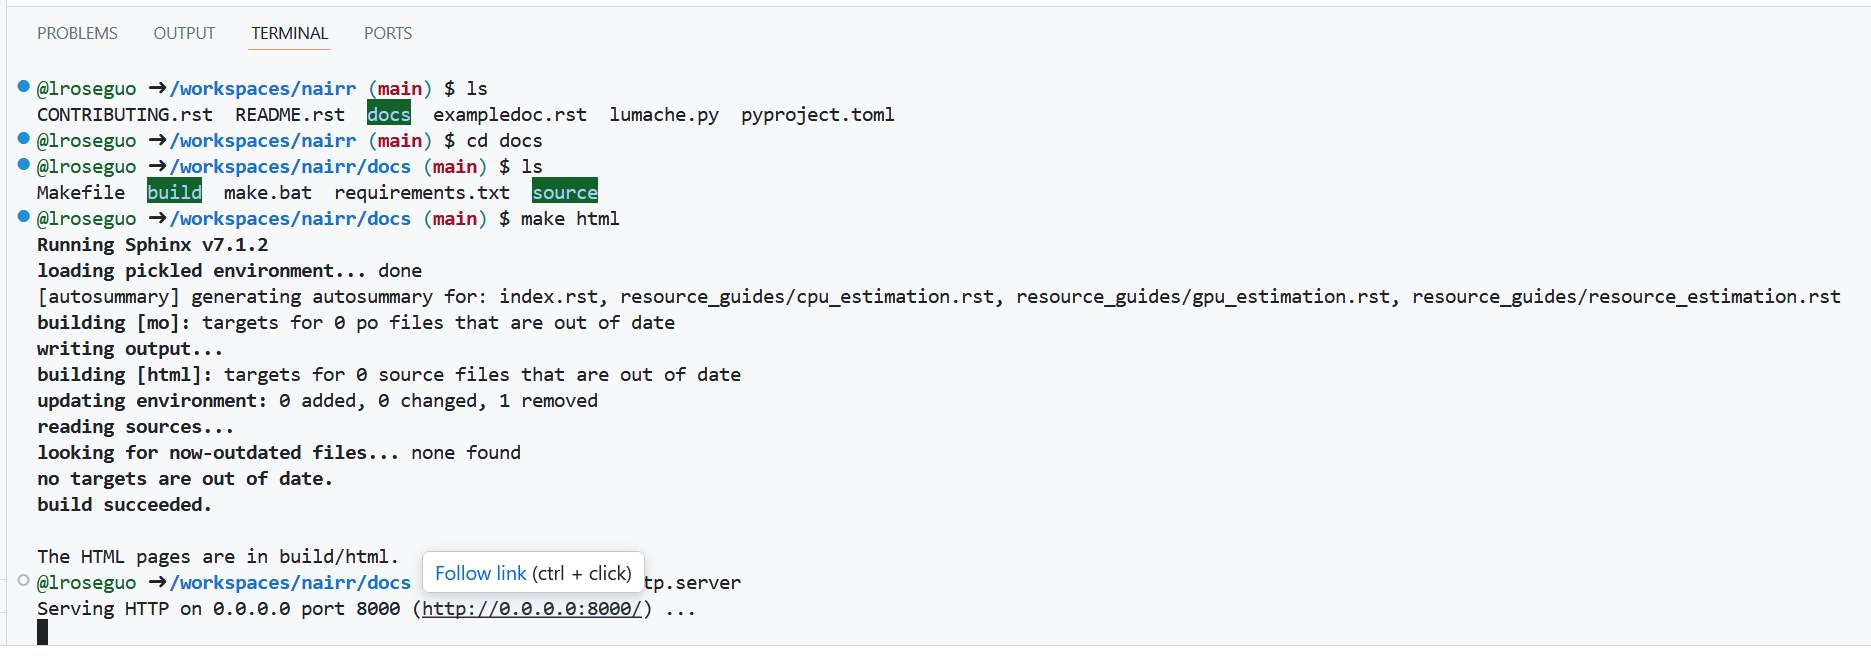
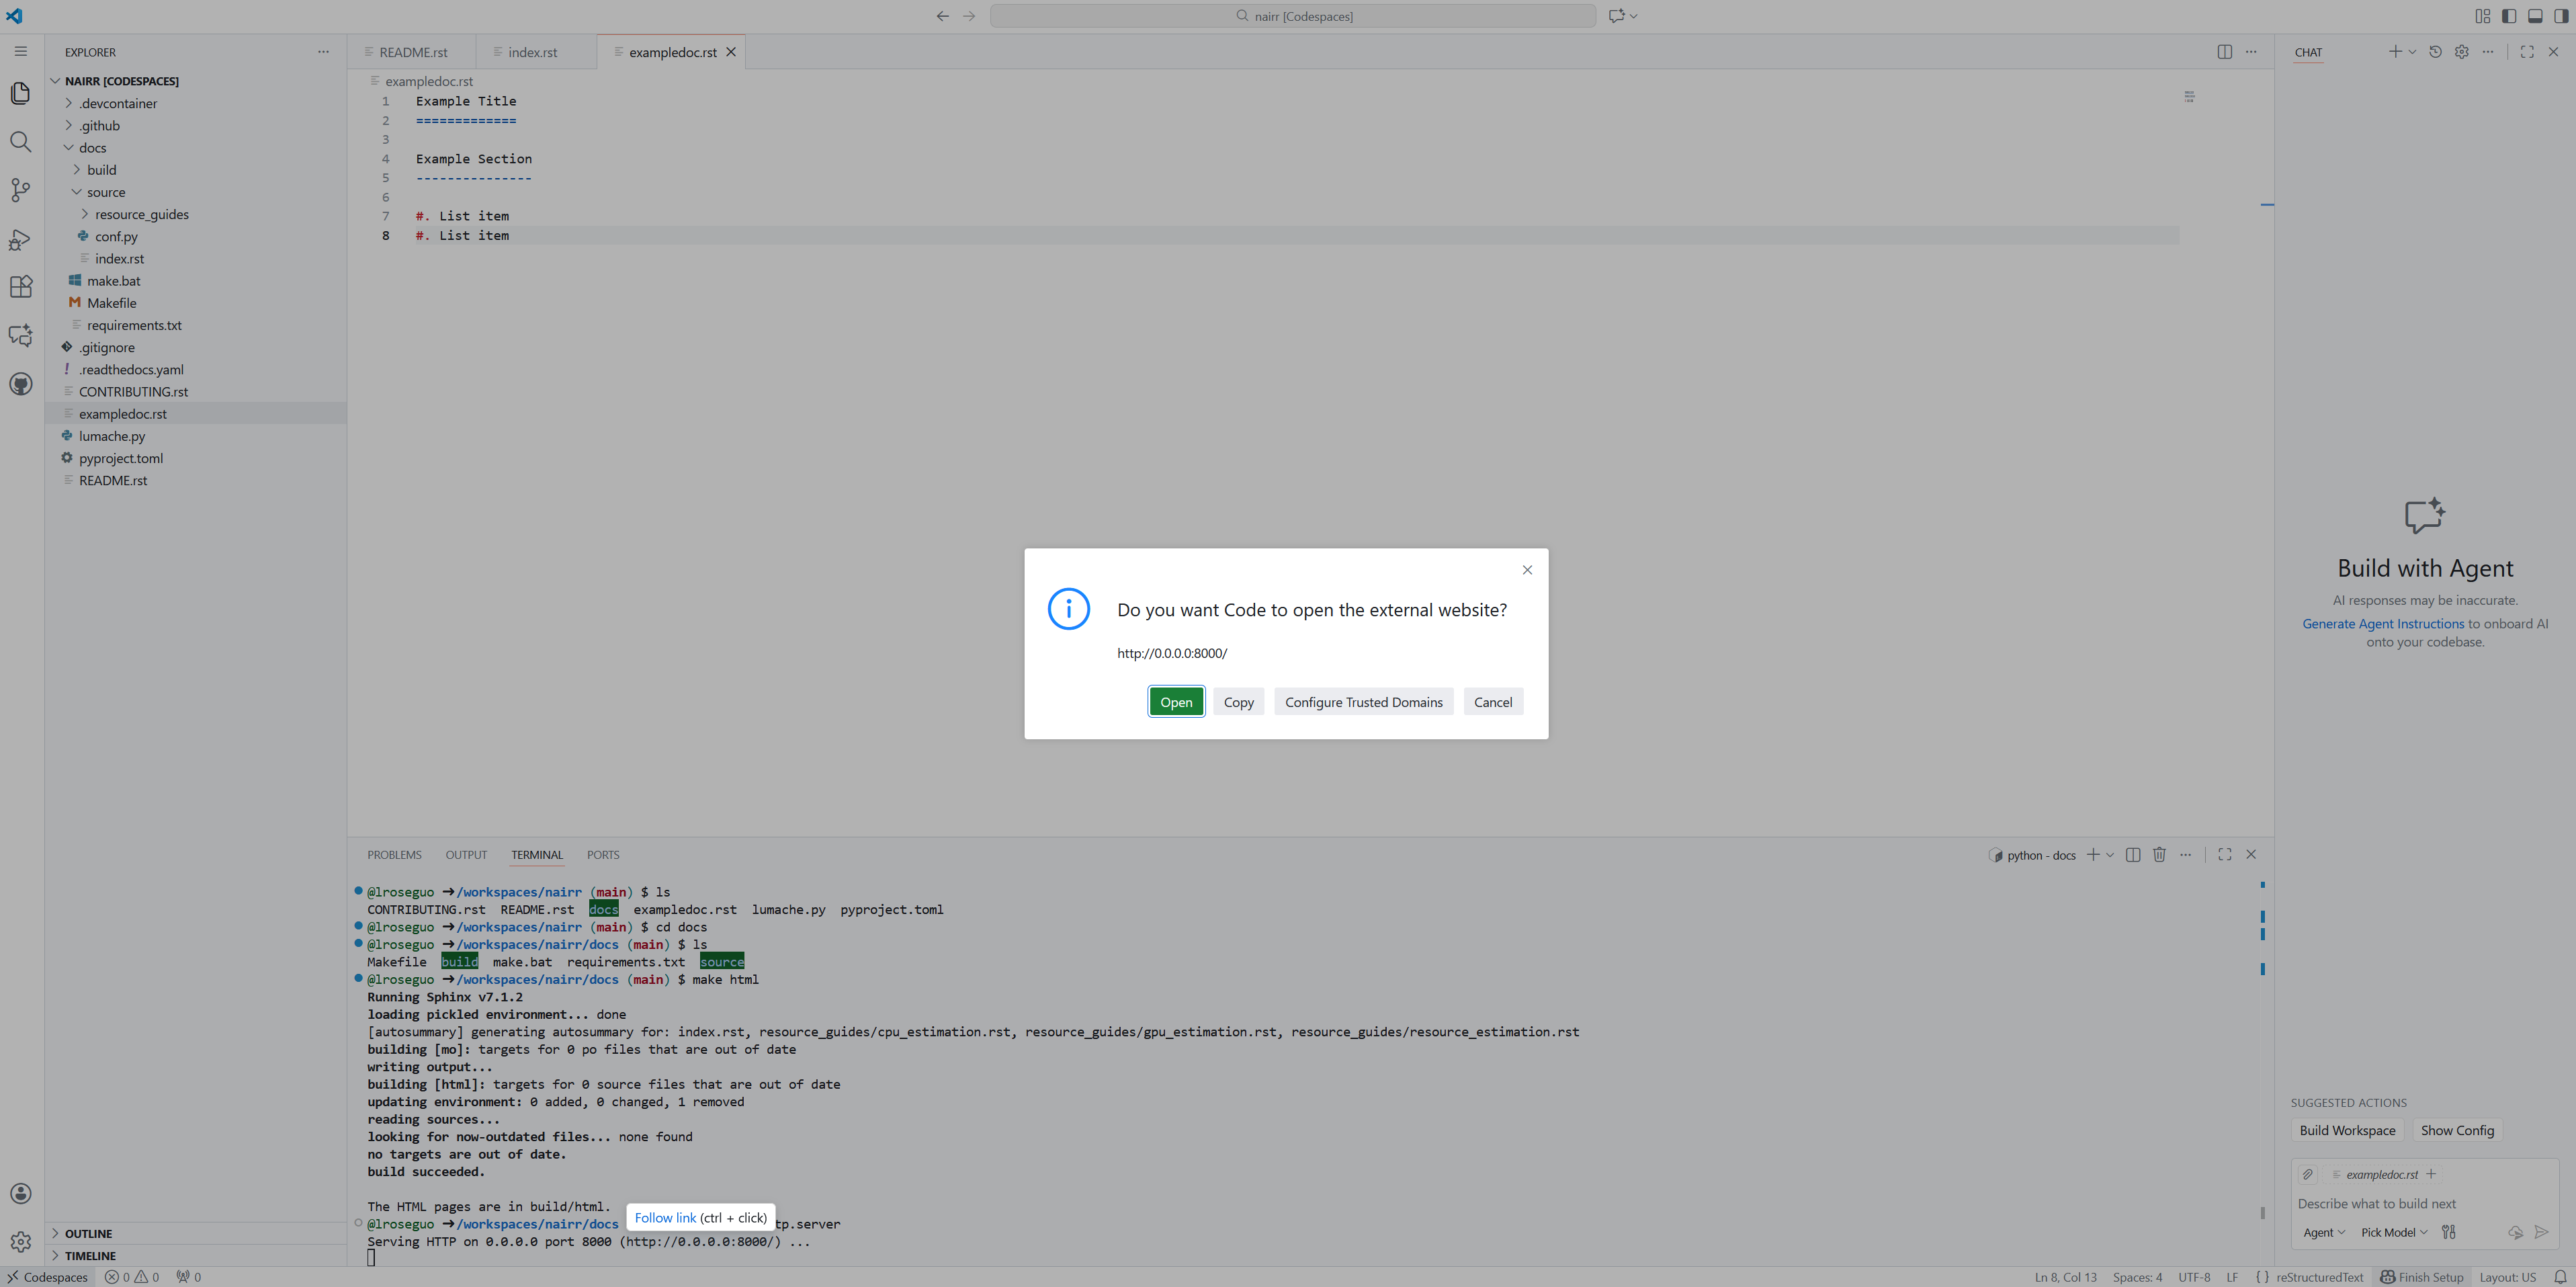
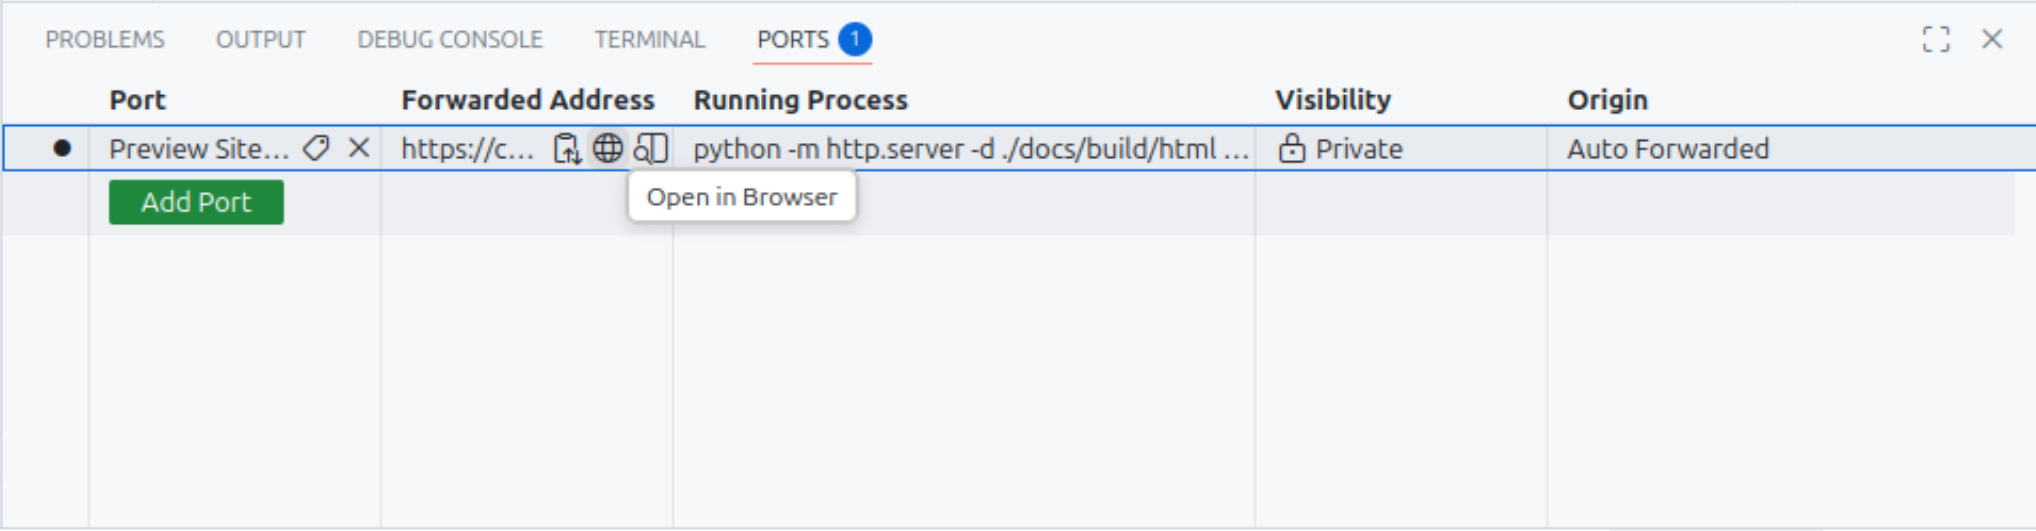
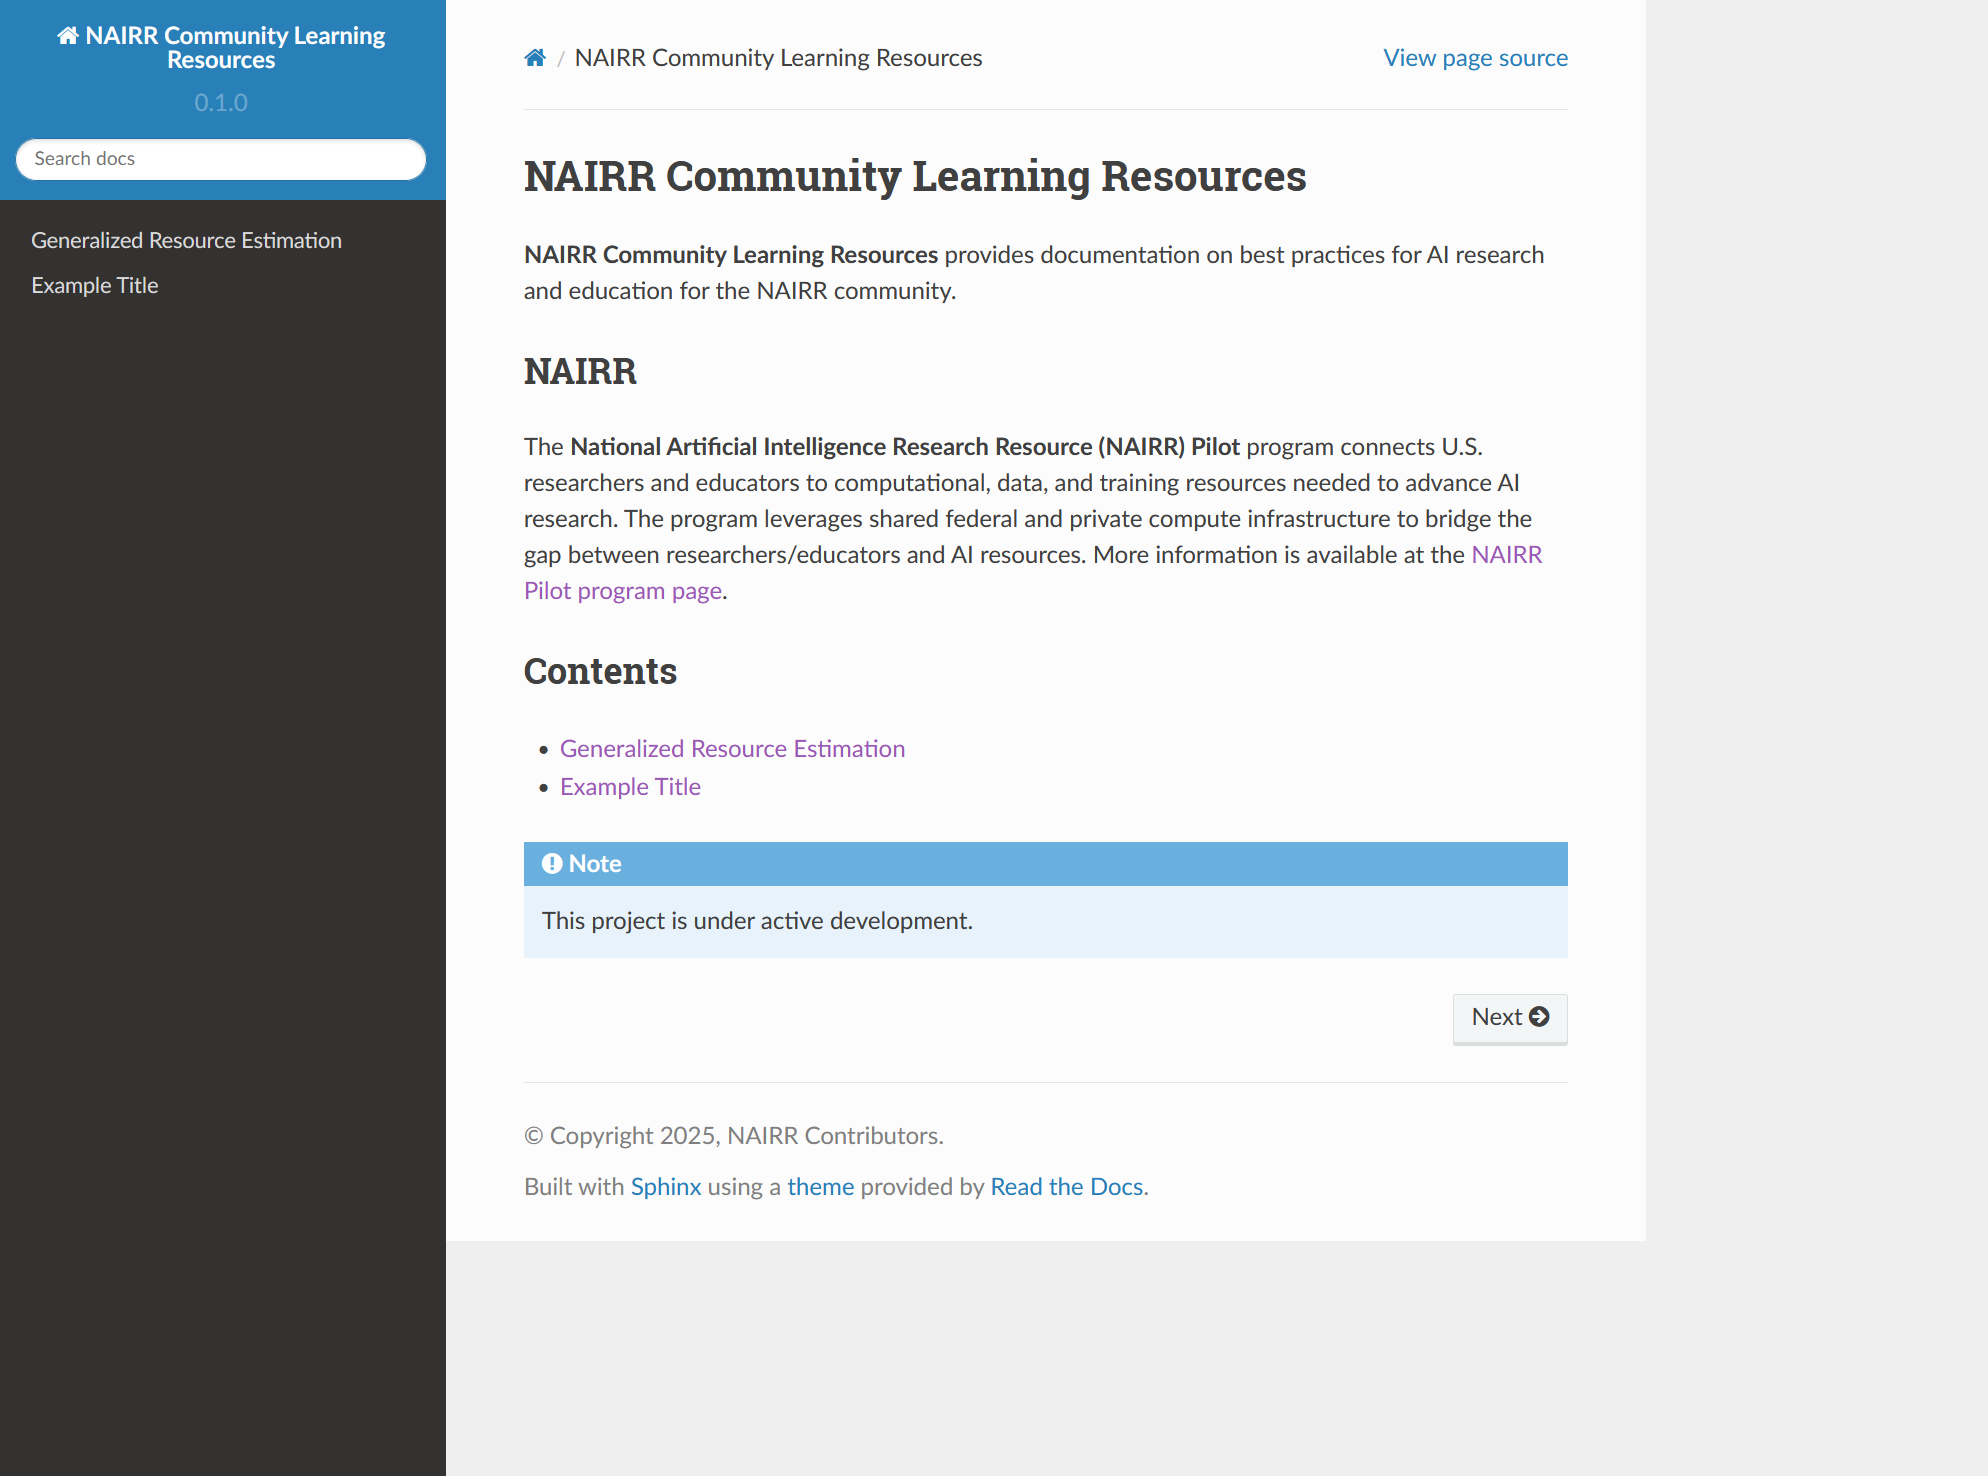
View the build by opening it in a browser tab. This can be done by:
Hovering over the URL in the terminal output (http://0.0.0.0:8000/), clicking “Follow link,” and selecting “Open” when prompted,
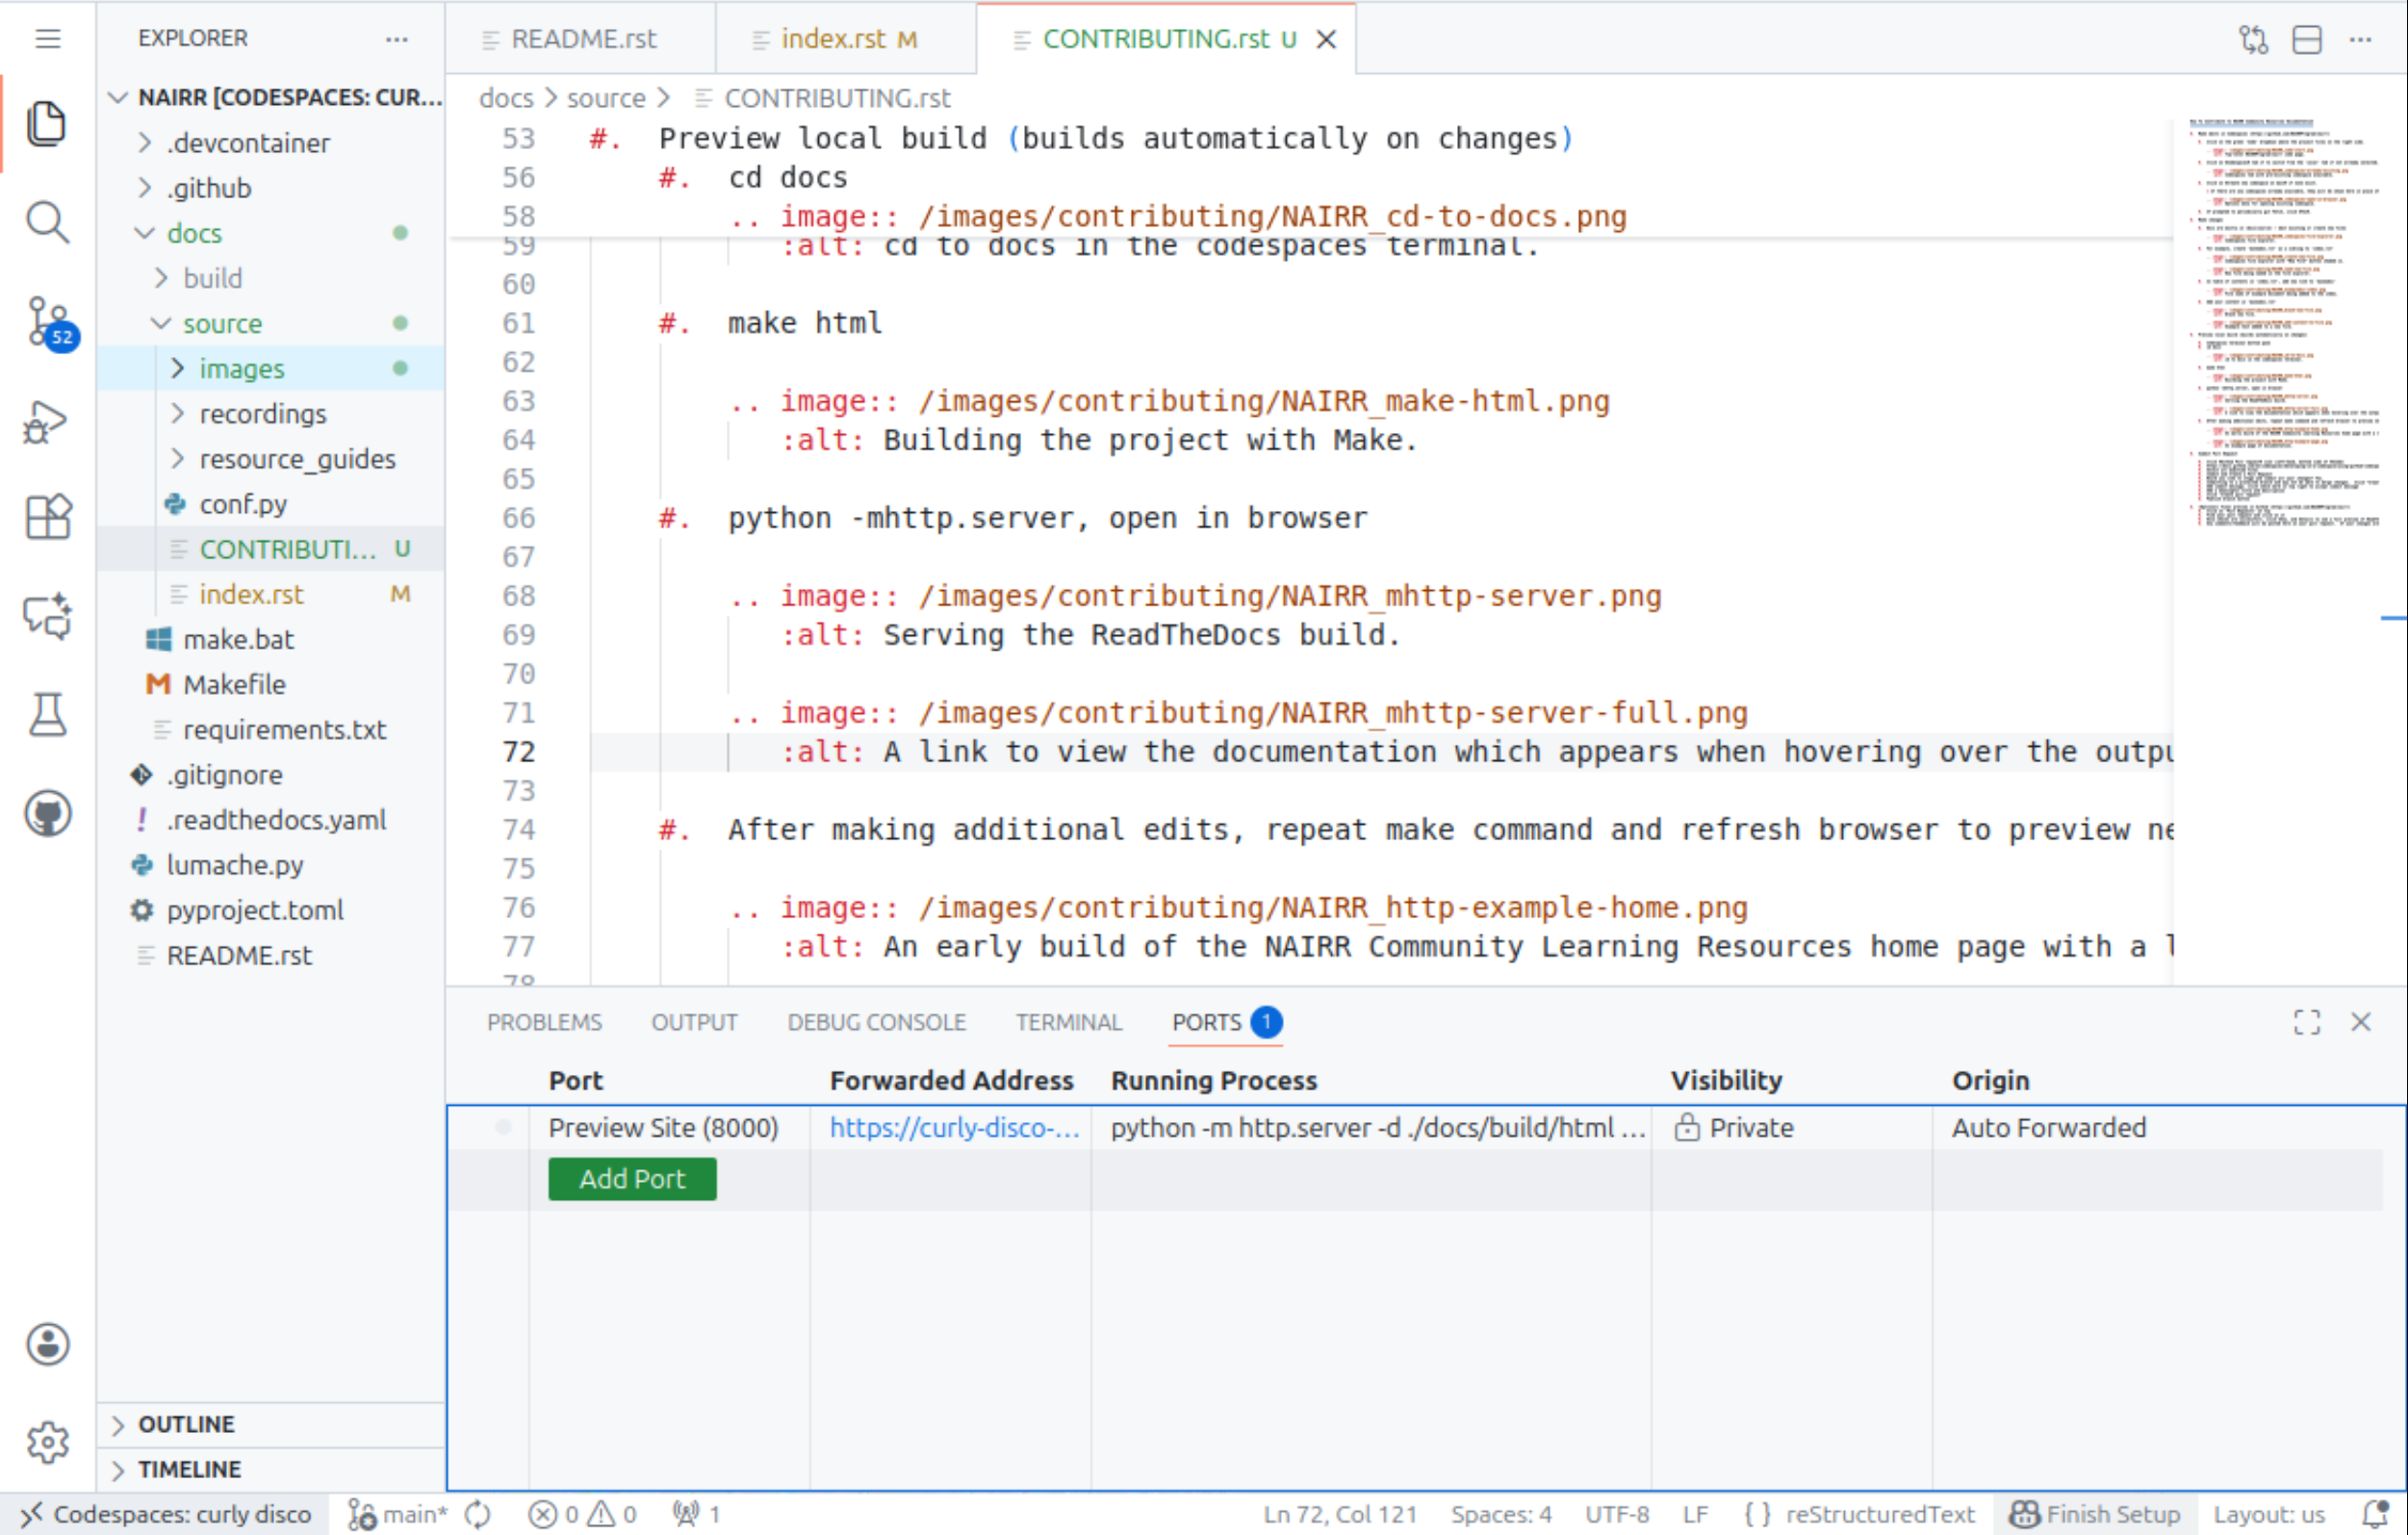
or by selecting the ports tab and clicking the globe icon.
After making additional edits, repeat the “make html” command and refresh the preview browser tab to preview new changes.
Submit Pull Request
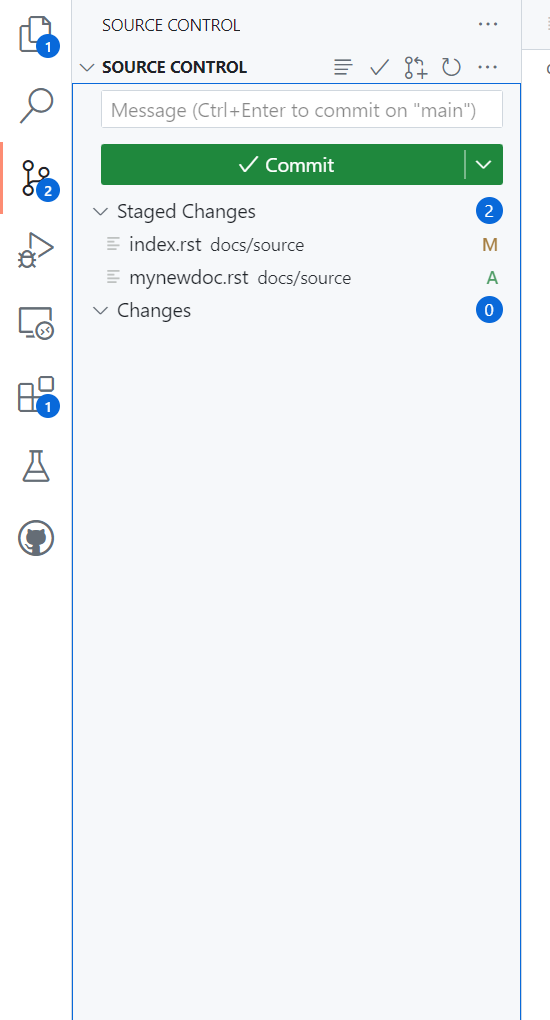
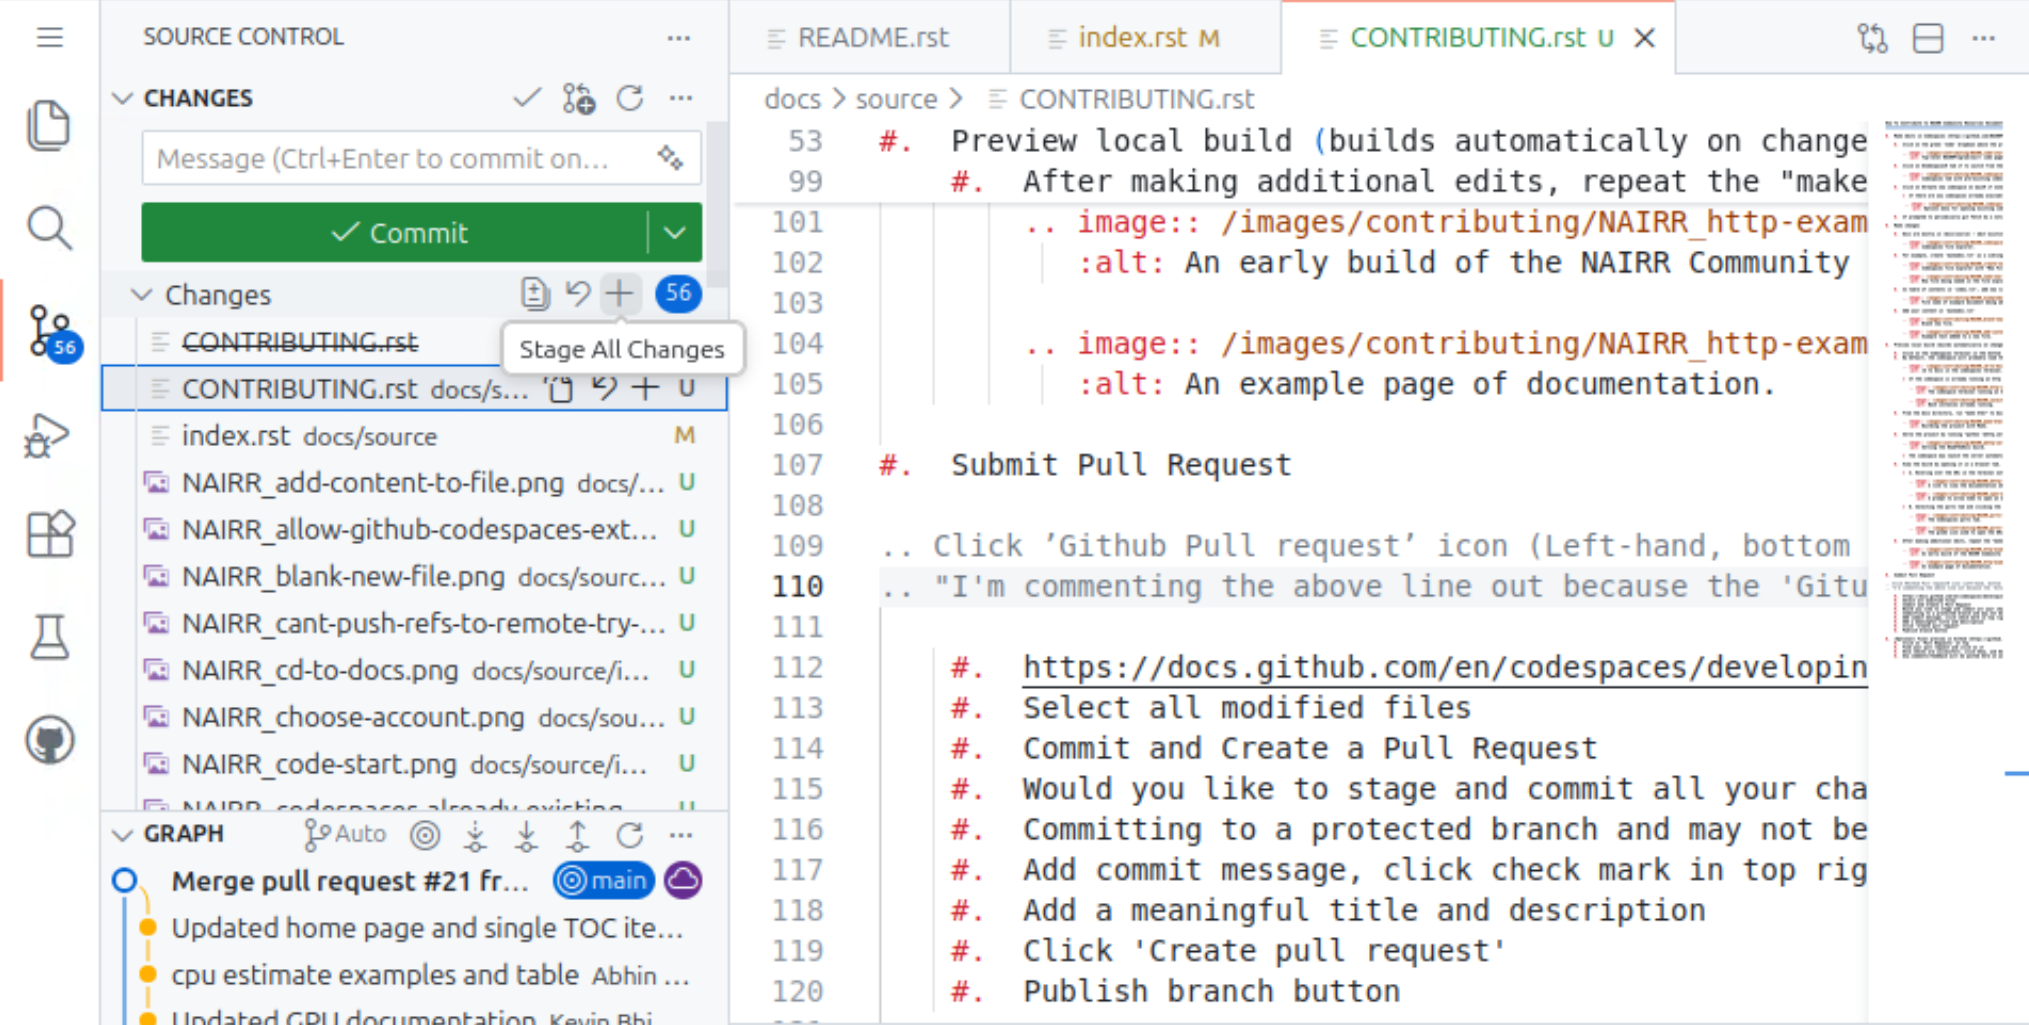
Click on the ‘Source Control’ icon (Left-hand taskbar, will have the number of changed files overlayed).

Select modified files to stage by clicking the plus icon next to the file name within the “Changes” window, or stage all changes at once by clicking the plus icon at the top of the list.
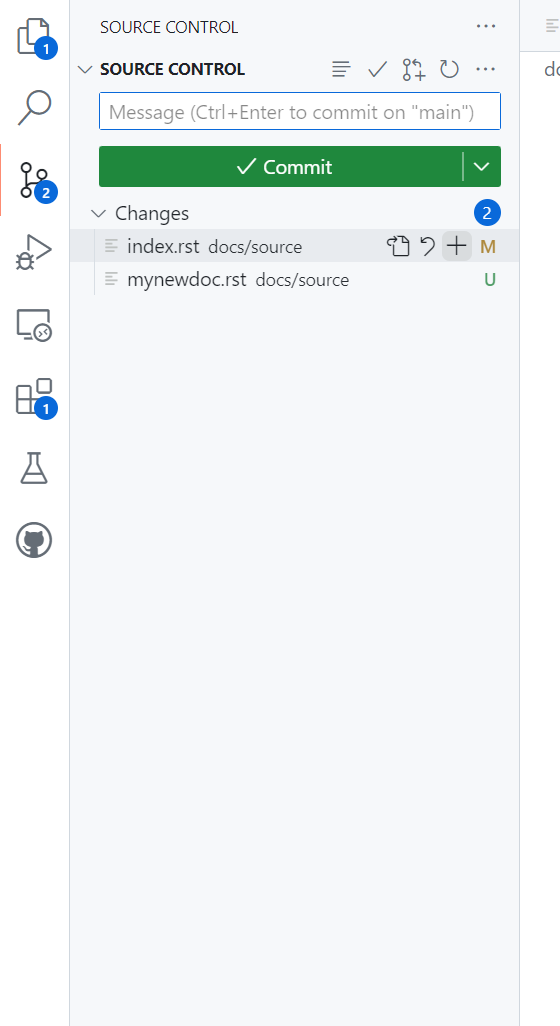
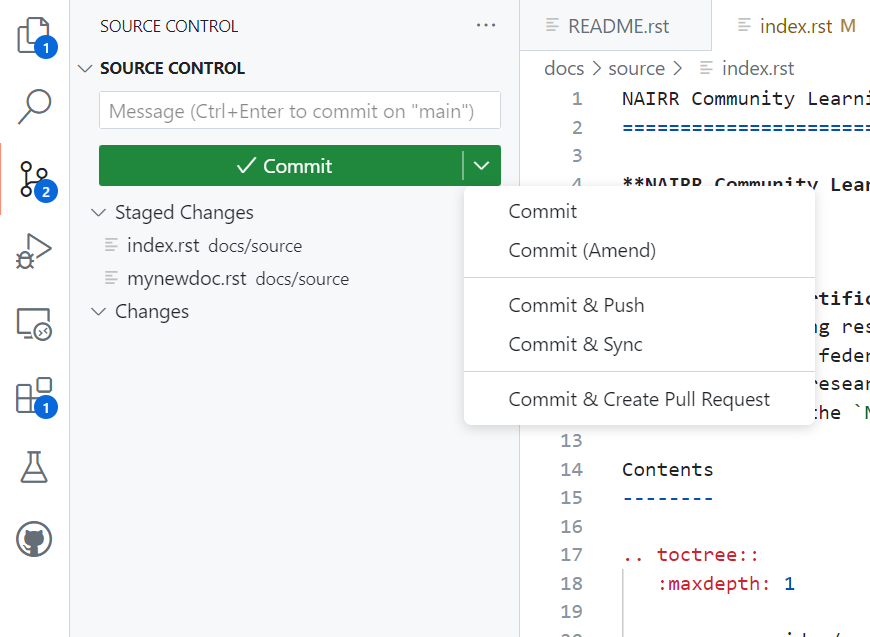
Click on the downward-pointing arrow on the green ‘Commit’ button to open up a drop-down menu and select ‘Commit & Create Pull Request.’
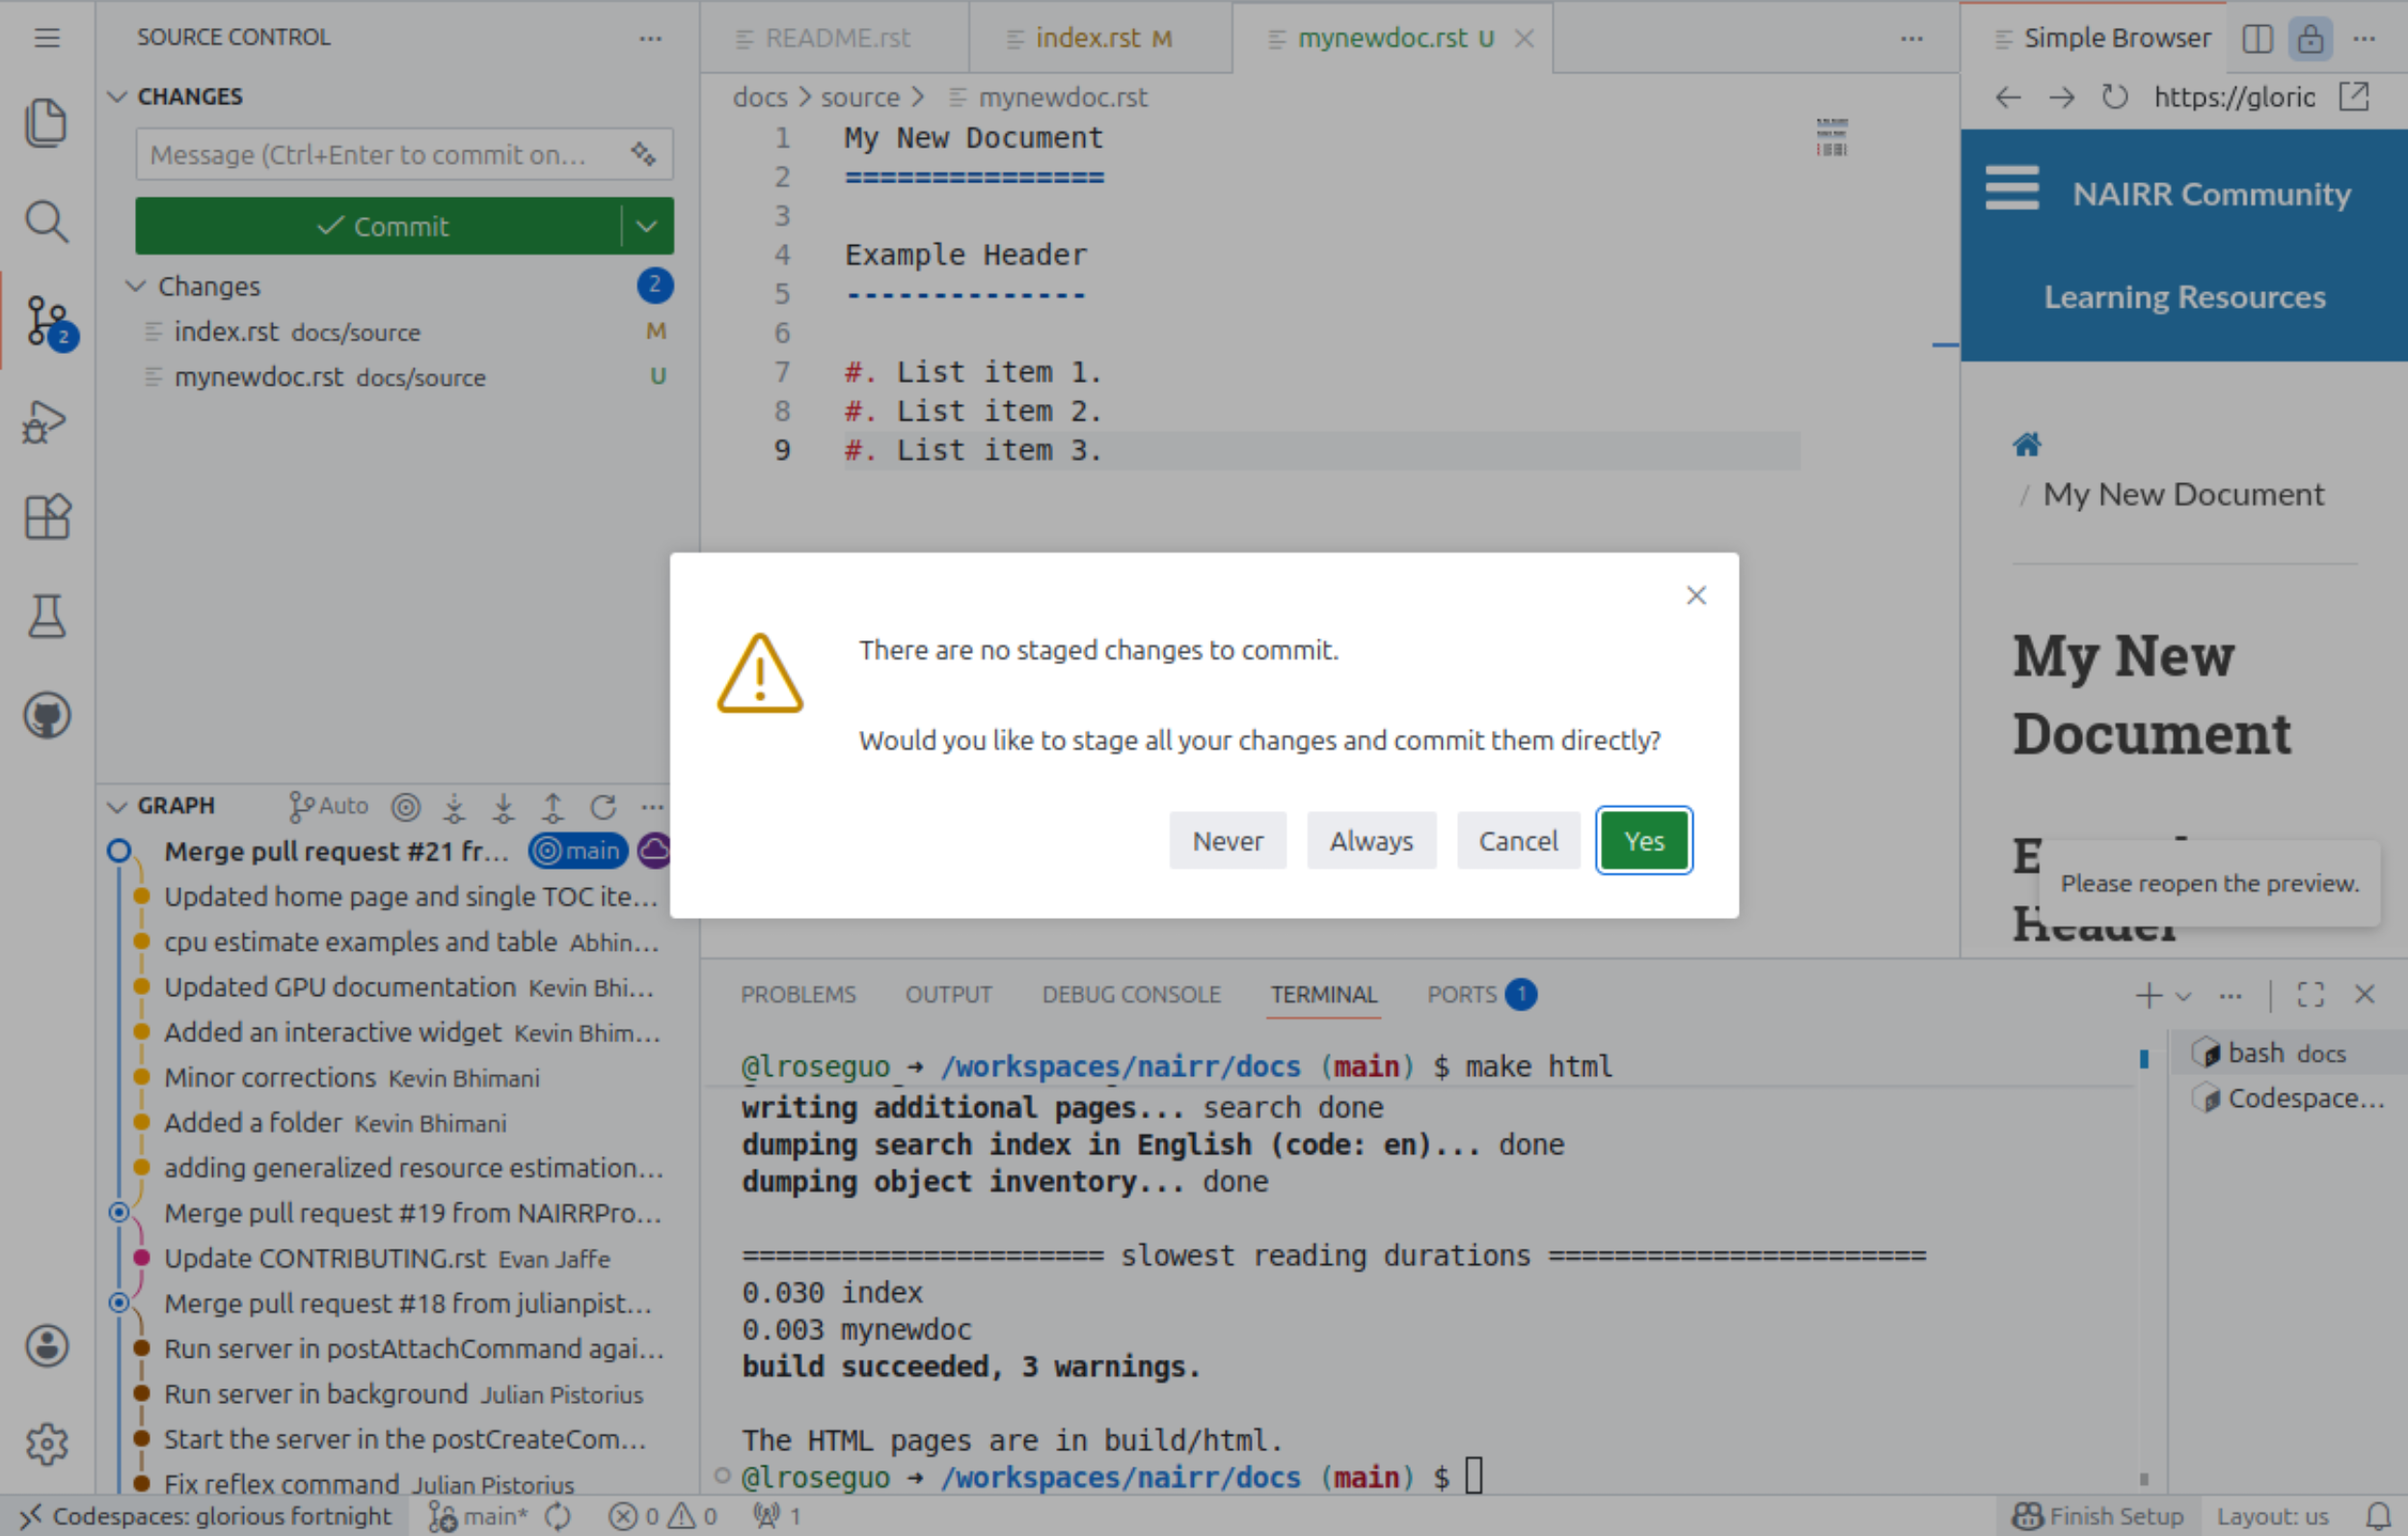
If a window appears with the message ‘There are no staged changes to commit. Would you like to stage all your changes and commit them directly?’ Select ‘Yes.’
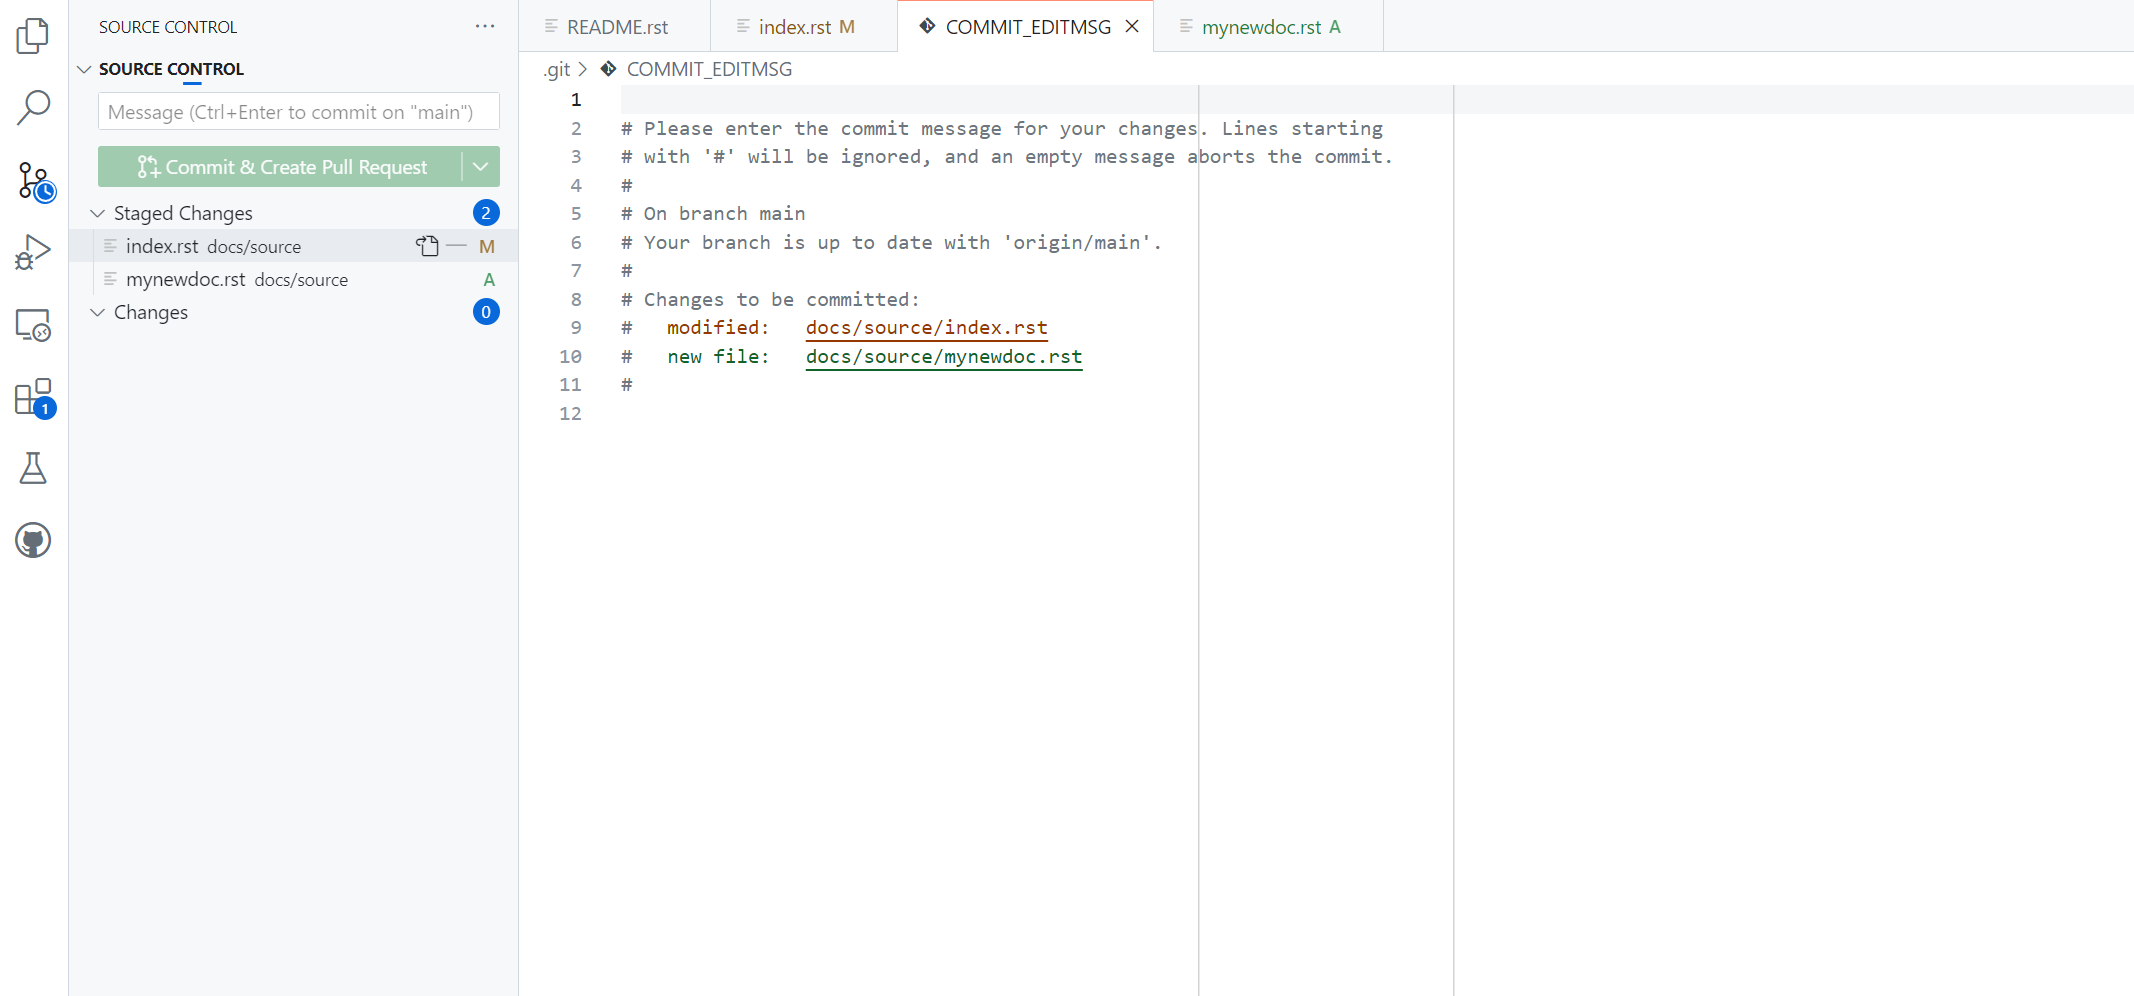
A new tab should open with a text editor titled ‘COMMIT_EDITMSG.’ Add a commit message, then click the check mark in top right to accept the commit message.

After accepting the commit message, the left-hand window should change to ‘GitHub Pull Request.’ Add a meaningful title and description.
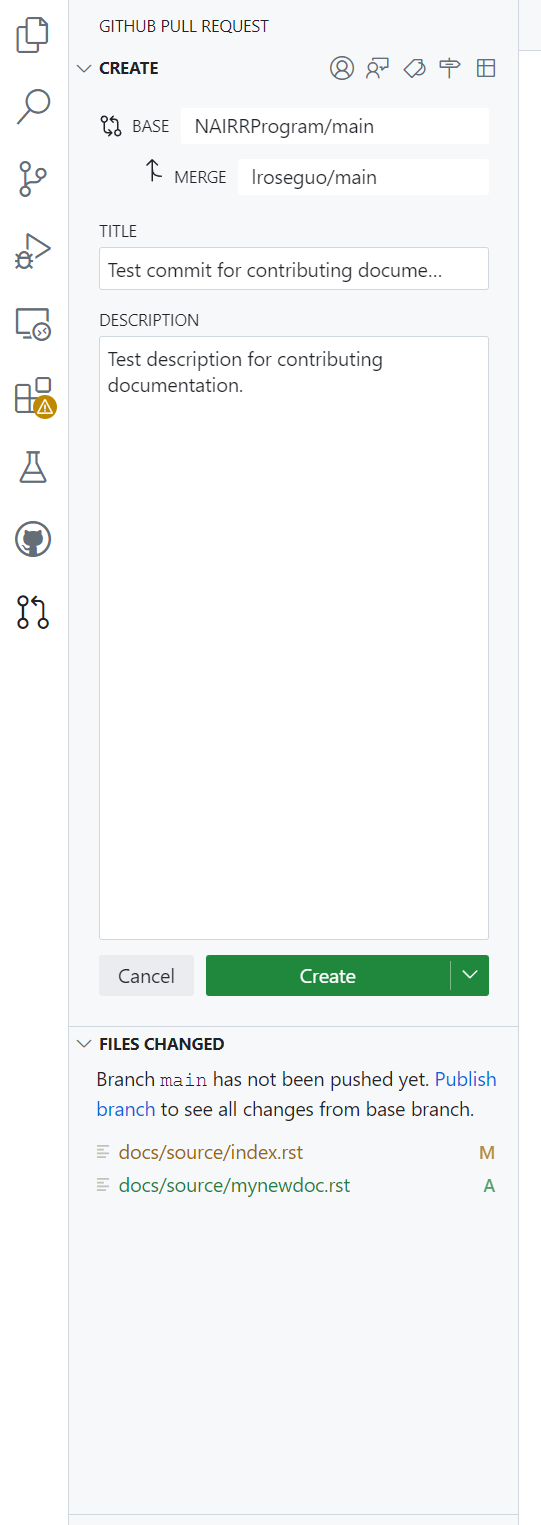
If the ‘Create’ button is faded and can’t be clicked, it may be because you are trying to merge from ‘NAIRRProgram/nairr’ which you may not have permission to do. If you have not yet created a branch, you will need to do so.
Click ‘Create’. A tab should open in the codespace to the newly-created pull request.
(Optional) Final preview in Github (https://github.com/NAIRRProgram/nairr)
Return to the GitHub page for the base NAIRRPilot/nairr repository and click on ‘Pull Requests’ at top
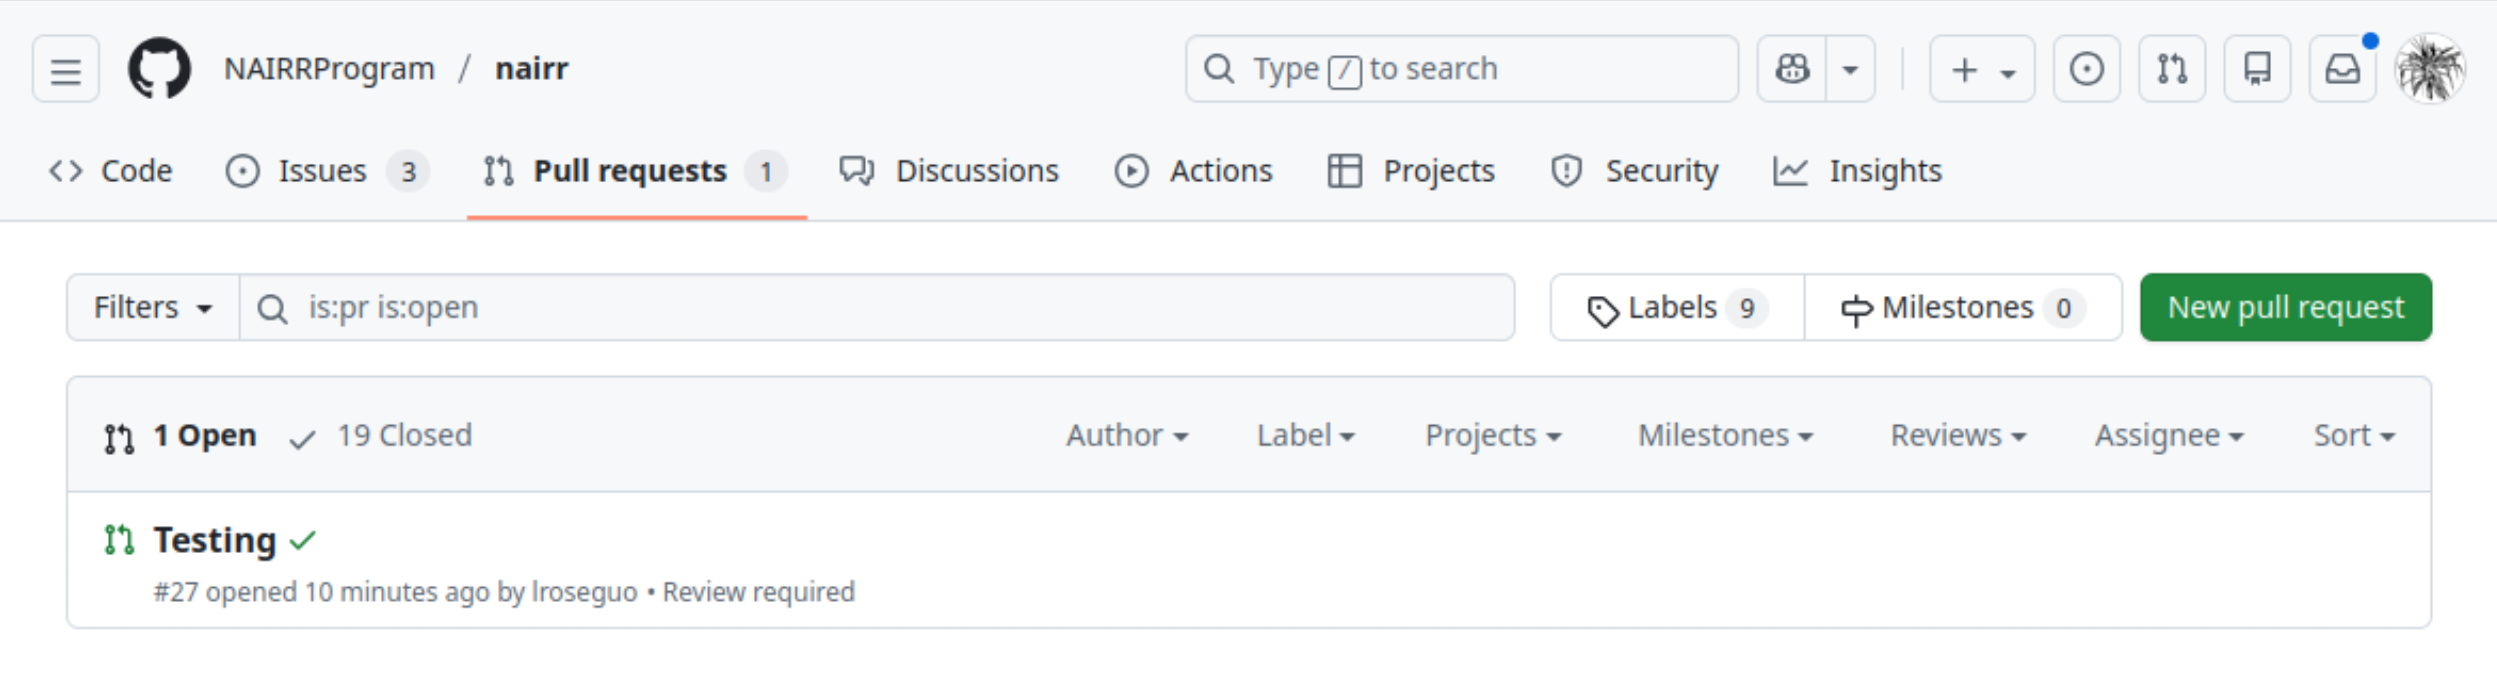
Find your pull request and click on it
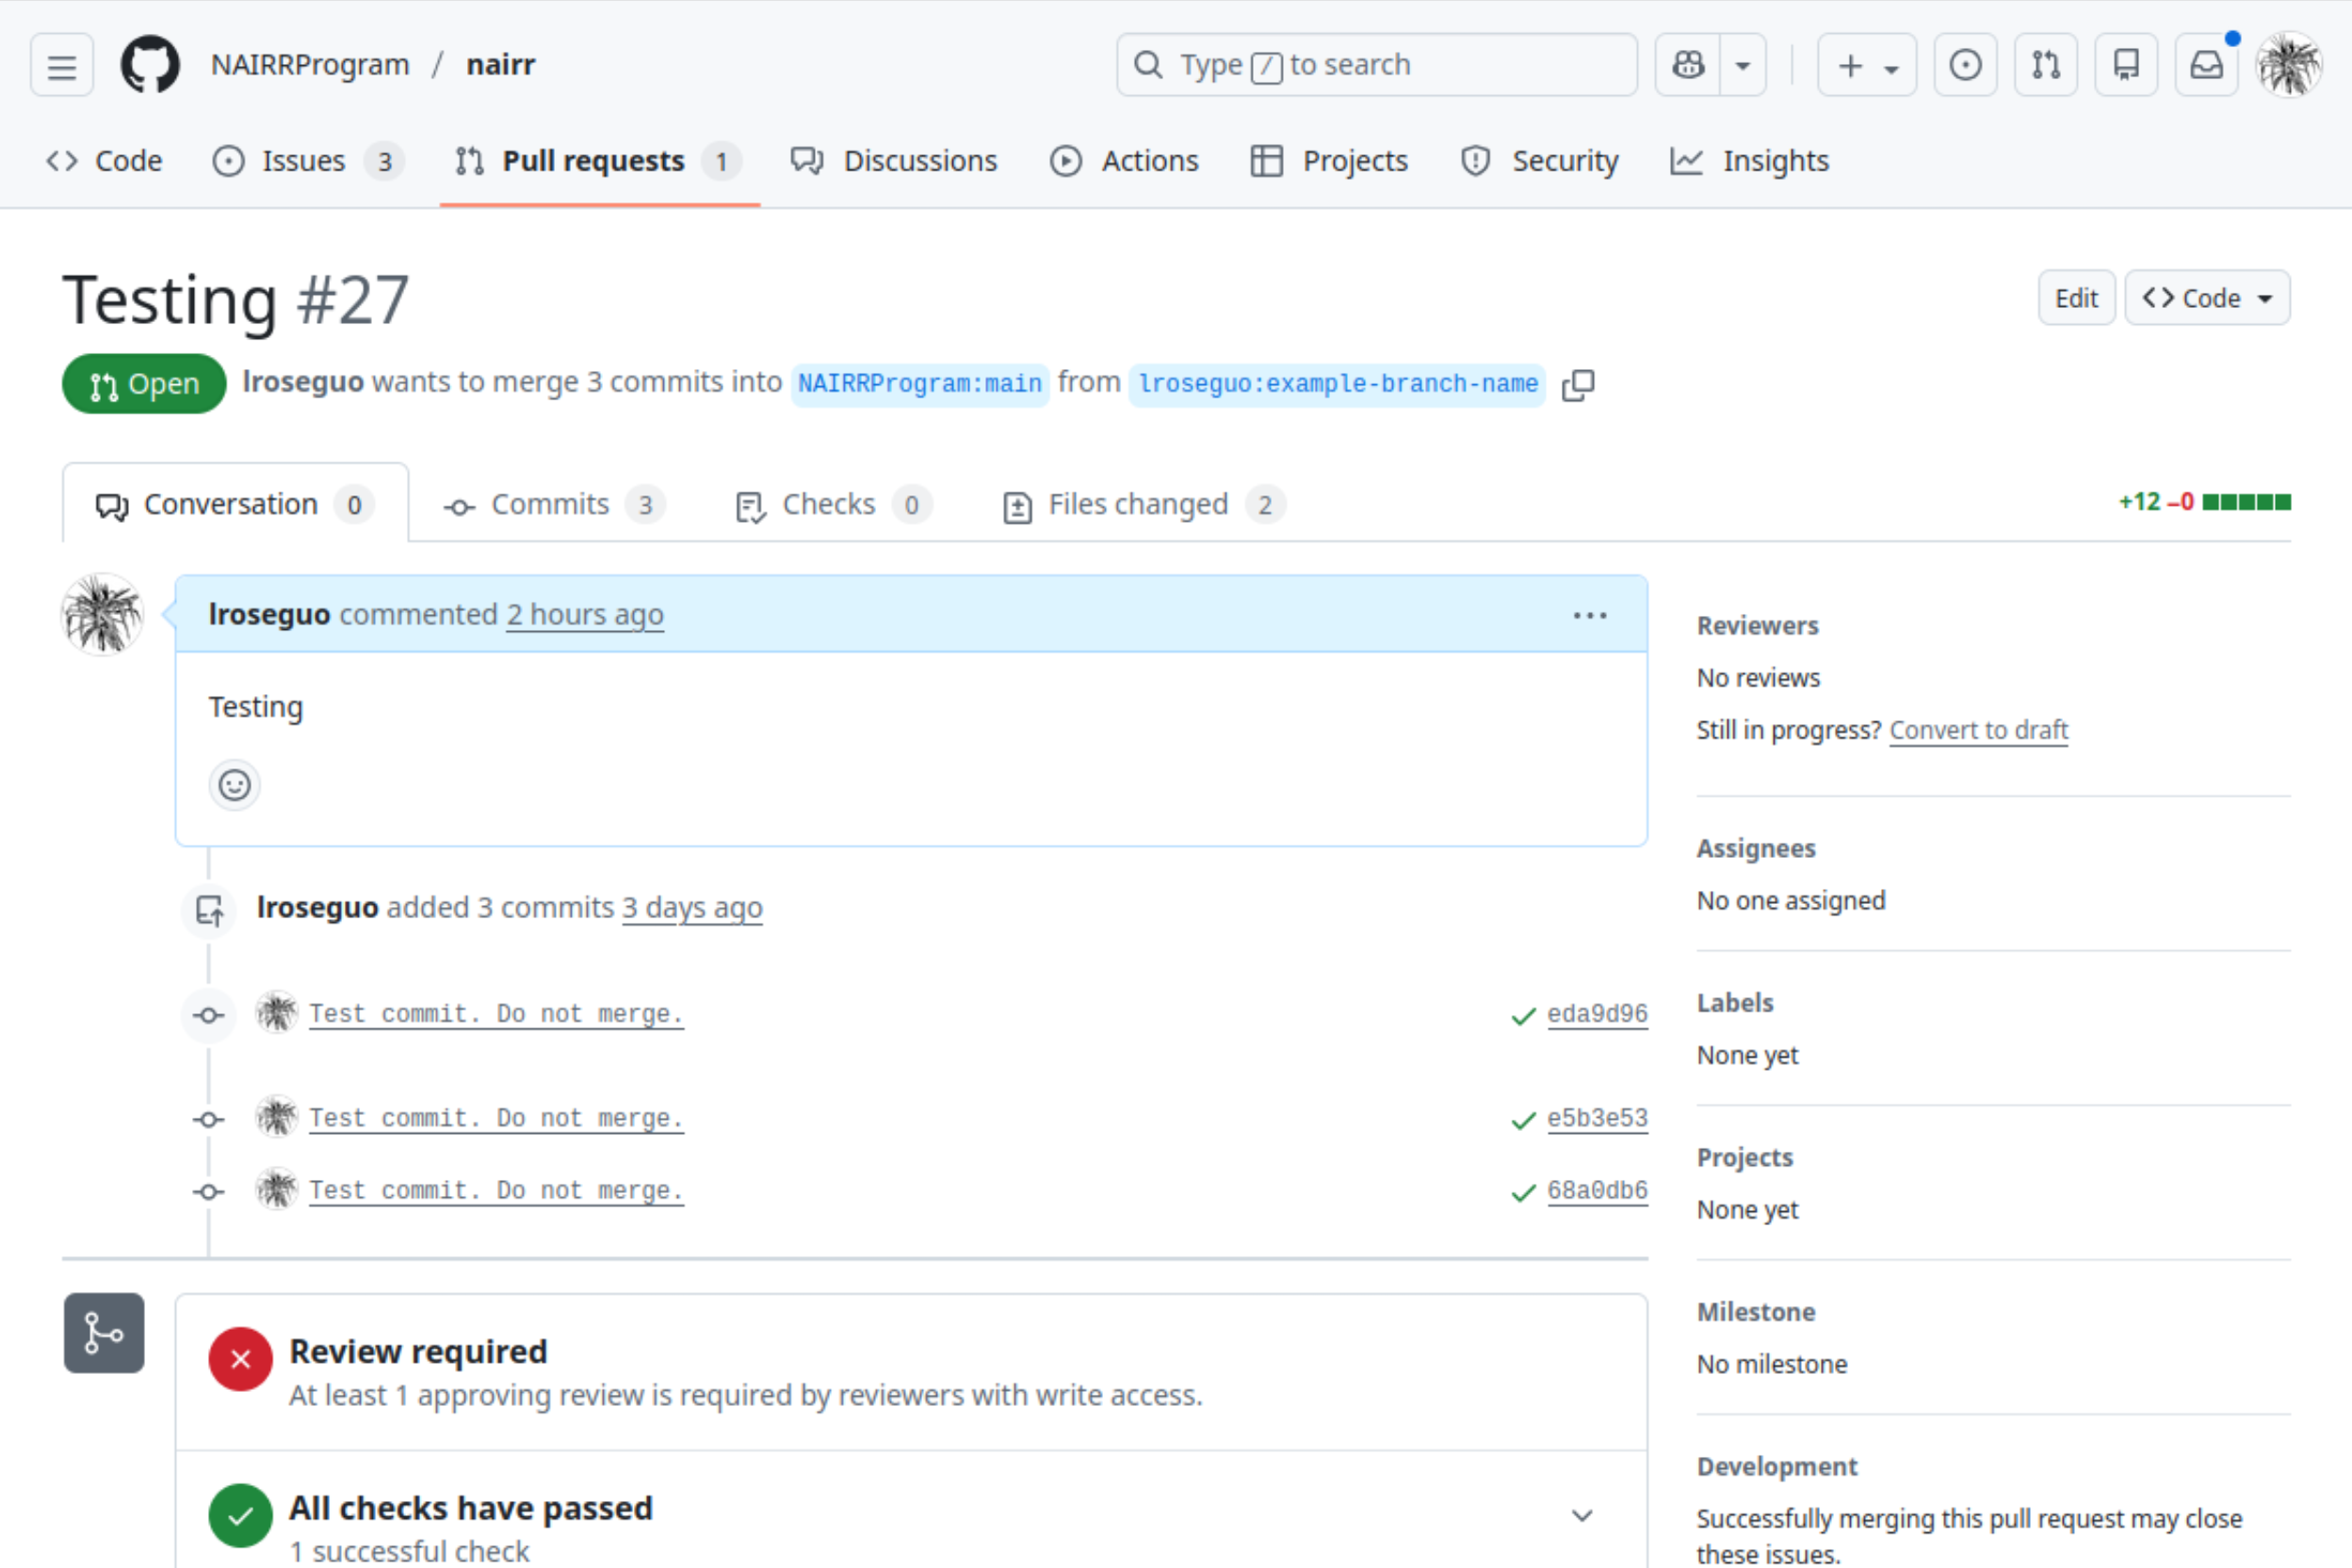
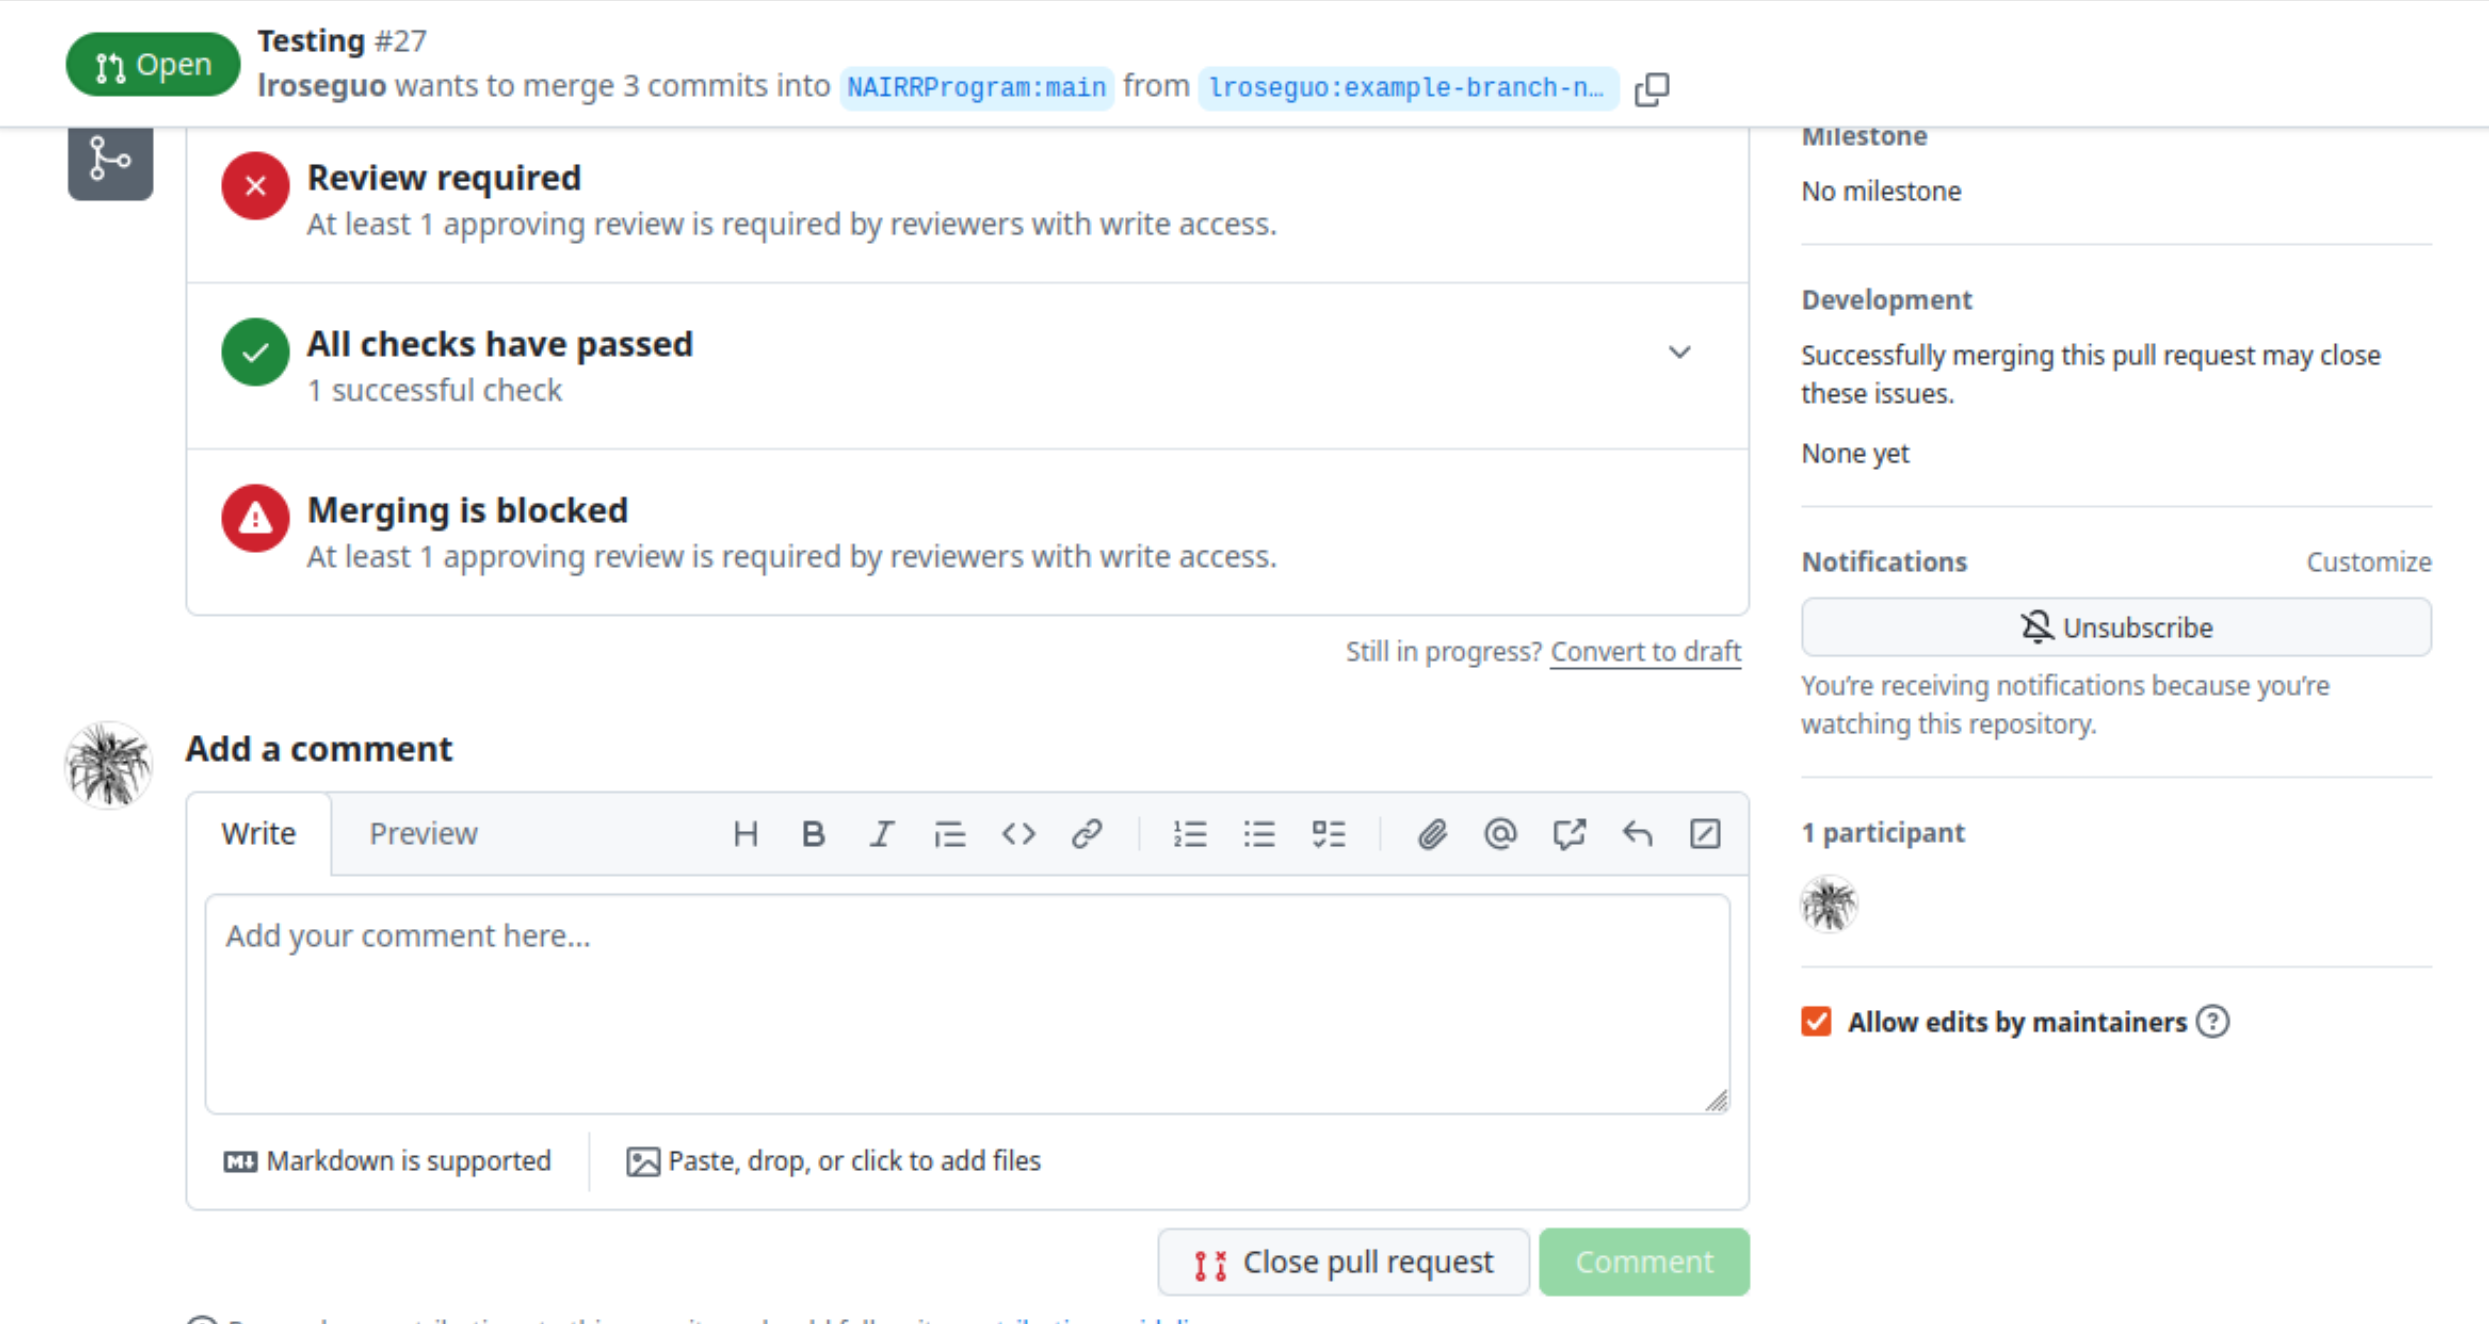
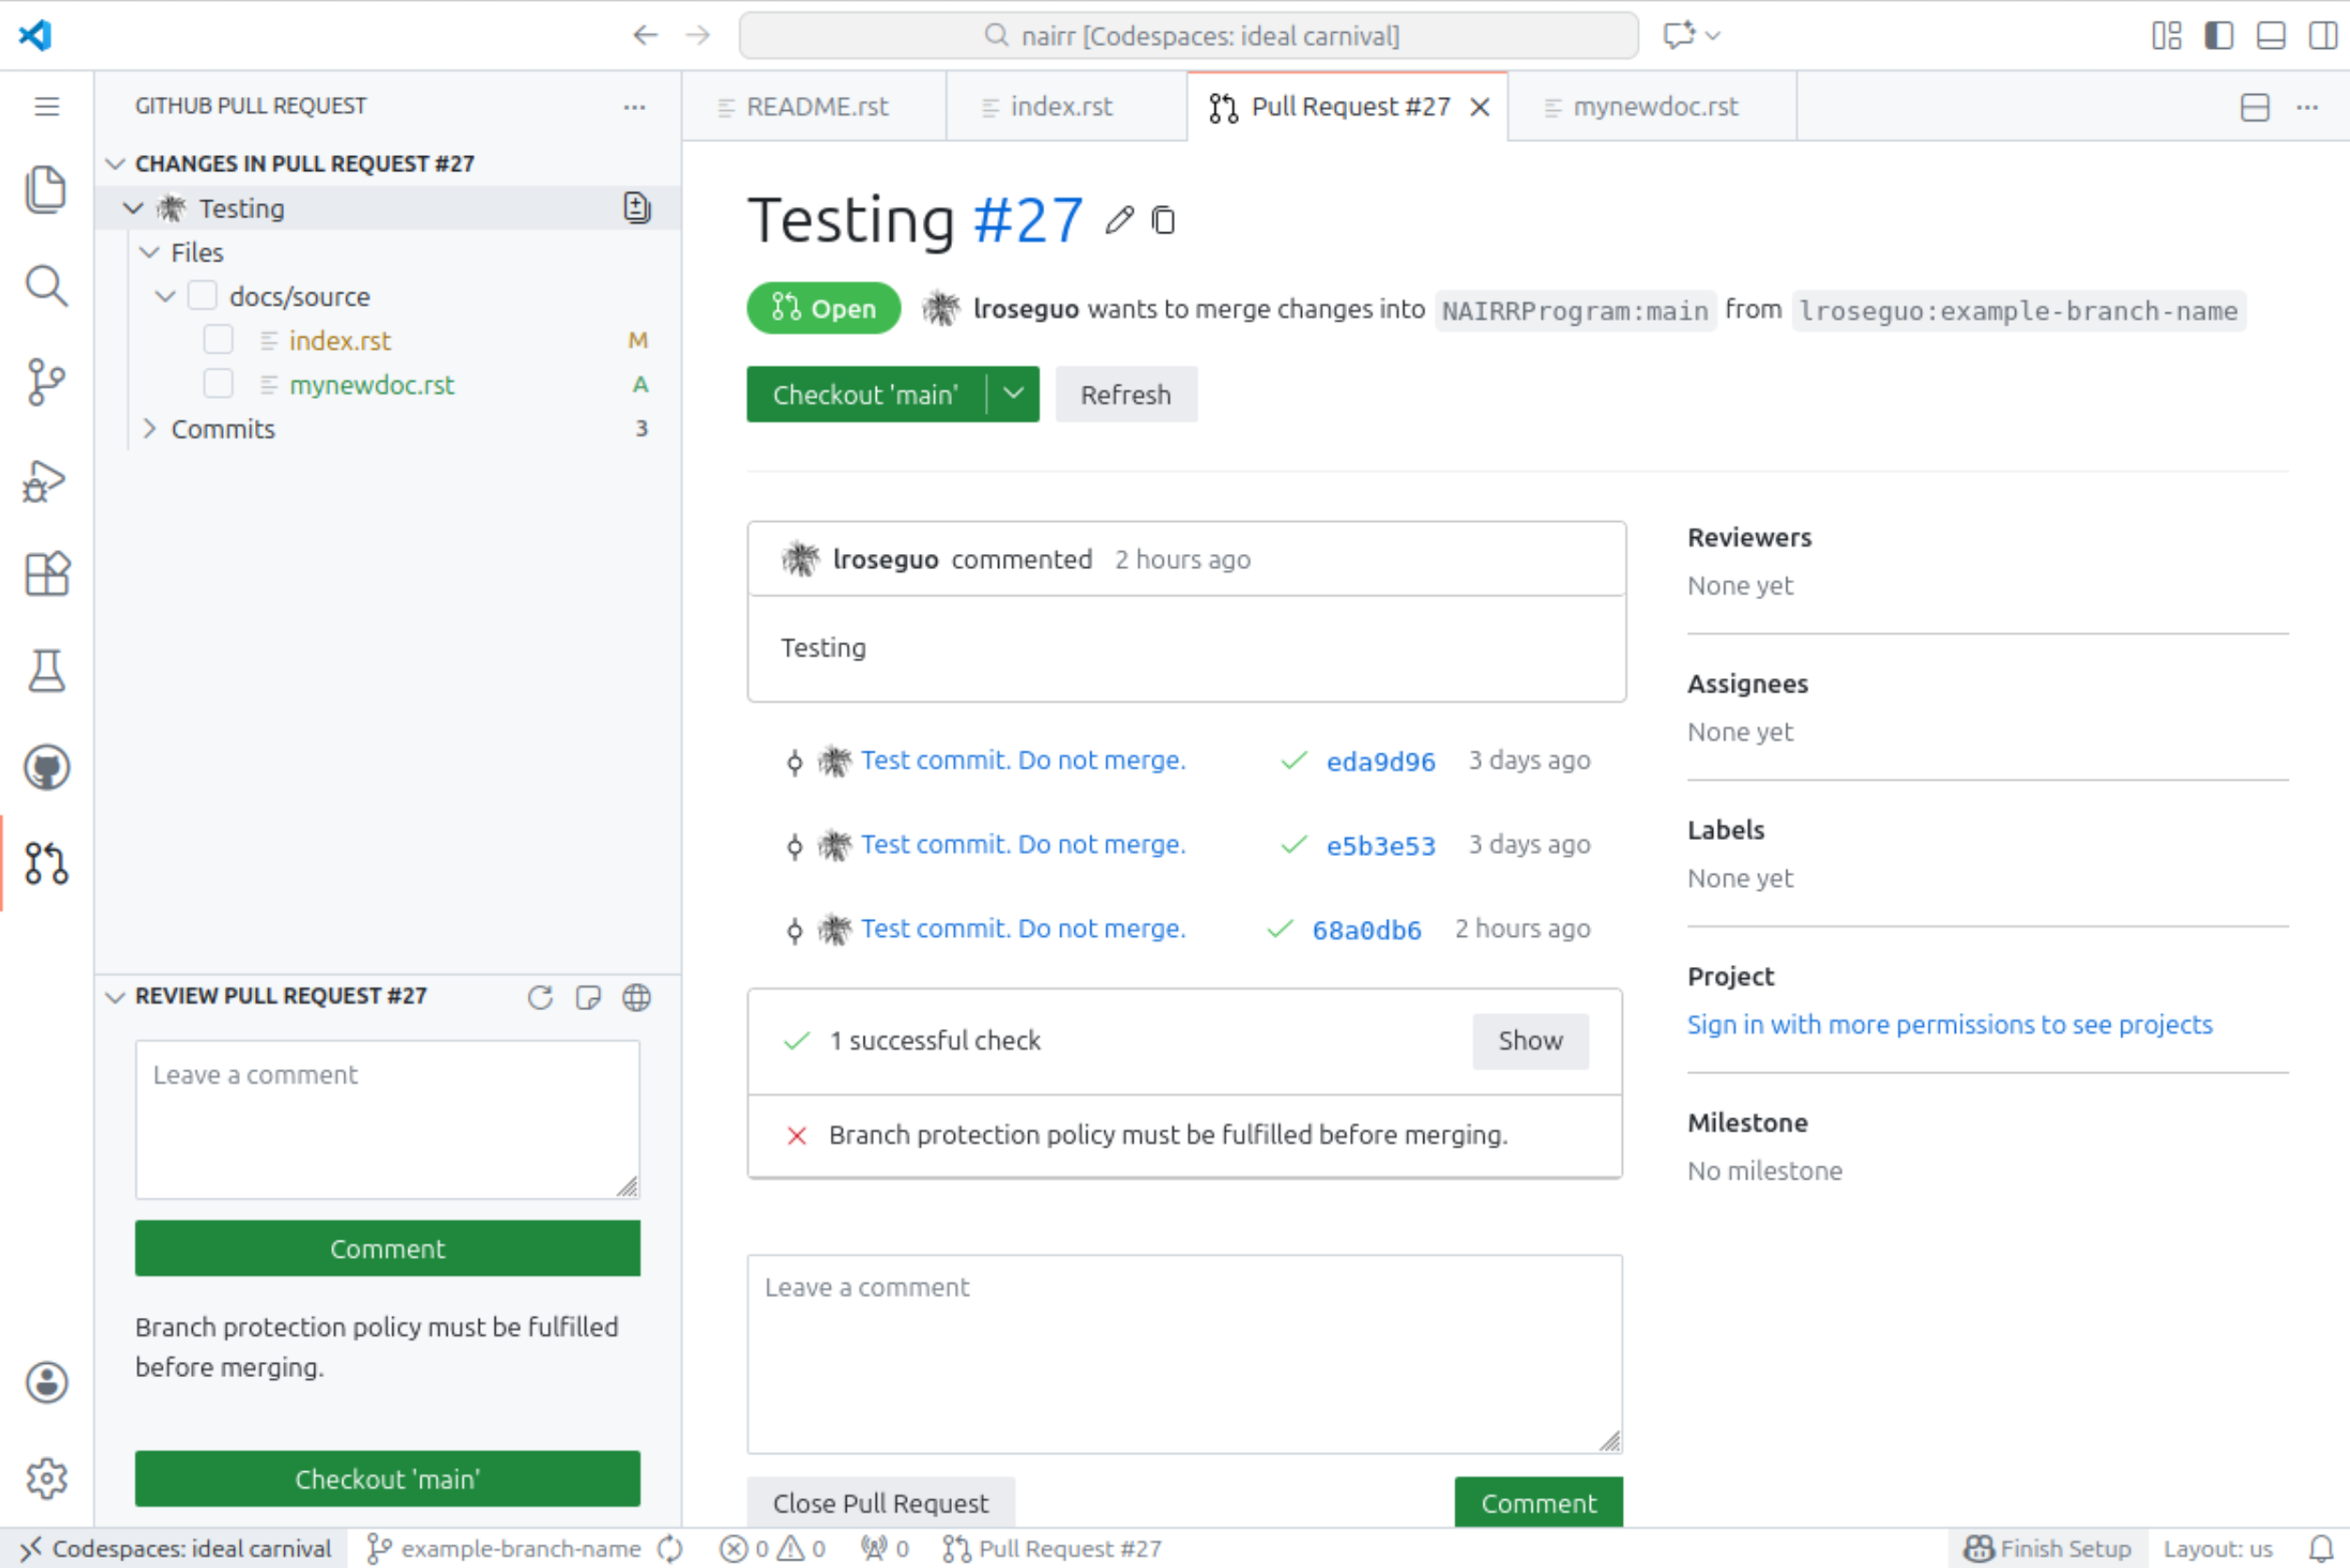
Once checks are successful, click Show, and Details to see a full preview of ReadTheDocs with your new content.
Any comments/feedback will be posted here on your pull request. If your changes are not showing up, you can check status here and comment.